Skostka do it yourself Construction
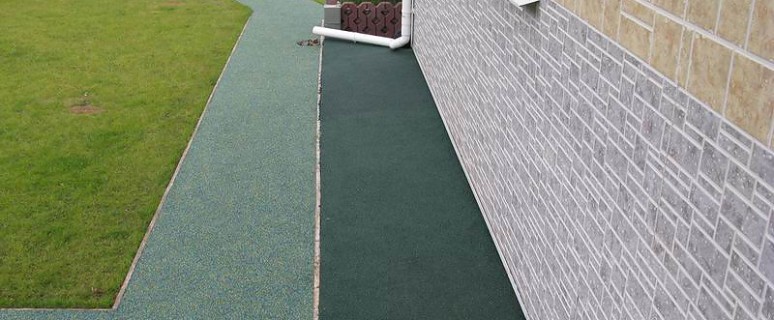
The scene is a special structure that protects the base of the house from the negative effect of atmospheric precipitation and groundwater. About how to make a breakdown with your own hands, we will now tell.
Content
Purpose of Gamesost
This design consists of two main parts:
- underlying layer;
- finish coating.
The underlying layer is intended for sealing and leveling the base. For its device, fine crushed stone, sand and clay are used. The thickness of this part of the scene is in the range of 15-20 cm.
To create a finishing coating, a material is purchased, which has increased moisture resistance and the incompetence of premature erosion. These products include:
- concrete plates;
- paving slabs;
- a natural stone;
- asphalt.
The clay can be used as both the underlying layer and the finishing coating, which is mixed with rubble or sand.
The scene can perform several functions:
- protective;
- decorative;
- practical;
- heat insulating.
The scene is an excellent barrier from moisture penetration into the base of the house. Due to the presence of this design, it is prevented uneven tooling the foundation of the building with the subsequent appearance of cracks. The scene, filled around the perimeter of the house, does not allow the deformation of the foundation during soil shifts and freezing.
The decorative function of the design is that it is an additional element in the environment. The last layer of the scene can be seamless, based on the existing lining of the house and landscape design of the land.
The practicality of the GDP implies its use as a pedestrian zone or the possibility of moving on it. The device of such a structure provides for accurate calculations by definition of loads. Based on them, and the glance is made.
Creating a breakfast guarantees and improving the thermal insulation properties of the foundation. And this will significantly reduce the loss of heat in the cold time.
Requirements forces
When applying, with your own hands, the scene around the house should be followed by the following established rules and rules:
- the minimum slope of the scene must be 1.5º;
- with a concrete structure, the height of the base must exceed 0.5 m;
- the width of the scene is made at the level of 1-2 m;
- there is a 2-centimeter clearance between the setup of the task and the device being created.
The slope of the scene is in the direction opposite to the walls of the house. To create a structure with a minimum bias, it is enough to have a height difference between the parties at 8-10 mm. The most effective indicators of the slope are:
- 3-5º - for asphalt concrete and concrete structures;
- over 5º - with the device of gravel and brick-solence.
The width of the scene directly depends on the type of soil. If the primer is strong enough, then to create a structure for moisture removal, you should simply measure the length of the cornese swell. The width of the scene will be 15-20 cm greater than the length of the sink.
If the scene is created in the area where many rainfall falls, it must have the following characteristics:
- bias - more than 10º;
- width - 0.9-1.5 m.
Water falling into a breakfast must freely enter the drainage system.
Compensation seam, which is left between the walls and the scene, is laid by two layers of rubberoid. Alternatively, the rubberoid can be used sand, polystyrene foam, special mastic or waterproofing film.
Concrete construction device
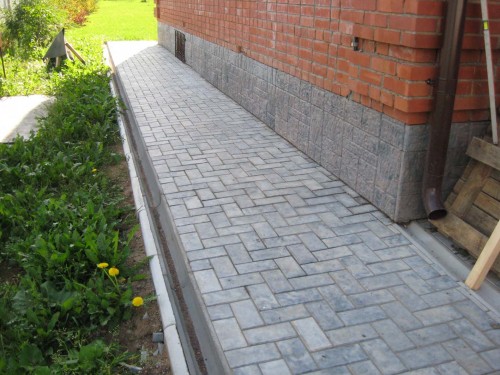
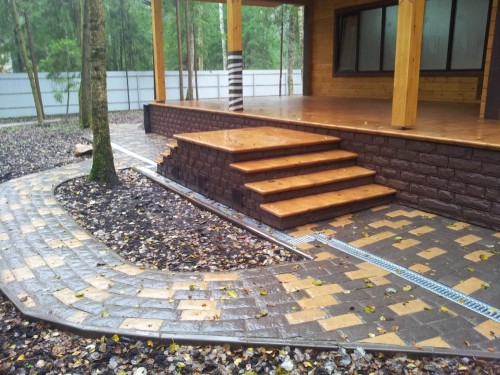
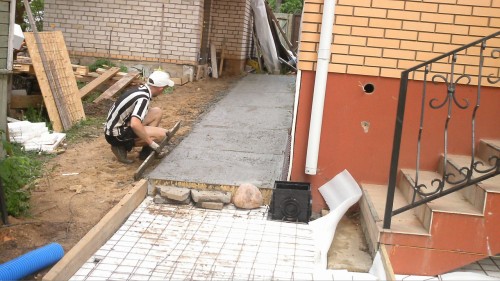
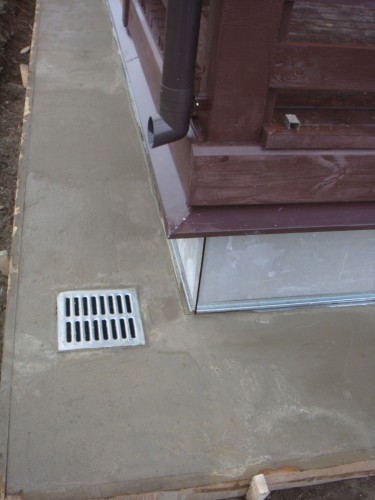
In order for the breakfast in the photo and the design created by its own hands completely coincided, it is necessary to accomplish all the technological nuances. One of the most simple and cheaper options is the creation of a concrete breakfast.
Step-by-step instructions of the device of the scene involves the implementation of such consecutive actions:
- digging trench;
- carrying out waterproofing work on the unit expansion space;
- reinforcement structure;
- pouring concrete mortar.
Digging trench
Creating blind area begins with removing their hands turf, which is able to absorb moisture in a large quantity, and makes it difficult to base a sufficient seal. The standard thickness of the blind area is 0.25-0.3 m. And a depth necessary to produce the digging of the trench.
Once destroyed the roots of plants. To the vegetation did not grow in the future and does not spoil the blind area, its roots are treated with herbicide. Across the ditch do shuttering of boards, into which is poured a solution.
Waterproofing base and reinforcing structure
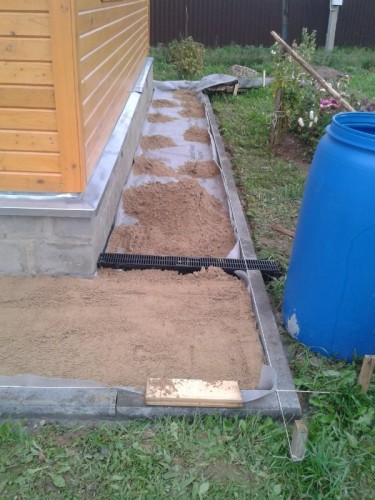
The trench is filled with sand, which is carefully compacted and filled with water. The sand layer was 15 cm. The suitable roofing material bitumen or PVC film as a waterproofing material. By using the same materials made expansion joint.
If there is a ground floor or basement blind area should also insulate. The technology of thermal insulation works provides for a size of 10-15 cm air gap. For warming You can use polystyrene or Penoplex.
Blind area will last longer, if we make her reinforcement. The created structure prior to pouring concrete mortar installed metal mesh. It is associated with steel wire. You should turn from a metal cell size of 10 * 10 cm.
Pouring concrete
At this stage, one of the main problems is the cooking quality concrete mortar. Its main components are:
- m500 brand cement;
- river sand, cleaned of impurities;
- gravel fraction to 2 cm;
- water.
For the production of high-quality working material mixture ratio should be as follows:
- 1 h cement.;
- 2 hours sand.;
- 4 h rubble.;
- 0.6 hours. The water.
The prepared solution was poured into the formwork. During concreting done bias from home. After 15 minutes the solution is carried out after pouring the cement surface. Otmostka covered with dry cement that is rubbed with a spatula in concrete. This procedure will prevent the ingress of moisture into the blind area.
Video about creating a blind area with your hands:
Alternative options
There are a few interesting options pavings. For heaving soils suit the so-called "soft" blind area. For its creation, it is necessary:
- put sloped clay around the foundation of the house;
- to lay on top of clay waterproofing material (film or stekloizol);
- pour waterproofing with a 10-centimeter clay layer;
- cover clay with small gravel.
A scuralast can be used as a waterproofing material, which is an improved runneroid. Gamestec with the use of the Rublesta involves the implementation of such works:
- on the perimeter of the building is established formwork;
- inside her under the slope is embanked by sand;
- on the sand with a punk on the edge of the trench, the Rubleast is laid;
- the rubler is covered with a sandy gravel mixture;
- the finish coating protesters a paving.
A rather common option when creating a drainage is to use geotextiles. This material, which fully prevents plant growth, can be used at the device of the scene. The technology of its application provides for the following actions:
- under the desired slope rushes a trench;
- in it, geotextile is stacked with a fondation;
- crushed stone (fraction up to 20 mm) poured into geotextiles;
- crushed stone levels;
- the extreme part of the scene, located closer to the wall, is covered with sand;
- a border is installed on the sandy pillow;
- the inner part of the trench is filled with gravel.
A rather original way to protect the foundation of the house from the negative impact of moisture is the Finnish gossip, which is popular with our neighbors. It is done as follows:
- around the foundation there is laying of corrugated pipes with holes;
- pipes under a slope are sent to drain wells;
- pipes are consistently covered with gravel, foam (braziness) and earth;
- a 40-centimeter layer of rubble is falling asleep over the earth;
- crushed stone is covered with decorative pebbles.
Regardless of the type of scene, when building a new home, work on its creation must be carried out before the occurrence of winter. Otherwise, after the first wintering in the foundation, cracks may appear.


