Replacing the sewage riser Plumbing
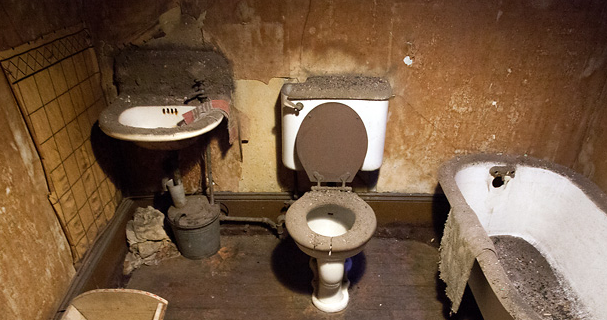
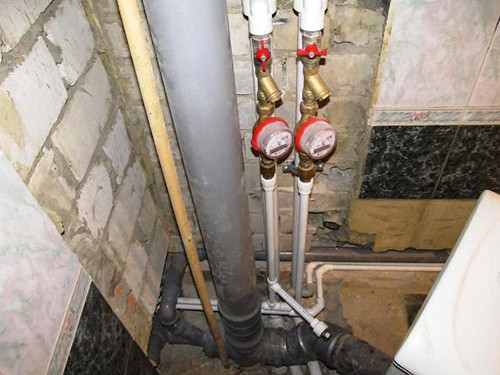
In the houses of Soviet buildings, it is almost always necessary to change if not all pipes, then at least a sewer riser. The pipeline is wearing, gives cracks through which the waste liquid seeps, in the apartment and in the whole house there appears a specific smell, and life turns into a real blood pressure. In order not to bring to such a situation with the slightest suspicions of the leakage, it is recommended to replace the sewage riser in the apartment. On how to do it yourself, we will tell us in our article.
Content
What pipes to choose
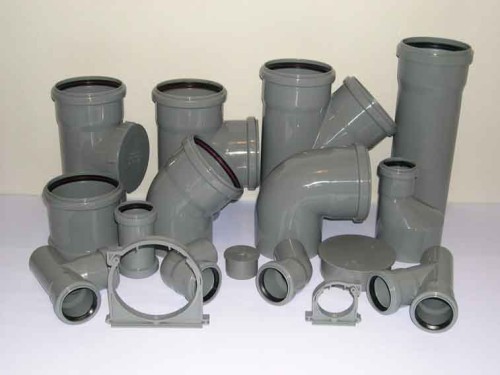
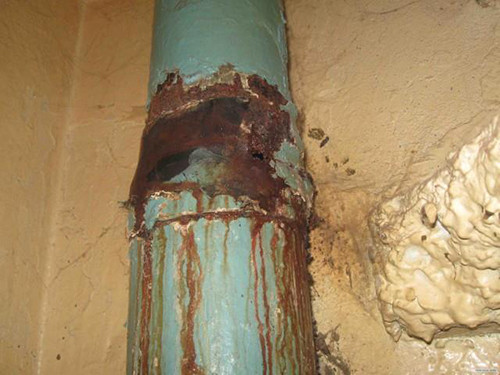
In almost all old houses of the USSR, cast iron pipes were used to create a sewer system. Despite the quality and long service life of this material, the cast iron is not eternal, and after 30-50 years such a system has to be completely replaced. Modern sewer risers are made of light and more durable plastic, which also has a more aesthetic appearance.
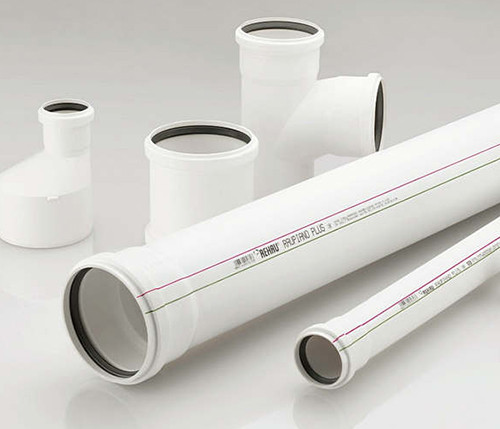
Today, experts recommend to refuse to replace the old cast iron riser on steel or galvanized pipes - metal after 10-20 years will be in disrepair, start rusting and leak. More intelligently give preference to pipes from polypropylene or polyvinyl chloride. Such designs guaranteed from 30 to 50 years and longer.
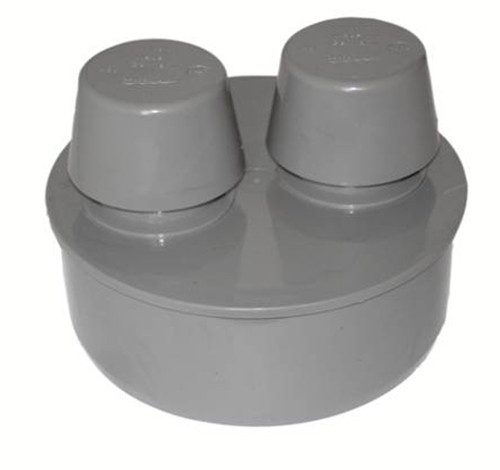
Useful advice: to get rid of unpleasant sewer once and forever and warn their occurrence, install the ventilation system. It is often sold complete with a new riser.
Dismantling of old riser
The optimal solution for the purchase of an old apartment or overhaul in its housing will replace all pipes on plastic. If you change only the riser, then the turn of water pipes will come sooner or later, and again it is necessary to overlap water, breed dirt and spend time. But if financial capabilities do not allow, and the flowing sewage requires a dismantling, urgent measures must be taken.
Tools and materials
Before you begin to work, you need to stock up with tools and materials. Since when replacing the riser in the apartment of a high-rise building (especially, if we are talking about the first floors) it will be necessary to overlap the water in the entire entrance, then you need to do everything as quickly as possible. Before the start of dismantling and overlapping the water, warn all your neighbors from above, so that they do not use the water supply and have not visited the restroom, otherwise everything that will be sent by pipes will be in your apartment, and you flood your neighbors from below.
What instruments and materials will need to dismantle the cast iron drain of sewage:
- bulgarian or special pipe cutting;
- chisel (delete cut elements);
- powerful screwdriver (remove smaller parts from the system);
- hammer (to loosen the remaining system segments);
- nail holder;
- scrap;
- perforator (crushing cement at the docking points of the pipes);
- polyethylene film (close up holes in pipes);
- schlifmashinka (prepare pipes of pipes to the setting of the riser);
- individual protection (glasses, gloves, apron).
If you replace the sewer riser with pipes located between the floors, agree on this with the neighbors, since you may need access to their apartments. But in most cases they change only the pipe between the ceiling and the floor in their apartment.
IMPORTANT: Before work, check whether the water is blocked in the riser, and whether no one has a restroom.
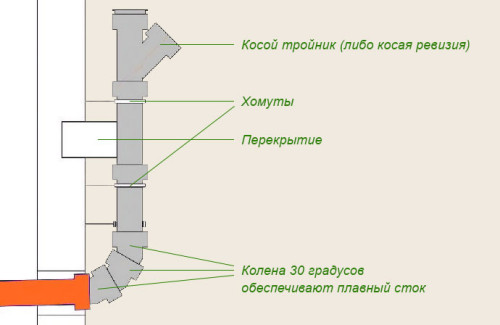
To disassemble, it is better to read the sewage rising scheme at first:
Step-by-step instructions for dismantling the old cast iron sewage riser:
- Return 10 cm from the ceiling surface and 80 cm from the tee. In this place, do two inscribed with the help of a grinder or pipeline. The depth of the inscriptions should be approximately 1/2 diameter of the pipe.
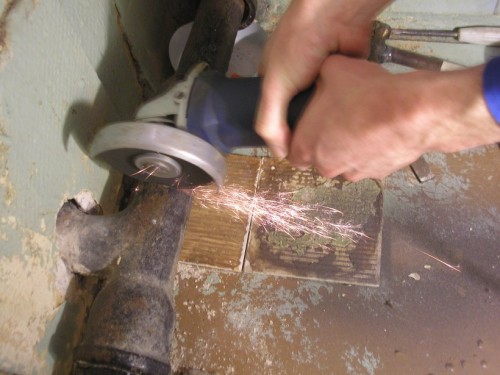
- Attach the chisel to the top inspilation and hit it with a hammer, the same repeat the same with the lower lap. Hit such a force to split the pipe, and it was easy to remove its middle part between the saws.
- Close the pipe sticking out of the ceiling by polyethylene film.
- To disassemble the lower part of the pipe with a tee and other fittings, take advantage of scrap or nail - try to break the attachments in the tee. If it happened, delete the fitting. But in most cases the tee is simply not so possible, and the perforator must be applied. Turn it on and remove the cement at the attachment points.
- With the help of a chisel or a powerful screwdriver, ralpace the pieces of cement and remove the tee.
IMPORTANT: If the tee has not succumbed to the perforator, cut the fitting with a grinder, retreating about 3 cm from the conversion. - Remaining segments prepare for the installation of a new riser - remove all the contaminants, clean the metal with grinding.
Video about replacing sewage riser will help better understand the process:
Installing a new riser
When you dismantled the old cast iron riser, immediately proceed to the installation of the new one. The assembly is carried out in reverse order. But first, check if you have all the necessary tools and materials you have at hand.
What will be needed to replace the sewage riser:
- plastic or metalplastic pipes 110 cm in diameter;
- tee from similar material with discharges;
- cuffs of dense rubber for fixing fasteners between old cast-iron "hardware" and new plastic pipes;
- compensation nozzle providing the transition between the plastic and cast-iron pipe;
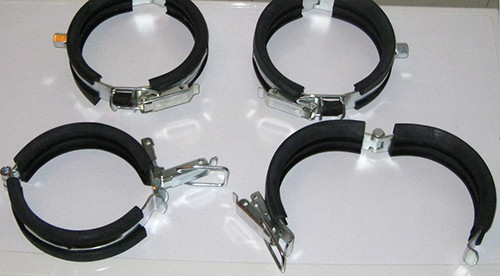
- fastening for a riser (often it is stainless steel clamps);
- liquid soap (facilitates the entry of pipes in fastenings and is used as inexpensive and safe lubrication);
- construction vertical level.
The assembly occurs as follows:
- Insert the rubber cuffs in trimming the pipe from the ceiling and the socket at the bottom.
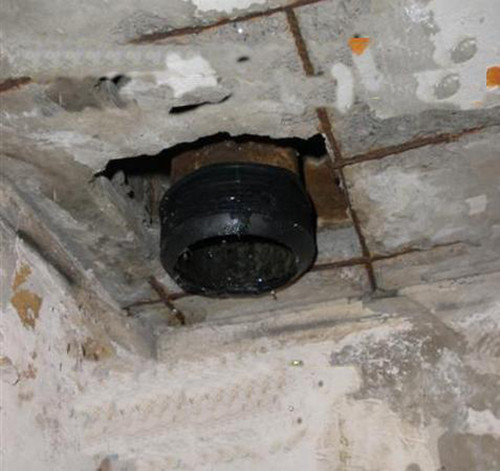
- At the top attach the adapter, down - the tee. Make sure that the elements are connected as tight and tightly and tightly, otherwise, after turning on the water, the pipes will flow. If the tee moves freely, compound the connection with silicone sealant or linen winding.
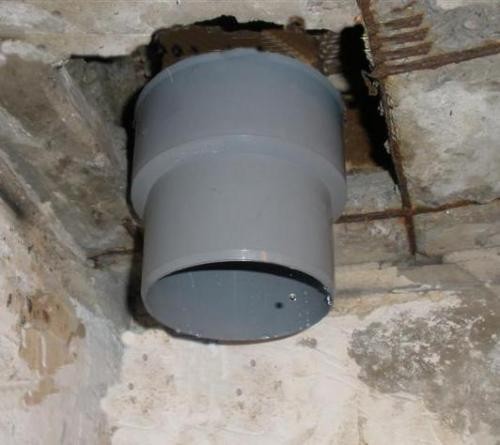
- Firmly secure plastic sewage riser with clamps. For the ceiling of the standard height, there are enough three clamps - at the top, bottom and in the middle of the pipeline. For too high ceilings, you need to purchase additional connections.
- Pre-assemble the system.
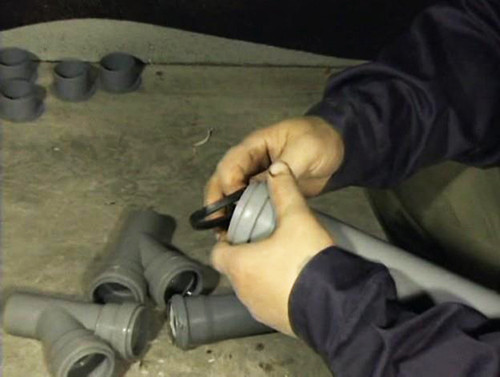
- Lower into the tee compression nozzle. This is a mandatory part that is necessary for the compound of cast iron and plastic.
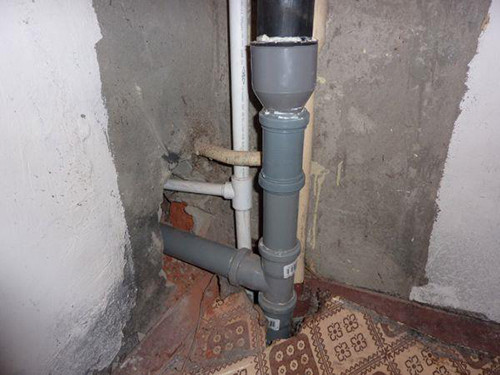
- Each point of attachment, lubricate with silicone sealant and wait for it to completely frost.
Turn on the water in the riser and check all pipe connections on the tightness and leakage. If they are not - you can congratulate yourself with a successful work done!
Noise insulation of sewage riser
It seems that polyvinyl chloride and polypropylene tubes in all better cast iron - they are more durable, easy to install, cost inexpensively, and they look decent. But all plastic sewer pipes have one significant disadvantage - they are noisy. This fact at one time led to confusion even the most experienced specialists. That is why when installing a new riser, you must immediately take care of noise insulation. Make it is quite simple, and if you managed to reinstall the riser, then there will be no problems with noise insulation.
But the problem also consists in the fact that there is no single "recipe" of creating sound insulation for all plastic risers. Depending on the acoustic features of the building and the nature of the design itself, the ways of its insulation may differ.
Causes of noise appearance
Why plastic pipes are noisy, and old cast iron does not make any sound? Experts conducted research and revealed not alone, but several reasons for the appearance of foreign sounds.
Where does the noise in plastic pipes come from:
- Boots - the contents of the pipes, lowered along with water, beats about the wall and noise.
- Atmospheric phenomena - the wind "overstates" in riser with ventilation, knocking rain or hail.
- Resonance - pipe perceives and transfers outsided sounds.
- Vibrations - pipes perceive and transmit the vibrations of the building, underground transport, etc.
The pipe itself has its own form to perceive, transmit and produce sounds, also plays the material from which it is made. Cast iron pipes that still stand in most of the houses of the Soviet buildings are not fucked because of their composition. Cast iron is not quite metal, but rather an alloy of heterogeneous in the properties and composition of grains. That is why it absorbs the sounds - grain rubs on each other, reducing vibration. To all other, cast-iron pipes are very quickly covered from the inside of the collapse, which performs the function of an excellent soundproofer, although it interferes with wastewater movement.
Installation of sound insulation
Sounds from pipes and riser in the apartment are formed as a result of the vibration of the pipe itself. It follows from this that the main task of sound insulation should be repayment of this vibration or minimize it. And first of all, the sewage riser should be made, since the strongest and tangible vibrations transfers it.
Ideally, so that the pipes do not publish any sounds, they must be noise absorbing. Some sanitary firms are manufactured by the production and installation of special pipes and risers made of plastic with the addition of mineral powder. Thanks to this component, the material is obtained, according to the properties of similar to iron - particle particles rub each other and absorb vibration. The best filler is the microcalcite (marble flour or powder), in second place is chalk, behind it - limestone and dolomite. Such pipes are more expensive than ordinary, so before buying it makes sense to check certificates - the performance characteristics, the composition and the amount of noise attenuation in decibels should be indicated in them (sewage sound insulation should reduce the sound for 20-30 dB). The main drawback of such pipes is not at high cost, but in a small service life - only 15-20 years.
As for conventional plastic sewage, it is necessary to isolate with polyurethane foam plates from the overlaps, and from the walls - dampers.
Useful advice: From ordinary clamps you can make soundproofing, putting soft rubber or trimming of the old car tire under them.
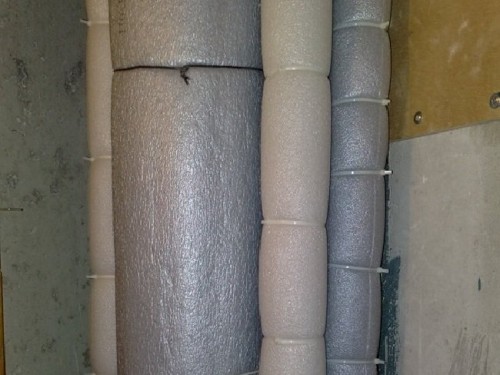
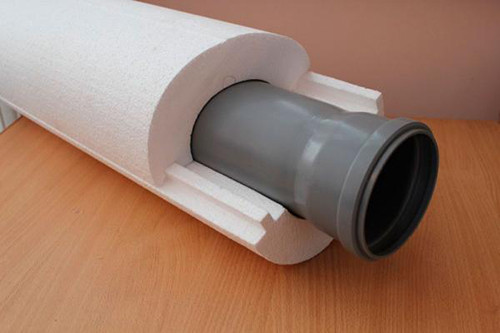
To eliminate unpleasant bubble sounds in the pipes, use polyurethane foam or special "shell" from foam. At the same time, it is necessary to wrapping both the riser itself and the wiring, because the adjustable pipes can transmit sounds along the entire length. Polyuretheni isolation is more expensive than foam, but it allows you to work with curved and hard-to-reach areas. It is released in rolls that need to be cut into pieces of the desired length, wrap around the riser and fasten the adhesive tape.
Instead of polyurethane foam, foamed polyethylene is often used - soft gray tubes. It absorbs the sound vibration and protects the pipes from the freezing. But this material is very short-lived - after the first hot summer, it begins to sneak, wrinkle and sticking out, and after a half or two years old and decays at all.
It is useful to know: If you have conceived to make sound insulation using a mounting foam, feel free to leave this currency - the foam almost does not absorb sound vibrations. Also, do not use mineral wool for this - it causes serious harm to the respiratory system and its use in open form in the premises is unacceptable.
At first glance it may seem that changing the sewage is very complex and long work, but actually cope with her even self-taught. But, if you are not sure about your abilities, or you have to deal with very old and rusty pipes, it is better to take advantage of the help of specialists - pay their services will be cheaper than spending on repairs to the neighbors after flooding. We hope this article helped you figure out how to change the sewage riser with your own hands without help.


