Mirror ceiling in the bathroom: mounting features Ceilings

The decoration of the bathroom requires a special approach to the selection of material. It is necessary not only to maintain the volume of the room, but also try to visually increase it. A good solution for this will be a mirror ceiling in the bathroom. About how to make a mirror ceiling with your own hands and what will be needed for this will be told in this article.
Content
Mirror ceilings in the bathroom: for and against
The main advantage of such ceilings is in the ability to visually expand the space. In addition, the following can be found for useful qualities:
- high-quality repair with minimal cost: all defects will be hidden;
- mirror aluminum ceiling (or plastic) can hide engineering communications (pipes and cables);
- easy repairs in the event of an accident near the neighbors: it is enough to replace several panels so that the ceiling is in order again;
- an increase in the efficiency of the lamps: the reflective surface contributes to the reflection of light;
- attractive look: such a ceiling is well combined with any finishing materials;
- shades of mirror ceilings are different: for the interior, materials with a golden, satin, silver surface with a glossy or matte structure are used;
- installation of a mirror ceiling does not require the use of complex technologies and can be performed on its own.
The disadvantages of mirror ceilings include the appearance of spots when fifty, but with this you can cope with the help of forced ventilation. In addition, aluminum panels require careful handling: even a small dent or scratch will be well noticeable.
Important! After mounting between aluminum rails, small gaps remain, which become noticeable when the point lights are turned on. This can be avoided with the help of special caps that put on the lamps.
Mirror ceiling: Materials
For a ceiling device of this type, you can use any of the following materials:
- aluminum rails and cassette structures;
- plastic panels;
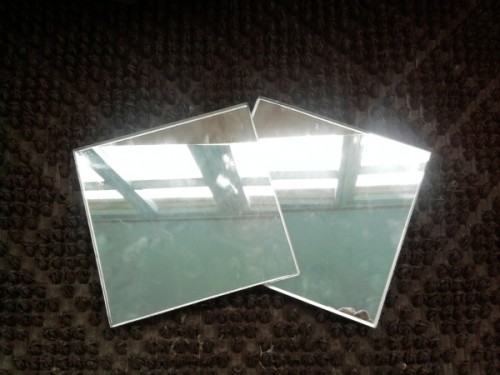
- glass tiles;
- stretch ceiling.
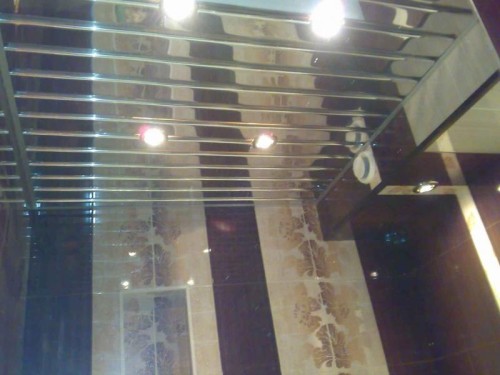
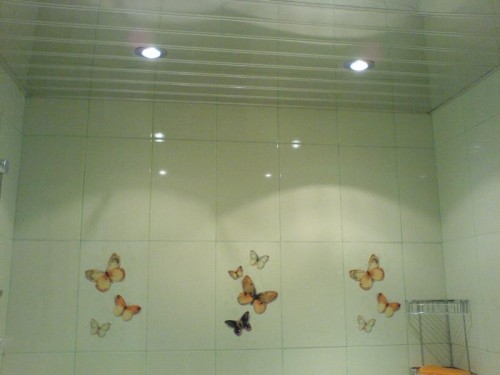
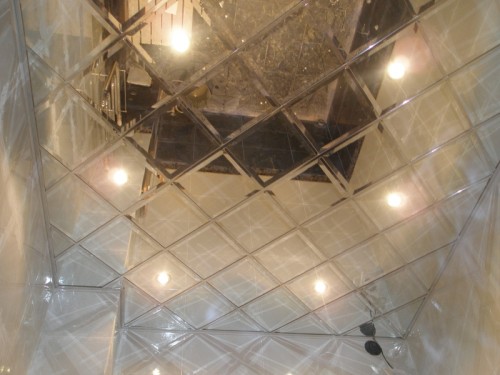
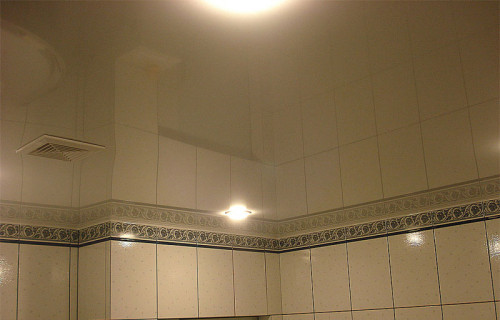
The mirror ceiling in the bathroom (photo samples of different types to your attention) - an indispensable attribute of the style of Hi Tech.
The choice of material depends on personal preferences and on the overall concept of the interior of the bathroom: all elements must be combined with each other. Aluminum crovers are in great demand.
How to make a mirror ceiling
Preparing the base of the ceiling before installation. No need: work can be started immediately after purchasing the necessary materials. Mirroring technology of the mirror ceiling of aluminum rails (cells) provides the following procedure.
- Determine the level of the new ceiling using a laser instrument: the line upholstered cord or marker is applied to the wall.
- In the perimeter of the bathroom fasten the edging frame. The perforator, screwdriver, self-tapping screws or dowel-nails are used to work.
- The racks are screwed to the frame. The step between them is strictly regulated by the system manufacturer and is indicated in the accompanying documentation. This is usually a distance in the range of 1000-1200 mm.
- Based on the ceiling over the eyelets in the rails make marks and drill holes for the installation of suspensions. The distance on one line between the suspensions should be equal to or less than 300 mm. From extreme suspensions to the wall, about 400 mm retreat.
- Install the suspensions, fasten them to the raids and regulate so that the rails are in the same horizontal plane.
- On the ridge hooks fix panels connecting them with screws.
- On the perimeter of the bathroom fasten the ceiling plinth. In the event that between the wall and the mirror ceiling of the gaps are minimal - the ceiling plinth is optional.
Tip: suspended ceiling of this type can be installed at an angle. In this case, the suspensions are adjusted in height so that they are in the plane formed by the systems of the system.
Install plastic mirror ceiling
Plastic panels with a mirror facial layer are attached to the ceiling after installing wood cutting clamps. The sequence of actions is the following.
- It is determined and the level of lowering the ceiling is noted. Laser, construction level or Waterpas is used.
- Wiring is laid for embedded point lamps, in the places of their installation make "Sops", leaving the cable for connecting the electrical appliances.
- Dowel nails to the base of the ceiling are fastened with wooden rails, pre-treated with an antiseptic agent. Reiki section 20 × 40, 30 × 40, 30 × 50, 30 × 60 mm are used. The distance between the rails is 500 mm.
- In order to establish the rails on the same level, in certain places put pieces of plywood or Fiberboard sheets.
- In the event that the mirrored panels will be located in the transverse direction from the entrance, start assembling the first of them in the far wall. In this way, you can hide from the view of an incomplete last panel.
- Fasten the panels to wooden slats with brackets using a furniture stapler. Separate elements are connected by the "Schip-PAZ" method.
- The gaps between the wall and mirror ceiling panels are closed by a plinth.
- Connect point lights and insert the cut holes in advance.
Installation of glass tile
The decoration of the room with a mirror tile made of glass requires special preparation of the base. You must perform the following.
- The old ceiling is completely cleaned of paint and plaster layer.
- The base is covered with primer. It should dry for 24 hours.
- The level of ceiling plates is checked, sections with maximum irregularities are detected.
- With the help of special glue on the concrete surface, moisture-resistant plasterboard are glued. The adhesive mixture on sheet material is applied by small portions, point. It is important that the HCL plates formed a horizontal surface.
- At the time of drying the glue (indicated on the package), plasterboard sheets should be tied in several places. For reliability it is recommended to fix the sheets of the GLC dowel-nails.
- A mirror ceiling is glued on the basis of mastic, the installation of glass plates is performed without a gap. During the drying, mastic is also necessary to provide temporary fixation of the elements.
ATTENTION: Only such a mastic glue can be used, which contains substances that can damage the mirror surface.
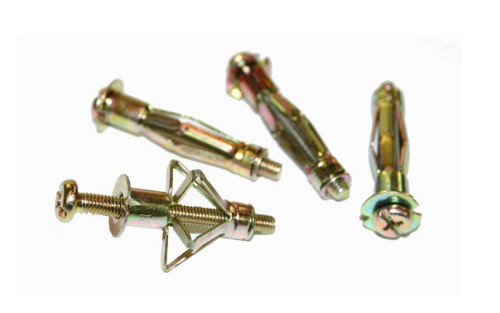
Glass tiles can be additionally fixed using a dowel for hollow structures. But in this case, the helns cap will be closed with decorative lining.
Installation of mirror stretch ceilings
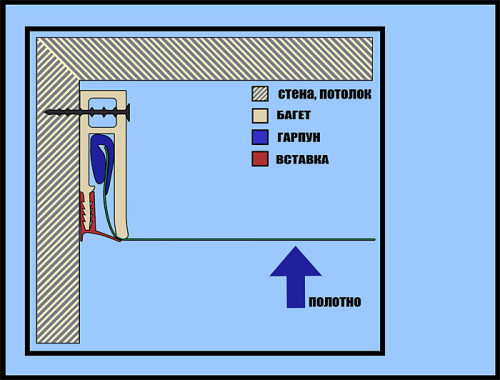
Stretch ceilings are a vinyl cloth with suture connections or without them. Installation of such a material is possible in the presence of special equipment. Fixing types There are several. It is gradually all the work on the example of the cam mount (this allows you to neglect the installation of the plinths) can be described as follows.
Important: With the vinyl web during installation and operation, you should be treated carefully, since even a small scratch can lead material in complete disrepair. In this case, the repair is not possible: it will be necessary to replace the canvas.
- On the perimeter of the bathroom room at a certain level fasten the baguette - profiled device equipped with spring cams.
- With the help of a heat gun, the laid-off vinyl canvas warmer to a temperature of 70 ° C. From this material becomes soft, elastic.
- With the help of a conventional spatula, the edge of the canvas, folded in half, is filled with a baguette cam. As a result, the vinyl canvas is securely attached to the ceiling.
- Work is performed throughout the perimeter, while the canvas should be evenly stretched.
- After the vinyl cools, the canvas stretches and forms a smooth and smooth surface.
ATTENTION: You should take care of the lighting device in advance and pave the cables. Installation of point luminaires is carried out using a special rings.
In conclusion, we suggest familiarizing yourself with the training video and a story about the technology of mounting mirror suspended ceilings


