Installing the profile under plasterboard Construction
The decoration of the room with plasterboard solves many problems. In particular, it is possible to align any surface in a short time. The component of the plasterboard design is a frame of galvanized profile. How to mount a profile under plasterboard and will be discussed in our article.
Preparatory stage
No special work on the preparation of the surface is not needed. The only thing you need to take care in advance is the future location of sockets, switches and furniture. This significantly affects the amount of acquired material.
The profile itself is produced from galvanized steel, which has sufficient strength. With this material, you can work without problems at different temperatures and humidity.
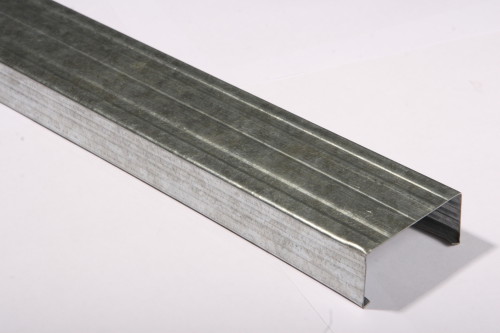
Acquisition of profiles is carried out based on the type of design being created. There are such varieties of material:
- rack
- guides;
- ceiling.
The racks have a special deepening in the center, due to which the maximum durability of the frame from the profile under drywall is reached and the exact location of the screws is determined.
Guide profiles have durable walls that have increased rigidity. When buying this material, the dimensions of the rack profiles are necessarily taken into account.
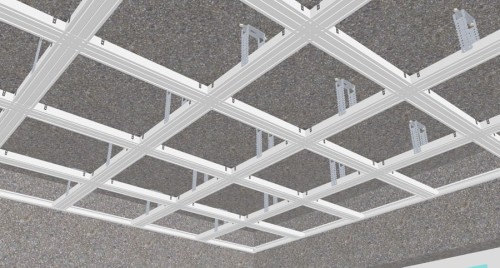
When finishing the ceiling acquired ceiling profiles. They have three grooves, due to which the most accurate fixation of the suspensions is achieved.
On the mounting step and the size of the load profile has a direct impact drywall, which will be subjected to a finishing material in the future. Fixation adjacent rack profiles is made at a distance of 0.6 m apart. If drywall is planned later oblitsevat ceramic tiles, the step is reduced to 0.4 m.
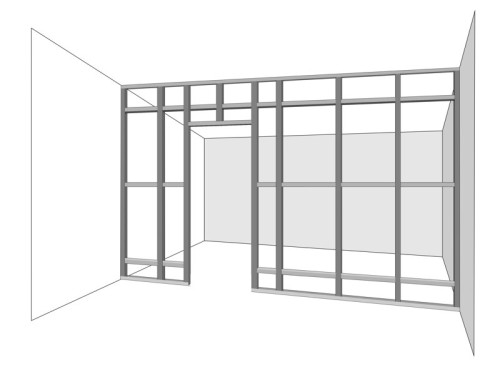
Also note that the availability of door and window openings require the creation of a separate crates. When the stack drywall seams must be free of openings in the corners, and the adjacent plates should come into contact at a part of the window or door.
Particular attention is paid to the acquisition of self-tapping screws. They should be light (paint coating). Black screws will oxidize.
Marking surface
Before you install the profile for gypsum board, it is necessary to hold the layout surface. To carry out this process should use:
- laser level;
- otbivochnogo cord;
- tape measure;
- marker.
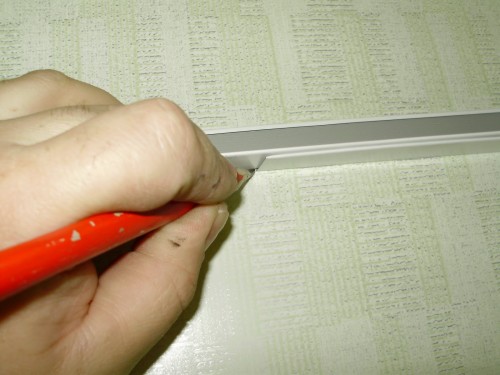
Once held the line, which serve as a guide to create a new plasterboard walls. In the presence of uneven walls is selected most projecting surface from which perpendicularly marked point. The distance between it and the wall is equal to the width of the profile, to which is added 2-3 mm.
Near one of the corners on the same distance from the wall is another mark. With otbivochnogo cord between the two marks are made on the lines of the ceiling, floor and walls. So determined location rack profiles.
Further there is a drawing of marks intended for direct attachment hangers. They range in increments of 0.4-0.5 m. Marked point positioned on the line of rack profile location. To prevent contact between the extreme hangers with guide profiles, they should be installed at a distance of 15-20 cm from the ceiling and floor.
From the correct installation of hangers will depend on the quality of mounting rack profiles. After the marking work can safely proceed to the installation of profiles for gypsum board.
Mounting profiles
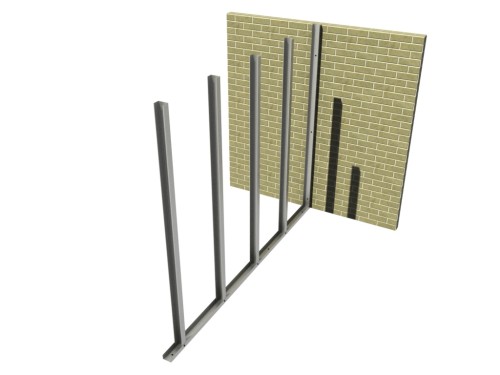
First assembled guide profiles. They are placed on the floor along the walls. The outer profile portion aligned with the scribe line. Fixing is carried out to the floor profiles. To do this, use dowels that are threaded with a pitch of 20-25 cm.
A similar procedure is carried out and on the ceiling. The ends of the guiding profiles are mounted butt. Moreover, the installation profile for gypsum board does not provide for the use of special fasteners. Simply screw plugs on the edges of the guide.
After that, you can start installing rack profiles. This process begins with the creation of the workpieces of the required size. The length of the rack profiles is equal to the distance from the ceiling to the floor, reduced by 3-4 mm.
When installing, with your own hands, the profile of plasterboard should be taken into account that the mounting of the first sheet of the trim is carried out to the wide side of the galvanized material. That is, the installation of profiles is carried out in such a way that the backs are located precisely in the place where the installation of plasterboard sheets begins.
The installation procedure itself implies the following actions:
- end of rack profiles are inserted into the guide profiles;
- they must be located in the vertical plane;
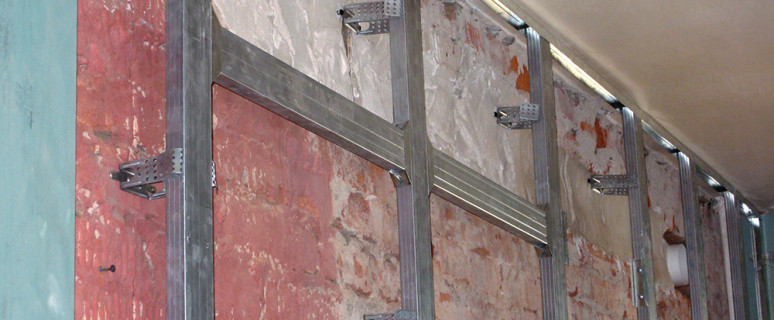
- along the line of profiles, the suspension is fastened;
- suspension tapes bend;
- with the help of screws to the suspensions, rack profiles are fixed;
- the protruding part of the suspension is cut or bends.
At the final stage of the installation of the profile under plasterboard on the walls, the framework of a frame structure in places is expected to increase the load on the trim material. For this, transverse profiles are mounted.
After measuring the distance between the rack profiles, the billets of transverse profiles occurs. In the implementation of this process on both sides of the profile, leave pieces of the back of the material up to 10 cm long. Cropped only two non-fragile parts of the profile.
The remaining part of the back will be fixed directly to the rack profile. Fastening is made using self-tapping screws. The back of the profile should be directed to the side where the first plasterboard sheet will be mounted.
With the standard width of the plasterboard sheet in 1.2 m, the step of installation of transverse profiles is 0.3-0.4 m. When mounting the frame for plasterboard, there should be no cross-shalters.
After creating a frame, the space between profiles is insulated (if necessary) and is trimmed with plasterboard.
Other Features Frame Device
Create a variety of designs from drywall. One of the most common designs is a two-level ceiling.
When assembling a frame for such a ceiling, a second layer of guide and rack profiles occurs. They are connected to the main profiles of the cross-like method. For this, P-shaped fasteners are used (they are called "pashchi").
When working with profiles, you can encounter such a problem as a device of internal and external corners. With a complete assembly of the metallic frame, the presence of an inner corner does not allow the installation of rack profiles on the adjacent wall.
In order to highlight the frame in the inner corner, it is necessary to secure an additional rack to the main rack profiles. The step of its mounting with self-draws is 25-30 cm. Both profiles should be located in the same plane.
For a device of an external angle, two adjacent profiles will not be connected. They are simply mounted on both sides of the angle. Fixation of rack profiles is carried out on the ceiling, wall and floor. What will significantly improve the reliability of the design.
In some cases, when erecting complex architectural elements (arches, openings, niches), you need to create a semicircular frame. This is done quite simple. With the help of scissors for metal in guide profiles, small wedges are cut out, which bent and folded around the circle.
Video on the installation of profiles under plasterboard:


