Wooden shelves on the wall alone Useful advice,Interior items
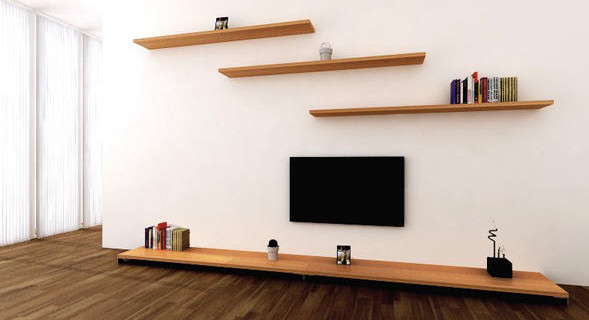
Wall shelves are a convenient and practical interior detail. If you like the spacious or want to fit the maximum number of things without sacrificing the precious quadrature, order and aesthetic, hang a wall wooden shelf. This is the most successful alternative to any closet and other outdoor furniture. The shelf can be bought in the store, but often truly stylish and high-quality products are expensive expensive. Therefore, we propose to take the situation under personal control and build neat and practical wood shelves with their own hands.
Content
Total moments
Minimalism in the interior recently, as it is not relevant, and therefore any designer will advise you to replace the bulky outdoor cabinet with several light wall shelves. They effectively save useful space and use - useless. An excellent example is the angular shelves. Many do not even suspect how much a free useful place is idle without affairs on the numerous corners of the apartment, but we will come back to this.
Wooden shelves on the wall are quite simple in performance, because with wood it is easy to work. Even the most elementary design can "refresh" the interior, and if you add a bit of fantasy to work, you can create a work of art. But before you go to the construction store for boards and fasteners, it is necessary to determine for what purposes you need a regiment and that it will be stored.
Permissible Load on Wooden Shelves
Depending on what you will put on the shelf, you need to choose the material for its manufacture, as well as the method of fastening to the wall. It is necessary to determine the maximum allowable load so that one day the regiment does not collapse with all its contents and a piece of wall. For example, the storage of preservation needs very strong shelves that need to be fixed in the wall. The wall at the same time should also be powerful, and not from any foam blocks.
From which the maximum allowable load depends:
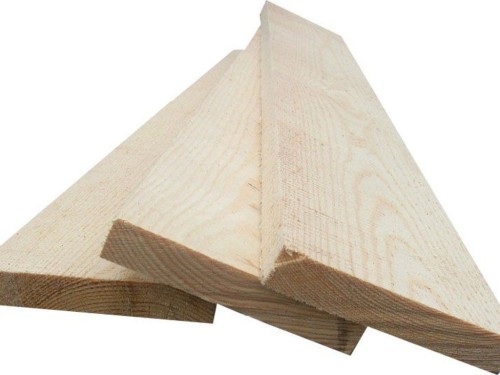
- The thickness of the board is the harder cargo, the thicker should be the boards from which you will build the shelves. At the same time, they should be as little bit as possible, as they have a direct effect on strength.
- Type of fastening - shelves to the wall can be mounted with steel brackets, bars or special furniture "ears". Brackets are used to fix the most heavy shelves with a large load. In second place there are bars fasteners installed on the edges of the boards. And the simplest fasteners for the "light" souvenir shelves - furniture "ears".
- The number of fasteners - from the distance between the points of the support depends the rigidity of the shelf fastening. It is clear that the longer the regiment, the more fasteners it should be. The optimal distance between them is about 50-60 cm. The number of fasteners and their species depend on what you will be stored on the shelf.
Selection of material and fastening for wooden shelves
Make a functional or decorative shelf on the wall is completely simple. It is worth discussing only some nuances regarding the choice of material and the fastening method. Thus, experts do not recommend using the connection of the wanks, since it is too thin material. If you need to disguise fasteners, take the billets from strong wood, for example, oak, nut or beech.
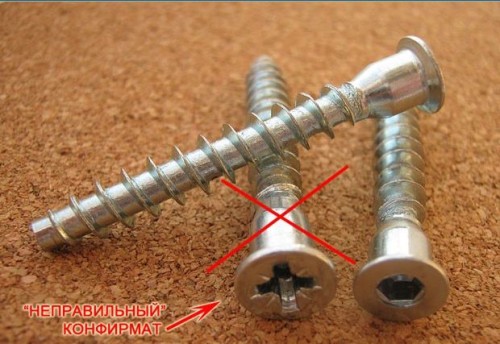
If you plan to build a chippers from chipboard, the optimal connection option will be furniture configmatics. When buying, please note that the fasteners should be for wood (there are configmatics for plastic and plumbing). If you buy unsuitable confirmates, for example, for plumbing, then such furniture quickly looses. It is very easy to distinguish the furniture configmatics - there is a nest for the hexagon in their head, and the set is decorative plugs in the wood. For comparison, sanitary confirmation nest under the Cross.
If you connect plywood parts configmatics, they will quickly cut down, since the furniture bolts are designed to work with a homogeneous material. Therefore, if you want to build plywood shelves, you collect them, inserting horizontal parts into the grooves selected on the sidewalls. To make them, you will need special carpentry tools.
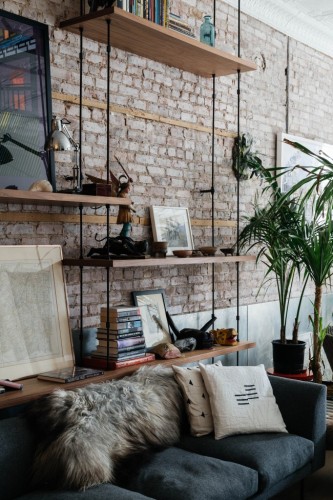
If the assembly of the shelf involves crossing the parts when the end is superimposed on the end, none of the above fasteners will fit. In this case, it is necessary during the design to trace so that the place above the end is free. High load shelves need to be strengthened with spacers or pins. As a tightening rod, a metal pipe or a steel bar with a diameter of 8 mm can be used, and the spacer itself can be made from a polypropylene tube of a suitable diameter. Such a regiment will be interesting to look in the interior in the style of high-tech or loft.
As for the fastening method directly to the wall, then many want to hang the shelf in cliffs from ribbons or on the ropes, which is not always appropriate, although it looks beautiful. It will be wrong with the installation of a loop under fasteners in the wall to the ends of horizontal parts, especially for plywood or chipboard. In this case, the longer there will be a self-sufficiency, the faster the shelf will slap. And at the end of all this, the front edge will inevitably be.
The hinged shelf must be designed so that the suspension loops are in the upper edges of the vertical links, on which the entire load. Professional furniture makers when creating wooden carved shelves on the wall, which do not have through horizontal connections, often do not follow this rule, however, thoroughly calculate the strength of the structure.
Corner shelves
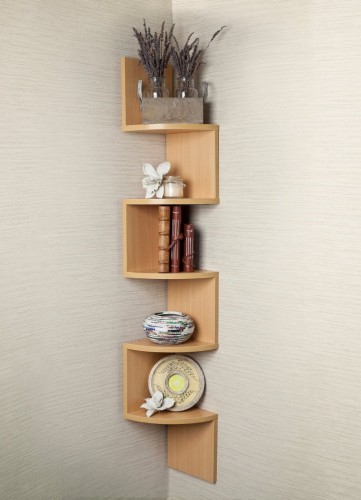
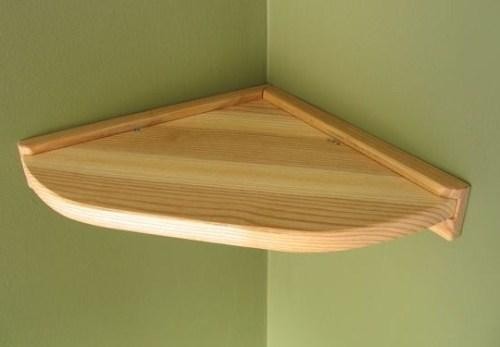
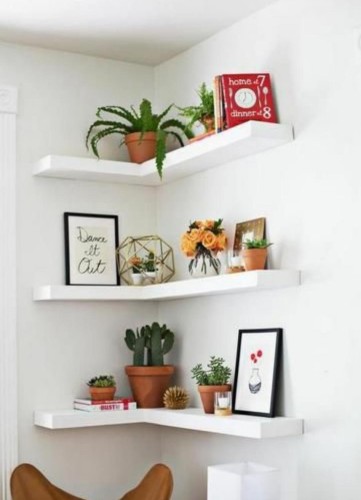
The angular wooden shelves on the wall for many become a real discovery, since they save incredibly much free space. If you use not only internal, but also the external corners of the rooms in the apartment, from the cumbersome furniture you can leave only the clothing cabinet!
In the case of internal angles, problems usually does not occur, since the horizontal plates make triangular shapes and are set according to the geometry. But with outdoor things are more complicated, since it is necessary to evenly distribute the load and at the same time make the shelf as strong as possible. Glass and metal shelves are perfectly coping with this, but angular wood products in case of incorrect design and installation can be moved.
So that this does not happen the outer edges of the horizontal parts are cut by the spike method in the sidewalls in the corners. The inner edges at the same time back to furniture corners or wooden lining. The remaining free edge of the shelves, which "looks" to the room is made by convex and rounded outward, to increase the useful area of \u200b\u200bthe shelf.
We make wooden shelves
If you do not have experience with wood, it is best to start with the manufacture of the simplest shelf of small sizes. From the materials you need a cutting wooden board with a length of 150 cm and 12-15 cm width. The thickness of the board, as you remember, depends on the maximum load on the shelf. For non-heavy items, for example, books of books and souvenirs will be enough 1.5-2 cm.
How to make a wooden decorative shelf on the wall:
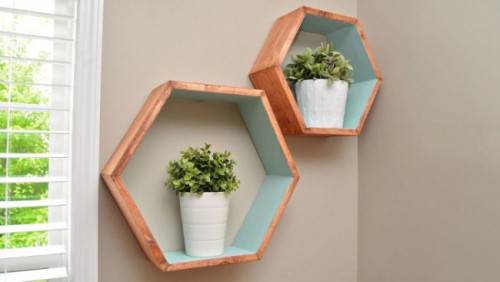
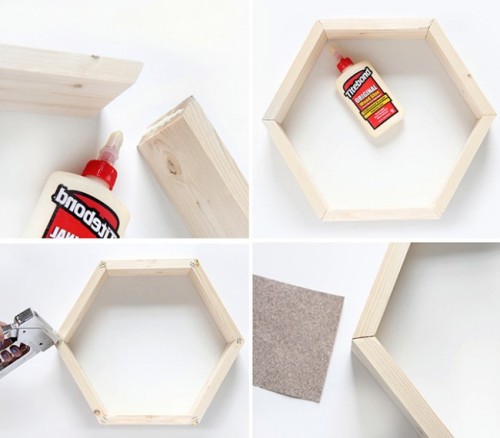
- Make a simple pencil mark on the board so as to divide it into 7 equal segments. Since the length is 150 cm, then each segment of 21.4 cm can be made or cut the board with 7 parts of 20 cm, then the extra piece will remain 10 cm. It can then be used as a stand under a hot kettle or pan.
- Split the board with a knife in accordance with the markup.
- Treat edges with sandpaper.
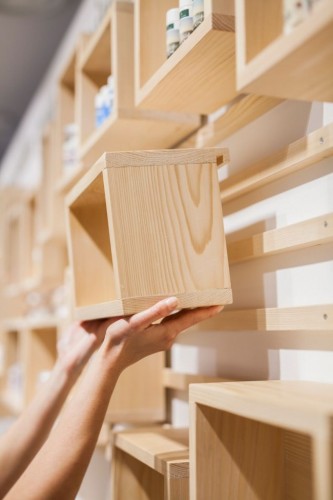
- Create details to each other to get "honeycomb". To do this, first attach them without fixing, make the holes of the drill, after which they already screw the screws. If you immediately screw the screws into the board, it will crack.
- Take fastenings to the resulting frame and hang the shelf on the wall.
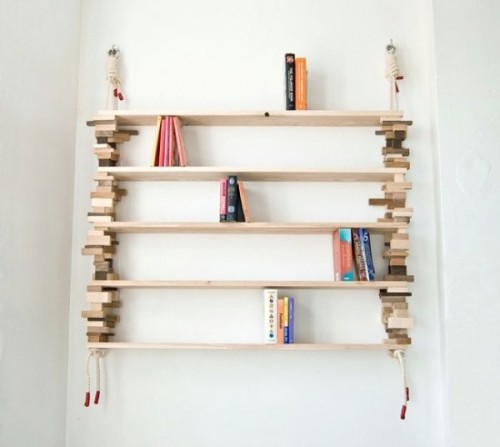
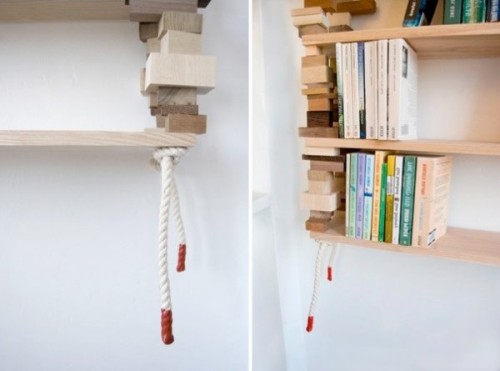
If you want to create something darkened and more comprehensive, we propose to pay attention to the creative bookshelf in the image below:
In fact, it is suitable for storing anything, but to post it in the cellar or storage room will be blasphemy, because such a shelf is able to decorate any interior. Moreover, unnecessary trimming of boards and pieces of rope will be used to create such furniture. You will need to purchase 5 furniture pine shields 90x20x2 cm. Pine is very soft and easy enough, so it's a pleasure to work with it. For fastening, 2 hooks with dowels and as many cable metal rings are needed (they are needed that the rope does not be bend and disappeared from above).
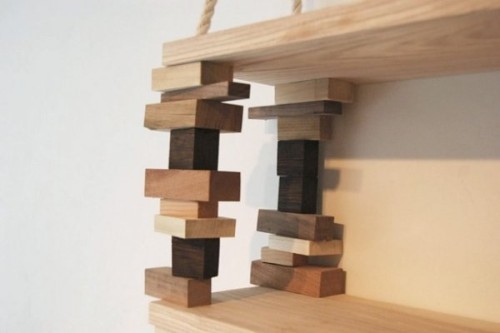
To work, you will need trimming of boards of different thickness, from different breeds and about 50x50 mm in size. They will perform a decorative and supporting function, forming the inter-stroke space of 22-25 cm high. To assemble the right and left side, use an equal amount of cropping so that it does not work out. It is recommended to pre-fold the columns on the floor without fastening and trace so that they come out equal height. It is possible to place trimming at the same time - the more chaotic, the more interesting.
Next prepare a rope segment for about 7 m and cut it into 4 pieces of equal length. In this case, the rope with a diameter of 10 mm was used. For decorating and preventing the ends, the ends were dipped into acrylic paint. Alternatively, they can simply be tied in a node or suspend some cargo.
Create a creative and functional shelf is very simple:
- Make marking with a simple pencil, indicating the dots for the holes on the furniture shields 6 cm from the edges. Between the holes, withstand a distance of 12-15 cm.
- Drill the holes on the markup with a diameter of a little less than the diameter of the screws.
- Each wooden trim is separated by 4 parts of an arbitrary length, but equal to height. Closer to the center of each quarter, make a hole of this diameter so that the rope passed through it. Cast trimming aside.
- In each shock, it is also necessary to make a hole with a diameter with the cable. Remember that the height of the inter-protein space should be the same on each side, so do not confuse wooden trimming during drilling. In the image of the finished shelf, it can be seen, but the dies are combined completely asymmetrically, but the height formed by them is completely identical on both sides.
- Tie the bottom corners on the ropes, after which, drive the lowest shelf, after which you can start the ripping of the dies of the interlocal space. In this case, the 10 groups of 4 drilled parts were selected, they were broken into 4 groups, in each group, the parts were mixed and chaotically ride them to the ropes. As a result, the height is preserved the same.
- Next, repeat this script for the rest of the shelves and over the mostst of the latest knots, so that they have frightened and cleaned the entire design.
- It remains only to hang the shelf. In this matter, the most important tool will be a construction level - it is necessary to adjust the height. Relying on only visual adjustment in this case is not worth it, as chaotic arranged inter-stalls will shoot down "sight" and disorient.
As you can see, make it easy to make a wall shelf with your own hands. At the same time, execution options can be as you like. The most important thing in construction is to remember the maximum permissible load and methods of fastening. Such simple technical moments will help you create any designs.
Decoration is also an important part of construction. There are many ways to decorate wooden products, ranging from elementary monophonic painting, ending with artistic painting and mosaic. The newly popular decoupage technique will make it possible to make the shelves under the old days, and the use of furniture moldings and carved parts harmoniously will give the shelf to the interior.
Wooden shelves on the wall do it yourself: photo
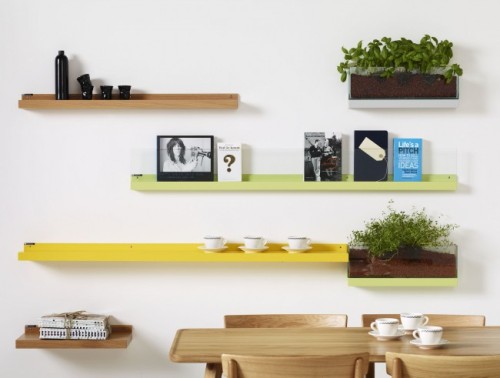
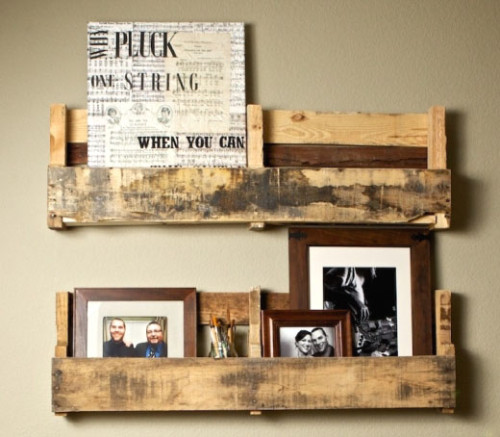
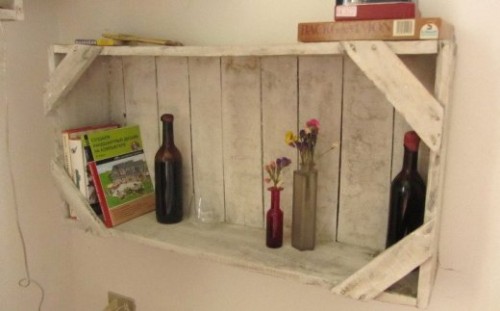
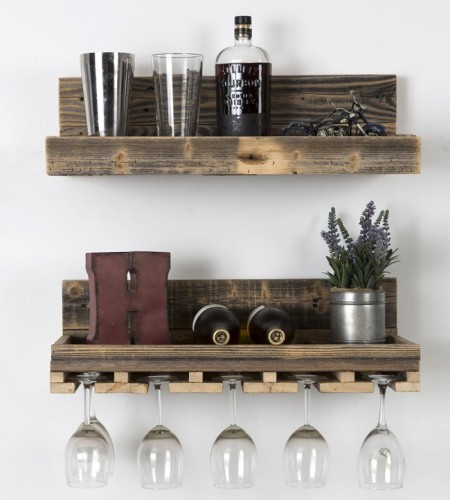
Finally, we suggest you familiarize yourself with a small selection of photos of wooden shelves on the wall of different types.
Good news for those who want to acquire original furniture, but at the same time not to lay out astronomical amounts for it and not spend a lot of time - wooden shelves from pallets:


