Install fans for drawing in the bathroom with your own hands Useful advice
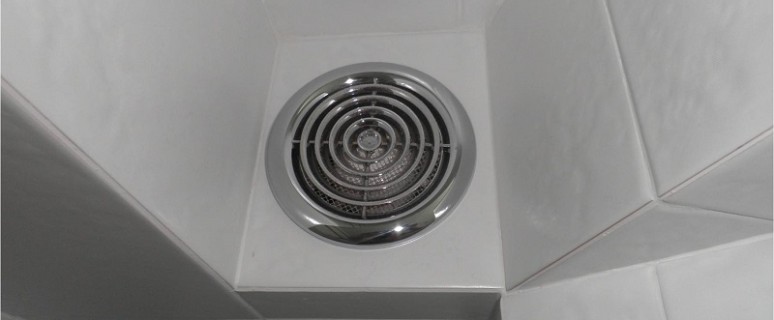
The fans for drawing in the bathroom are necessary to remove excess moisture that promotes the spread of mold. In addition, indoors will not be felt by unpleasant odors. In this article you will find information on how to choose and install the fan.
Content
Hood in the bathroom: fans, their sizes, power and other parameters. Tips for choosing
Electrical appliances are classified according to the following characteristics.
- Diameter: The performance of the fan depends on it. The larger the diameter - the greater the amount of wet air can be removed. It must be borne in mind that warm air will be substituted with cold. In the event that the device is equipped with a check valve, cold air, and there will be no extraneous odors to the room. In a simpler design, the valve replaces the blinds that open and close manually.
- Availability of additional features: You can choose a fan with shutters for drawing in the bathroom, there are also fans for drawing in the bathroom with a timer. Thanks to him, the wet air will be removed even when no one uses the bathroom. A hood can be automated: the fan with a bathroom with a humidity sensor will be included under certain conditions.
- An important parameter for which the fans are chosen to the bathroom - power. Through the device should be at least 100 m³ per hour.
- Noise: Fans for drawing in the bathroom silent are equipped with aerodynamic impeller, rubber vibrating inserts for absorbing the engine vibration and engines with bearings.
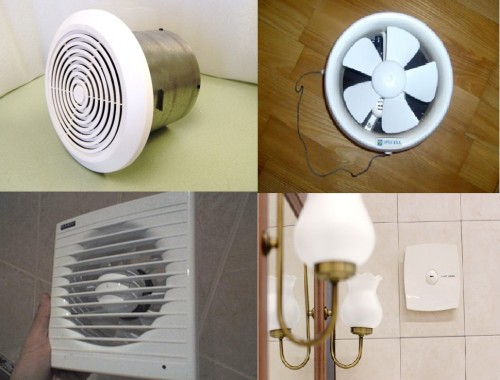
Fans for drawing different designs. There are the following modifications.
- Axis fan for drawing in the bathroom. His advantage - in a small weight and simplicity of installation. Differs high efficiency, but also noise.
- Radial: characterized by economy and low noise, as well as the ability to withstand significant loads.
- Centrifugal: the most suitable fans for the exhaust in the bathroom, the dimensions of which are quite spacious. They have a high power and therefore are not installed in the apartments.
Tip: For the bathroom, the exhaust fan is enough if the supply ventilation works fine. It is recommended to choose low noise models (up to 26 decibels) with humidity protection not lower than IP 34.
How mounted extract with a fan in the bathroom: step by step instructions
To work, you will need the following set of tools and materials:
- perforator;
- bulgarian (for strokes of walls);
- dowel-nails or self-tapping screws with plastic fillers;
- voltage indicator;
- screwdriwer set;
- terminal connector;
- cable electric GDP 2 × 1.5 or similar.
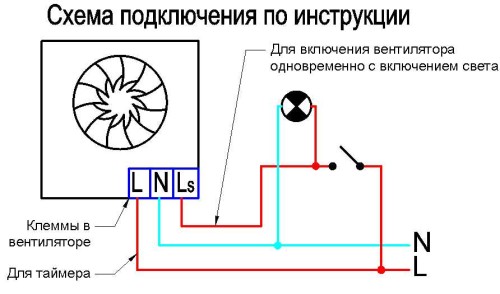
You must select the optimal connection scheme. In practice, one of two options can be implemented:
- connecting the fan together with the light source;
- independent connection.
The first option implies the attachment of one of the fan wires to "zero" in the junction box or in the lamp terminal. The second wire is attached to the "phase" passing through the light source switch. This can be done either directly in the switch itself, or also in the terminal block of the lamp.
The second version of the fan connection assumes the laying of the line from the distribution box to a separate switch and then to the electrospode.
The concept of electrical connection scheme can be specified in the accompanying documents or on the package.
Important: In order for the bathroom to be effectively ventilated, there should be a clearance of at least 20 mm between the entrance door and the floor. At the bottom of the door can be installed a special ventilation grille. This will provide the influx of fresh air and proper air exchange.
The sequence of actions when installing the fan is as follows.
- To connect the device through a separate switch using a perforator and a grinder, a shock is prepared in two directions: from the junction box to the location of the switch and the fan. If you can hide cables under a suspended ceiling - use this method.
- In the junction box, the phase and zero wire is determined using the indicator.
- The opening of the ventilation channel is prepared: a sleeve of a plastic pipe or a metal corrugation is inserted into it, suitable by diameter to the size of the device. Calculate the sleeve can be used with alabastra and cement-sandy solution.
- Painted cables in the strokes. Near the junction box and near the fan leave the mounting stock.
- The corresponding branch of a home power grid is de-energized.
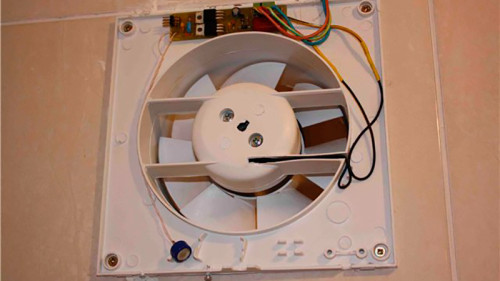
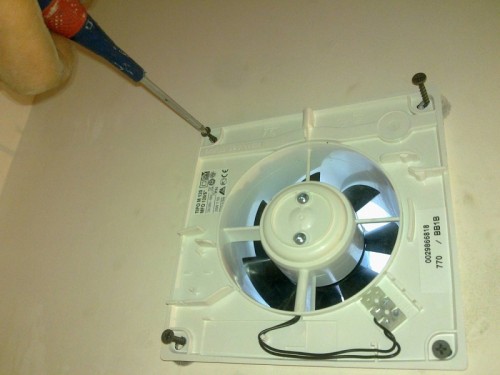
- The fan cover is removed, for which it is necessary to unscrew the screw in the upper or lower part of the electrical appliance.
- The wires are joined to the terminal contacts. The polarity does not matter.
- To zero wire in the junction box, any of the wires attached to the fan terminal can be connected. The wire for powering the device connected to the phase must pass through the circuit breaker contacts.
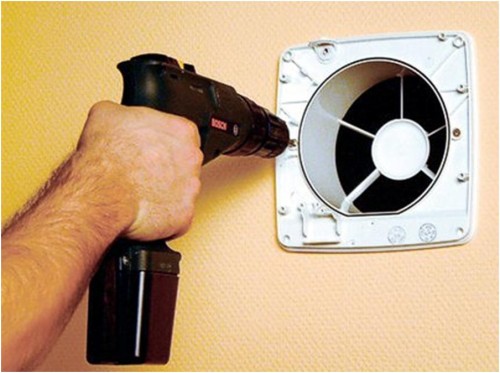
- Through the holes of the case, marks on the wall at the place of attachment of the electrical appliance are made.
- Using the perforator, drill holes for fillers and screws.
- Fold the fan, cover the lid. Check the device performance.
Tip: Fasten the fan body to the tile is best with silicone. As long as it freezes, temporarily fix the electrical appliance with plasticine or tape.
On some nuances of fans fan and how to solve the problem can be found by reading the video.


