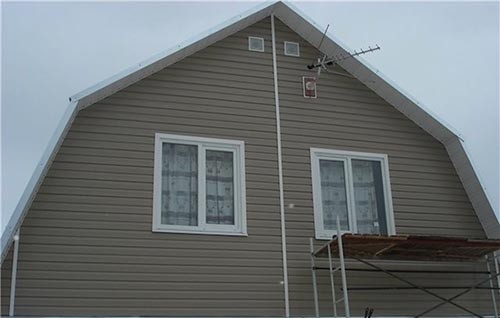
Wooden Fronton: Installation Instructions Construction
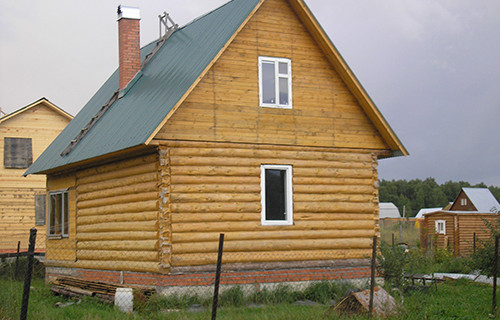
The self-taught builders first engaged in the construction of housing, all persistently interested in the technology of creating wooden frontoths with their own hands. In most cases, this element is not paying enough attention and, as practice shows, very in vain. The fronton at home performs important practical and aesthetic functions, and make it high quality completely simple. After reading this article, you will learn how to make a wooden frontoth.
Content
Characteristics of Fronton
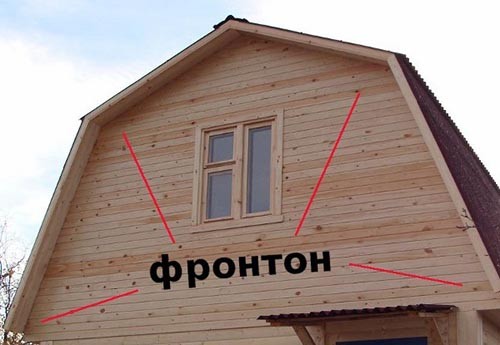
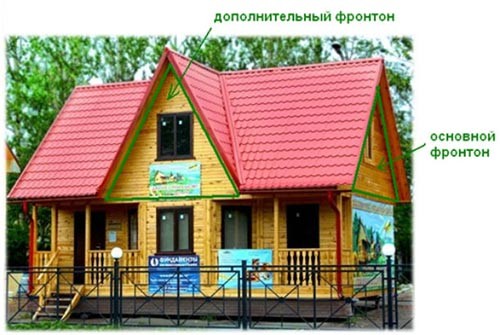
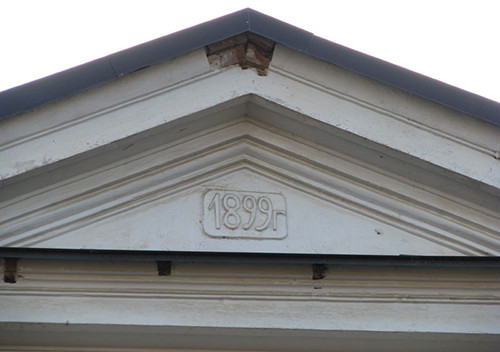
The frontton is called the end detail of the roof, which is formed roofing raids. Depending on the design of roofing rods, there may be two or more. The main purpose of the front is to protect the underproductive space from the penetration of the wind and moisture. However, if it should be inspired, it will become much more comfortable in the house, and the heating bills will noticeably decrease. As you know, through the roof the most heat leaves, so the isolation of all its elements will help create a cozy microclimate not only in the attic or attic, but also on the lower floors.
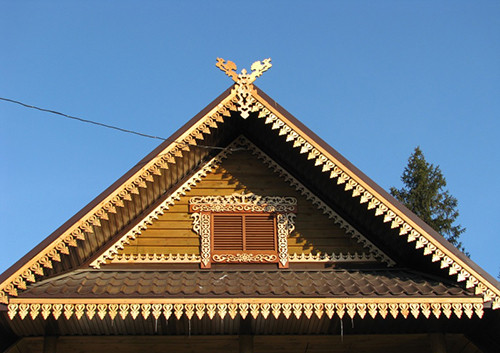
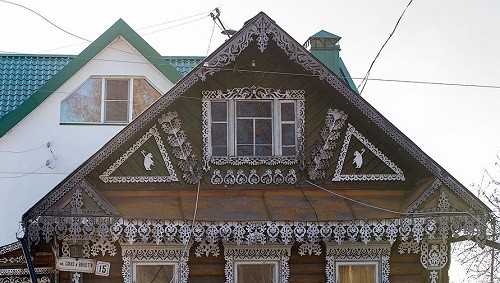
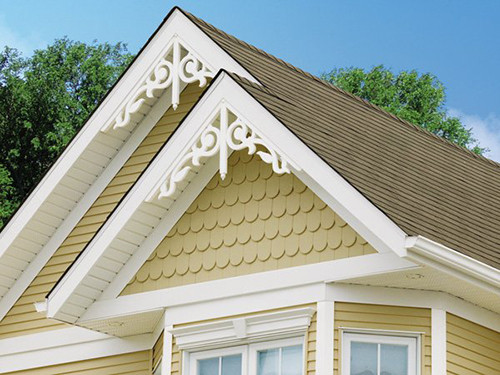
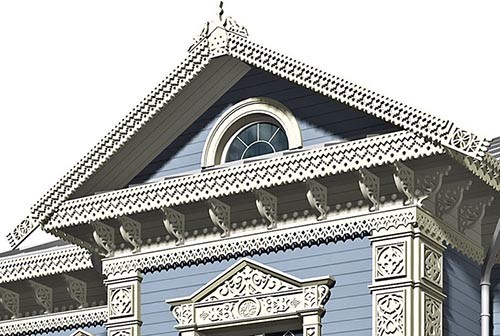
But protective functions assignment of the fronton is not limited. It gives the building a complete view, and if you add a little imagination when designing, you can get an original design adorning the house.
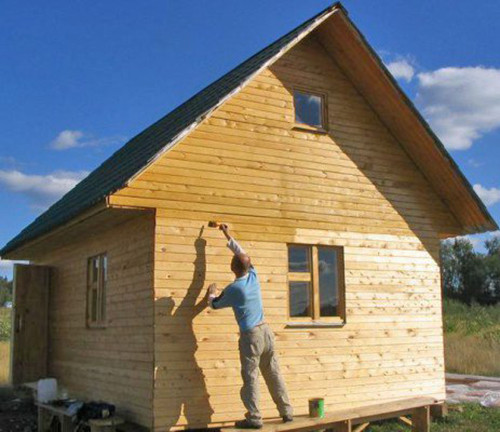
For the manufacture of the front, you can use a variety of materials, and at the same time they may differ from those that went to the construction of the walls. That is why wood in this regard enjoys unworthy popularity - wooden frontoth will look great and in a wooden, and in a brick, and in a concrete house.
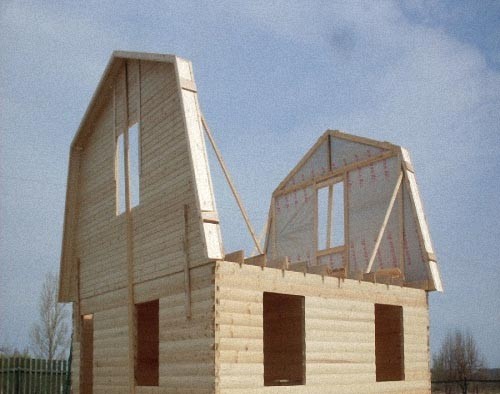
There are two ways to build a footprint of a wooden house: before the construction of the rods themselves and after. Each methodology has its advantages and disadvantages that we will touch a little later.
Types of Frontton
Depending on the design features, the appearance and operational characteristics distinguish several varieties of frontones.
What are the frontones:
- Kelid - used mainly in Old Russian architecture. How can you understand from the name, reminds the keel of the ship in an inverted form.
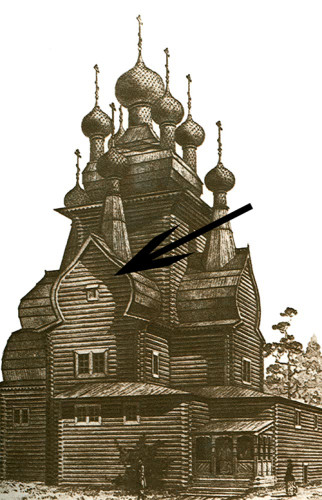
- Little - fronton in the form of an arc, which resembles a taut bow. If you increase the circle segment, the design will become a circular.

- Interrupted - a design equipped with a horizontal eaves, which is interrupted by the window, door, balcony or other element. If the eaves are practically no, and the frontoth relies, for example, only a couple of columns, then it is called semi-roton. If the eaves are not at all, then such a footton is called a tongs, in the gothic architecture it has a vellow. They make them very rarely because of the high difficulty of work.
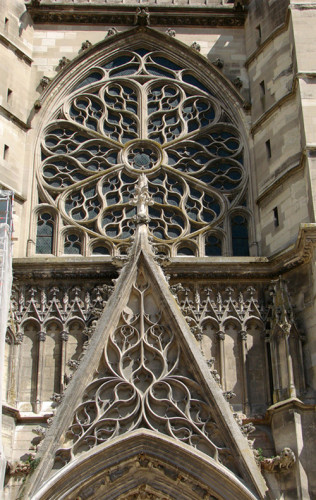
- The torn is a fronton, which does not converge at the top as usual, but leaves between the upper ends of the roofing rods free space for some decorative element, for example, bust, decoration, vases, etc.
- Rejected - design with low-spirits - protruding the elements. Allows you to get the original and bulk design.
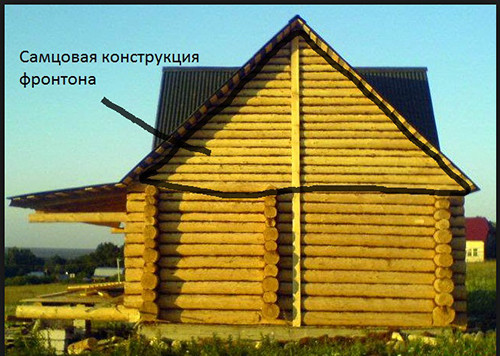
- Samtaya - the roof element built from wooden logs and being the continuation of the wet wall.
- Stage - design in the form of steps, which decrease in the distance from the bottom-up.

- Trapezoidal.
- Triangular.
Looking at this list, it can be seen that not every type of frontoths can be made of wood, but also suitable options enough to build an original and beautiful house.
Whatever the model you have taken as a basis, it is important that the frontone performs its main functions:
- protection of an attic or mansard room from wind and moisture;
- preservation of heat;
- providing additional roofing hardness;
- aesthetic aspect.
Features of the device
Regardless of the timing of execution and the selected type, the construction of the fronter requires special attention. Usually everyone focuses on the warming and strengthening of the roof rods, and the fronton do it. As a result, all efforts to isolation of the roof are reduced to no, because through the frontton goes warm and penetrates dampness.
If you are going to build a fronton before laying the roof, there is a risk that it will roll, because the designs are not for what will rely on in the case of a strong wind. It is also a great probability to be mistaken in the geometry of the fronton, but to eliminate them then very long, troublesome and expensive. This is especially dangerous if the walls of the fronter serve as the basis for laying the transverse beams of the roof. Building the fronton to the roof, it is necessary to strengthen it in the process of all possible ways. This requires constant attention and caution, so the beginners can advise not to burden themselves with additional difficulties and build a fronton in the house with the roof.
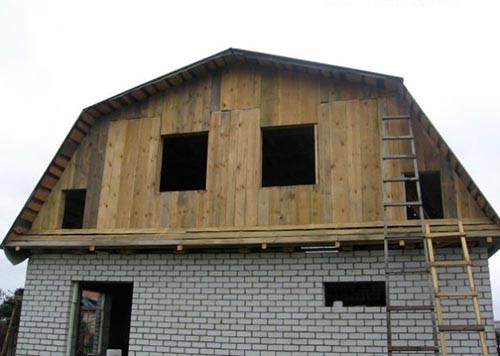
The design of the roof, as well as the angle of inclination of its slopes, determine the geometry of the finalon - oval, triangle, a trapezium or more complex forms. Its height can vary from 70 cm to 1 m, if you are planning a non-residential attic. If you want to do an extra bedroom under the roof, a room for guests or an office, the height of the ceiling, and, consequently, the front should be raised to 2.5 m or higher. But it is possible to use the underproductive space as a residential to the ceiling height of 1.5-2 m, especially if there are low people in the house.
The technology of construction of the front line also depends on whether it will be a continuation of the end wall or an independent element. If you build an autonomous fronton, then between it and the carrier wall should be laid waterproofing, set the flows and the visor.
IMPORTANT: Over the fronton must be performed overhangs, which will protect the surface from rain and snow. The width of the sink is determined individually for each case.
Pay attention to the material from which the bearing walls and the foundation of the house are built. Because the wood is rather heavy, and the dimensions of the front can be quite large, then additional load will be provided on the supporting structures. As for the frontones themselves, they are not exposed to any loads, except windows. For this reason, one should not be placed in the front of the windows and doors, if it is located on the part where strong winds often blow.
Montage of Fronton
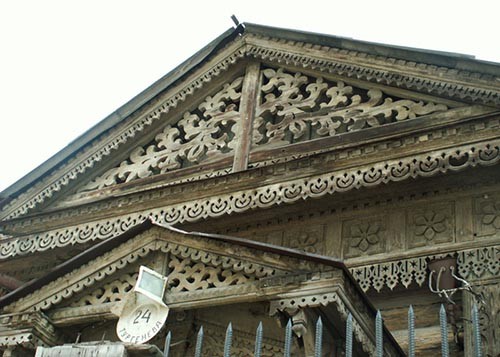
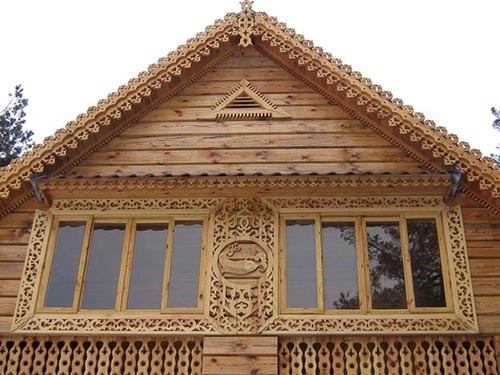
The construction of the front of a wooden house should be started on paper, that is, with the design. Determine its design in accordance with the geometry of the roof, the number of skates and the level of their slope. Think whether the decorations on the design will be present than it can be supplemented or sewing. If you know how to use the jigsaw, it makes sense to consider the option of performing a carved wooden fronton. At the end of the article you will find several beautiful examples.
The order of work depends on several factors. First, if you plan to strengthen one side of the building as much as possible, because strong winds constantly blow in your area, the fronton must be built before mounting rafters. This will allow you to use it in the future as a support for setting overlap beams. Secondly, the more the roofs will be, the stronger the wind load rendered to the frontoth.
If you are afraid to make mistakes when installing, build a frontone after laying a rafting roofing system. So you can observe the symmetry of the corners and prevent distortions. The roofing fell will serve as a limiter in the construction of forcec walls. If you use a lightweight form of a fine bar, plywood or ondulin, as much as possible attach the fronton to the rafting beams.
Progress:
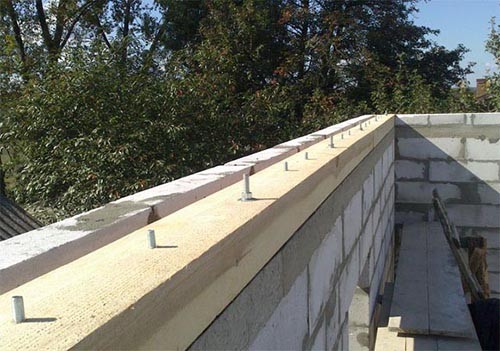
- Attach the bars of Maurolat to the upper parts of the end walls. To do this, you will need a timing segment of 150x150. Place the Mauerlat on the waterproofing layer, planting it on special studs, which should be pre-lay in the upper parts and pour them with concrete.
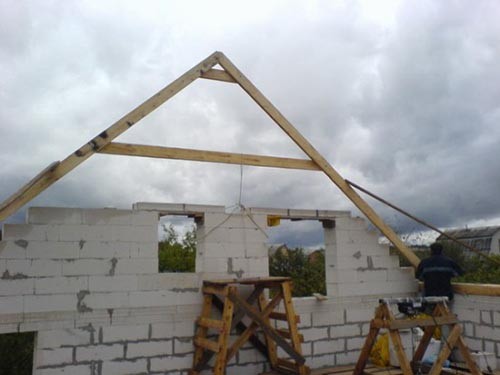
- In the center of each of the BRUSEV Mauerlat, set on one vertical board with a length of 2.5-3 m. After installing the front, these boards will be removed, so they are not necessary too much.
- Stretch cords from the top end of the board to the corners of the walls.
- Focusing strictly for stretched cords, install the boards and secure them between themselves in the top of the resulting triangle with steel brackets. At the bottom, attach the boards to the reference brusade with long nails or building studs.
- To increase the stiffness of the structure and its ability to resist wind loads, overcoat the lateral front-distance elements to the long board so that it turns out a big letter "A".
- Sweep the resulting triangular plane board. This is the easiest and most convenient way of erection of the fronton, as it allows you to get a design with precisely set parameters.
- If you want to get a warm and dry manner, before sewing all the boards, launch insulating materials. So, first, the surface should be closed with a layer of vaporizolation, which will prevent the penetration of condensate injecting the walls. At the same time, between vapor barrier and the inner surface of the front, you should leave the ventilation gap in a couple of centimeters so that the condensate can evaporate. At the vaporizolation attach the insulation. It can be a foam, extruded polystyrene foam or inexpensive mineral wool. To protect the insulation from wetting, close it with a layer of waterproofing film. The most common construction polyethylene film with a thickness of 200 microns is suitable.
Facing Fronton
The frontoth of the tree looks very beautiful and allows you to harmoniously enter the house into the natural landscape, but the durability of such an element is strongly confused. Due to the constant susceptibility to the wind, moisture, heat and cold, the direct sunlight, the fronton quickly loses its initial appearance and protective characteristics. Special impregnations and transparent weatherproof varnishes allow you to slightly extend the service life of the fronton, but the result remains the same. In addition, the coating will have to update every year. In order not to burden yourself with the troubles, many homeowners prefer to sow wooden frontones durable and unresponsible to changeable weather with materials.
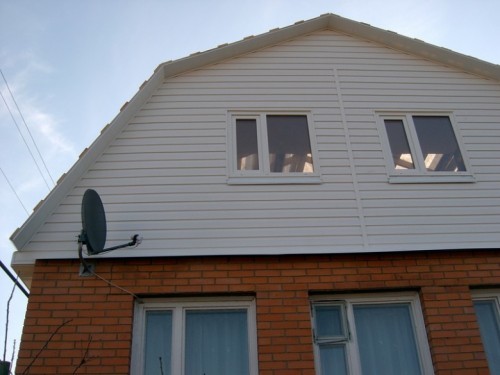
Recently, vinyl siding is very popular. It is good not only with its high insulating characteristics, ease of installation and durability, but also a wide choice of colors and textures. If you want to save the natural beauty of wood, select siding, repeating the texture of wooden boards. Also, professional flooring, plastic and other materials are used to cover the frontones.
Regardless of the material selected, preliminary calculations should be made:
- To determine the area of \u200b\u200bFronton, you will have to remember the school program. To find the triangle area, the height must be multiplied by ½ base length. If in your case the frontton has a complex geometry, and you do not know how to find its area, everything is very simple - conventionally divide the surface into several simple figures (triangle, trapezium, square) and find the area of \u200b\u200beach of them. When with the calculation of the surface of the front, it remains only to find out the area of \u200b\u200bone element of the facing material and compare these two values. Divide the front area on the element area, and find out how many facing you will need. At the same time, always buy finishing material with a small reserve of 15% of the total - in case of repair.
- To attach a facing material, it is necessary to establish a clash of wooden bars about 3x3 cm. You can also use an aluminum profile (the same profiles are used for works with drywall). The last option is more reliable and durable, but at the same time more expensive. Under the crate you can lay the insulation and other insulating layers.
- Install the pricing drainage panel. To do this, put the sheet metal tile under the steel corner and secure the latter with the help of screws. Adjust the leaf a little further along the edge of the front and secure the second corner of the Vansel to the first. Repeat this procedure until you reach the edge of the front. Of course, you can fix the drainage at the same time with the corner, but then it will not be very convenient to stoke the surface.
- After these works, you can start facing siding, professional flooring or other selected material. The nature of the work in each case depends on the cladding. Learn more about the features of siding mounting can be in the article " Singing balcony siding" Regardless of the selected material, stick to the same rule: lay the details of the plating so that their edges "watched" down, otherwise water flowing from the roof will delay on the surface.
Fill the device of wooden frontones and the technology of their construction, if you wish for everyone. If you coped with the construction of a whole home and roof, then make the frontoth will not be difficult.


