Installation instructions for plastic ceiling panels Ceilings

The ceiling made of plastic ceiling panels is one of the options for suspended ceilings. Such ceilings are usually mounted in the bathrooms, corridors and in the kitchen.
Content
The room decorated with plastic ceiling looks not very cozy. The ceiling plastic panels in the bedroom is undesirable. As if manufacturers did not approve that the material is absolutely harmless, the ceiling decoration by plastic premises in which you are for a long time - not the best option. In addition, if the length of the room is more than 3 meters - you have to go to the panel, and it looks ugly.
How to choose the necessary materials
Selection of plastic panels for ceiling
For trimming ceilings, panels of light tones are usually used.
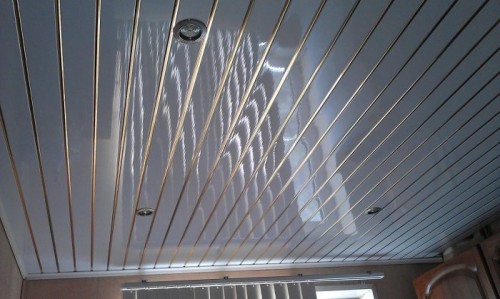
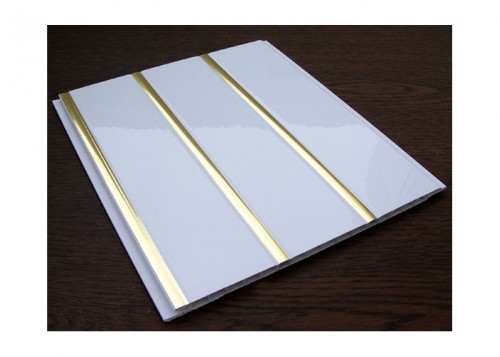
On sale there are panels with a coloring, imitating the cutting ceiling. According to the cost of the ceiling panel, plastic is much cheaper than aluminum rails for finishing the ceiling, and it is sometimes difficult to distinguish a plastic ceiling from aluminum rush.
Such panels have standard dimensions - width 240 mm, length 3000 mm.
In the photo - plastic panels, imitating the cutting ceiling.
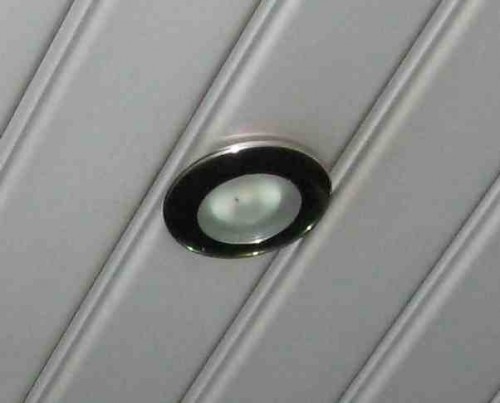
 The advantages of the ceiling finishes with plastic panels are the speed of installation. The ceiling does not need to align plastering mixtures. The ability to insert in the suspended ceiling point lights allows you to create a cozy room lighting. The ceiling plastic panels are available for the repair of economy class.
Catching materials
You will need:
- panels
- aluminum profile
- suspension
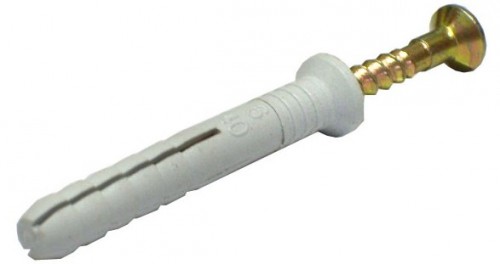
- dowel
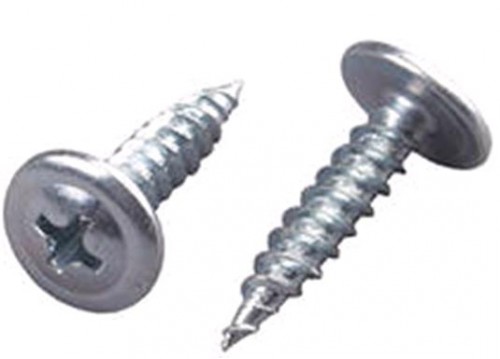
- galvanized screws with press washer
- ceiling plinth
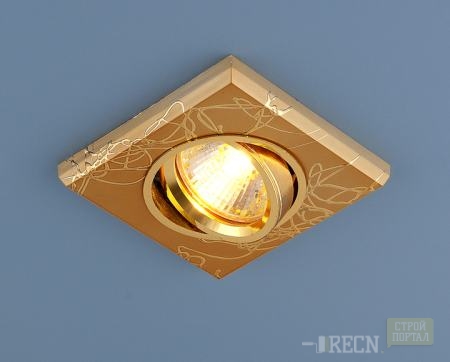
- lamps
- cable for electrics
• Standard panels have a width of 24 cm and a length of 2.7 m or 3 m. Divide the width of the room to the width of the panel. When planning the ceiling finishes in two rooms, calculate - how it is more profitable to mount the panels so that trimming can be used in the toilet or on the balcony.
Buy panels intended for the ceilings. Wall panels are stronger and harder by weight. Strength for ceiling panels is not required, but excess weight will create an excessive load on the ceiling frame.
• To mount the panels you will need an aluminum profile. It is allowed to fasten the ceiling plastic panels on a peel of a wooden bar, but in wet rooms it is better to use a profile. The bar with time is deformed from humidity and the panel can turn.
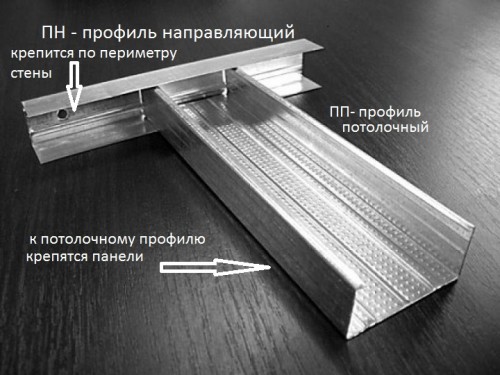
On the perimeter of the room, a guide P-shaped profile is mounted with a cross section of 27-28 mm. It has a labeling of Mon, or the labeling of the PNP - the ceiling guide profile.
To figure out which profile for what purposes does it serve, consider the photo. The number of guide profile is easy to calculate. The profile is produced in a length of 3 m. The perimeter of the room is divided by 3 and round up to an integer.
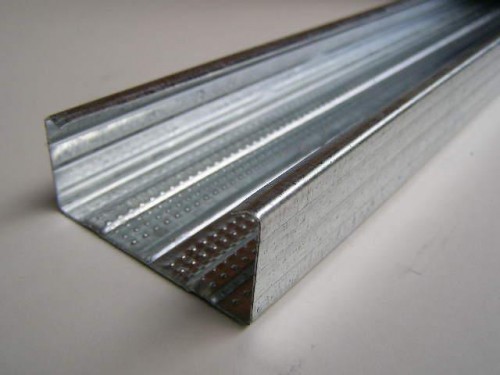
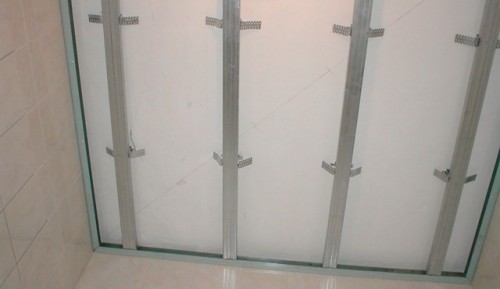
To form a framework, you will need a ceiling profile - PP. This profile is installed perpendicular to the panels every 60 cm. Based on the width of the room, you can calculate how much the ceiling profile is needed.
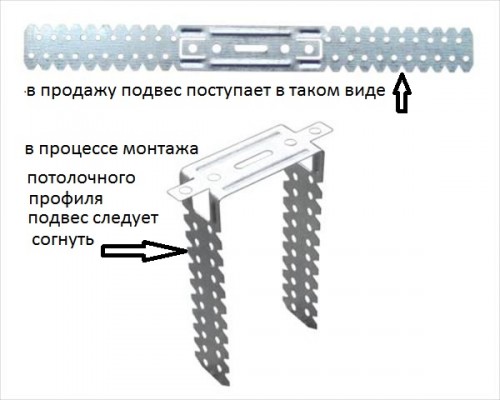
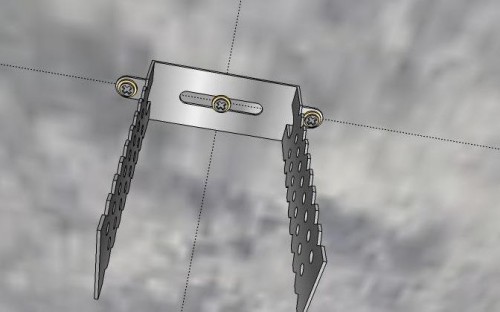
• For fastening the ceiling profile, suspensions are needed.
The suspensions are attached at a distance from the wall - 30- cm, then after 60 cm. Based on the length of the profile, calculate how much suspensions need for each profile.
• Dowels are used to fasten the guide profile to the wall and suspensions to the ceiling. The profile on the dowel is attached at the corners and further - after 20-30 cm. For each suspension, no less than two dowels are required. Do not try to calculate the exact number of dowel-nails. Take with a reserve - a dowel nails will always be useful for subsequent repairs, so it's not scary if two or three dozen remain unnecessary.
• To mount the panels to the frame and connecting the guide and ceiling profiles, they will need galvanized self-tapping screws - press-washer 4.2x16mm. The price of selflessness is small - buying pieces 150-200.
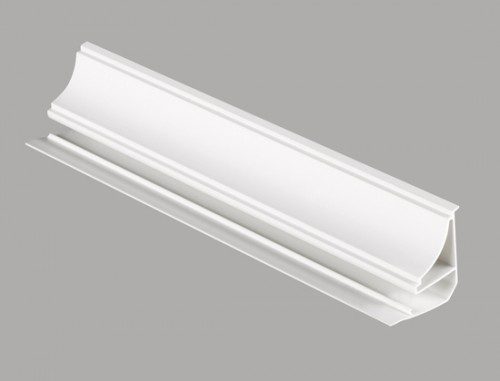
• The ceiling plinth for plastic panels is used two species - PVC plinth or conventional polyurethane. PVC plinth is installed before the installation of panels. If the walls are indoors are uneven - it is better to close the joint between the wall and the suspended ceiling by polyurethane plinth.
PVC plinth overlaps the gap between the wall and the ceiling, and simultaneously serves to mount plastic panels.
Ceiling plinth is mounted around the perimeter of the room. The amount of plinth is easy to calculate, dividing the perimeter of the room on the length of the plinth and rounded the resulting value.
• Purchase the required number of fixtures and an electrical cable to connect them.
When installing panels on a wooden cut, you will need a bar, rails and brackets for mounting panels.
How to install plastic ceiling panels
Instruments
- level
- pencil or marker
- roulette
- perforator
- scissors for metal
- scrupovyurt
- hacksaw or Lobzik
- drill with crown
- construction or Stationery Knife
Operating procedure
• In the perimeter of the room with a hydroelectric system (water level), mark the horizontal line. You can use a regular construction level, but the hydroelective gives less error. Make sure that there are no air bubbles in the connecting hose. The easiest way to make marks using a laser level, but the laser level is an expensive tool and not at all domestic wizard it is in stock.
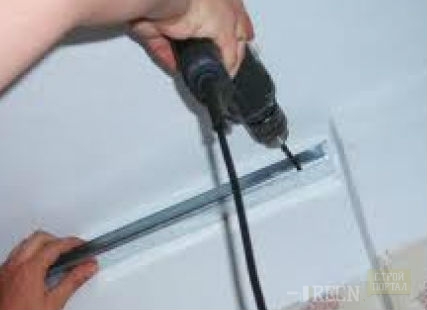
• Fasten the guide profile. The profile is attached to a dowel in a distance of 30-50 cm. Cut a profile in length. The profile can be cut with a grinder, but it is well cut off with scissors for metal. Bulgarian may turn out faster, but it is easier for scissors.
Perforator with a drill on concrete Make holes in the wall. Secure the profile of dowels.
• Fasten the suspensions for the ceiling profile. The suspensions are necessary for reliable fastening of the frame to the ceiling and to adjust the level by which the profile will be mounted.
• Secure PVC plinth profile to the guide profile.
• Install the ceiling profile to which you will mount panels. The PP profile is attached to the suspension and to the profile of Mon Self-storms with a press washer. The ceiling profile is attached perpendicular to the direction of plastic panels.
• When using PVC plinth, secure the plinth by self-pressing to the guide profile around the perimeter of the room. In the corners, the plinth is cut at an angle of 45 °.
• Output electrical cable for mounting lamps.
• Circle panels in length. The panel is trimmed with a metal or electric jigsaw.
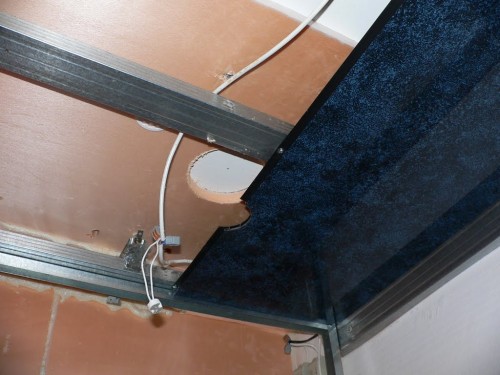
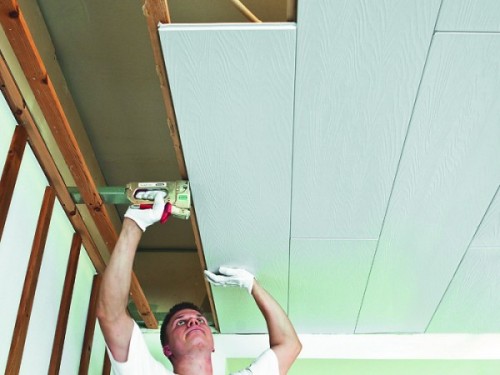
• Start the edge of the panel in the skirting groove. Secure the shelf panel with self-draws to the ceiling profile. The next panel is inserted into the grooves of the previous one and is fixed with self-pressing similar to the first. In the photo - installation of panels without plinth PVC, the hole is cut on the edge of the panel under the luminaire.
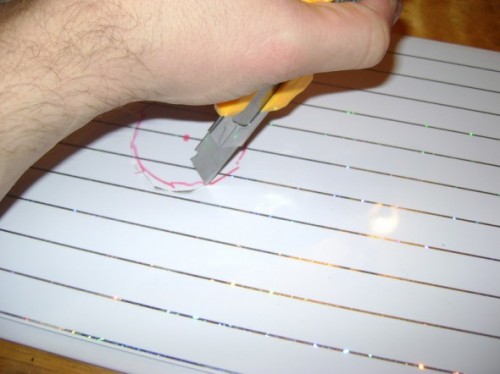
• Holes for luminaires are cut to mounting the panel with a drill with a crown or knife.
• When installing the last panel cut it in width.
• Install and plug the lamps. Luminaires are connected in parallel.
• With liquid nails, glue polyurethane plinth, if the PVC plinth is not used.
• When installing the panels on a wooden doomle, the principle of work order is the same. The panel is attached to the bar or racks using a bracket.
Answers to frequently arising questions
How to place a stream level - right, or beautiful?
When installing plastic ceiling panels, it is important to install a suspended ceiling exactly throughout the plane. It happens that the tile that the walls are faced incorrectly. It turns out if the ceiling is fixed strictly in terms of the level - the error of laying tiles will be noticeable. It is permissible to fix the ceiling parallel to the last seam of tiles. He does not turn much, but it will not be visually noticeable that the tile is not quite exactly.
How to fix the last panel?
The last panel is not fastened with self-drawers, it is inserted into the groove of the previous panel and in the PVC PLINT chain or guide profile. Due to the low weight, the panel is firmly held in its position.
How to install polyurethane ceiling plinth?
Polyurethane or foam ceiling plinth is glued with liquid nails glue. Corners are cutting into a stub. If the slot is formed between the wall and the plinth - it is close in acrylic sealant.
Video instruction on the installation of plastic ceiling.


