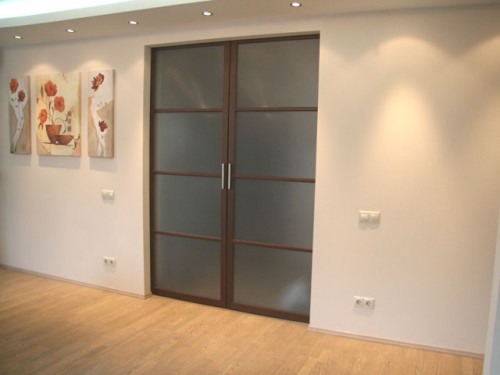
Instructions for installing sliding doors Doors
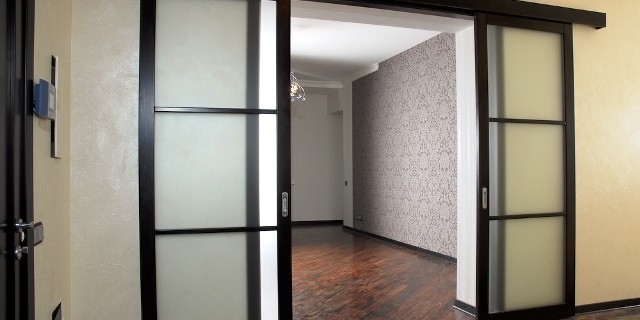
Sliding doors are the perfect version of the interior door for a small room or room, which will save free space around. At the same time, they have a fairly original appearance and can serve as a interior partition, divided by a room for several zones.
Sliding doors are usually made, as a rule, from various materials, such as a wood array, laminated MDF, plastic, tempered glass and others. Of course, it is possible to buy and order installation of such doors in experienced specialists, however, independent production and installation will significantly reduce costs and increase your own self-esteem.
Content
Types of sliding doors
The technology of installation of sliding doors depends primarily from their design. It is customary to highlight sliding doors into two categories:
- Doors on the type of wardrobe
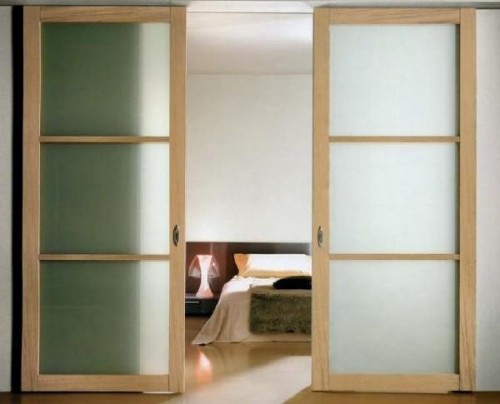
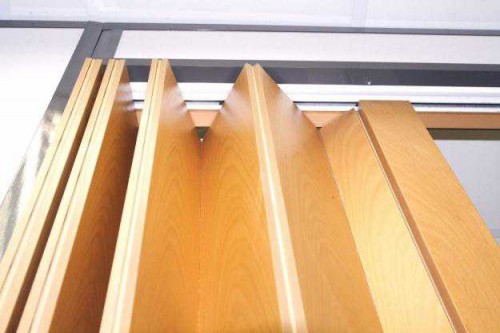
- Harmonic doors, which are folded in the same way as ordinary blinds.
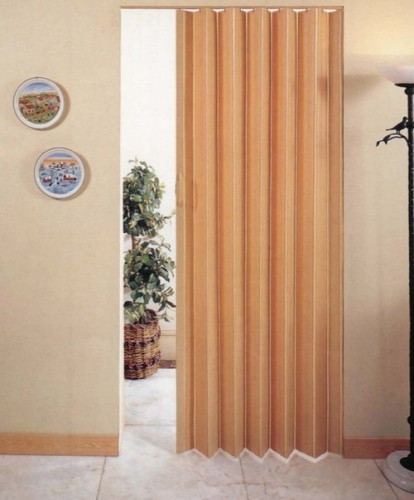
In addition, sliding doors are distinguished by their design: they can move along the wall or to drive into the free space between the walls, which is called pocket.
So, consider the main points on the installation of sliding doors of various types.
Installation of sliding doors coupe along the wall
Such a type of doors presents the door canvas of a certain size, which is installed on the upper or lower guides, or immediately on both, and goes on them at the expense of the rollers along the wall. In order to establish such a door, we will need the following tools and consumables: upper and lower guides, door leaf, rollers, two stoppers of the top guide, perforator, screws, plugs, dowels, screwdriver, finish nails, hammer, and so on. The main thing is that all materials are reliable and high-quality.
First, we prepare the doorway to install the sliding door, namely, we will carry it out its finishing finish and align the walls, along which the doors will ride. This moment is very important, since not a completely flat surface of the wall can entail the inevitable malfunctions of the finished design in the future (various skews, jamming of doors and other troubles).
Next, you can proceed directly to the installation itself. To do this, secure the bottom guide to the floor with the help of self-tapping screws, the length of which should be approximately two times the width of the door leaf. Attach the rollers to the bottom of the door leaf and put them on the lower guide. Thus, we produce measurements and note the place of attachment of the upper guide, which is made similarly to the bottom with the help of ordinary screws.
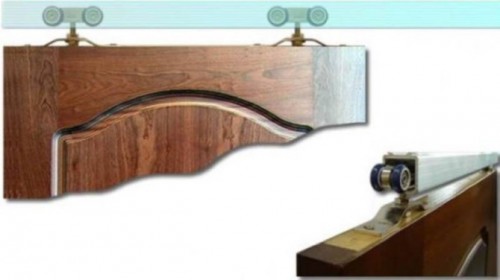
Then we set the limiters with rubber shock absorbers on the top guide on both sides, which are necessary in order to prevent the doors spontaneous opening. Next, hide the upper guide for a special decorative panel, which was pre-attached to the finish nails to the wall, and install the plugs.
The last barcode is the installation of the sliding door itself. To do this, we tighten it a bit forward from myself and carefully we start up for a decorative panel, inserting the upper rollers to the upper guide first, and the bottom to the bottom. The door is mounted, it is worth checking its performance. Smooth and clear movement of the doorway on both guides speaks about high-quality installation. If there are any interference, it is necessary to immediately correct the error allowed during the installation.
In more detail with the installation of the sliding door can be found in the video.
Sometimes sliding coupe doors are mounted only on one guide, which greatly simplifies the process itself, however, in this case the door is, in fact, in a suspended state and it is more religion than in the previous version.
Installation of doors coupe that hide in the walls of the wall
If the door canvas of the finished design should enter the niche between the walls, then in this case the installation process is complicated by the need to expand the doorway due to the disassembly of the part of the wall. The obtained space will allow us to equip a special picerman from the drywall, inside of which the guides are installed by which the door will go.
This option has its advantages and disadvantages. First of all, the pocket will allow for a long time to preserve the perfect appearance of the door canvase, and also does not require free space along the wall. However, such a process is more difficult and difficult, and will also take a lot of free time.
Installation of doors Harmoshka
Installing the doors of the harmonica will start with its assembly, as it is sold unchanged. To do this, on a flat surface, each panel connect between them with special loops, without forgetting about the correct position of the side panels. After that, we screw to the ends of each second runner panel, which come in the kit. Then we mount on the wall with the help of screws upper guide in a pre-marked place, exhibiting the previous level. Next, we insert the runners into the guide and attach the side panels to the doorway. Thus, our doors of the harmonica are installed, check their performance and enjoy the result of the work done.


