How to glue wallpaper for plaster Wallpaper
After building a new building wall, in most cases, we are plastered. This is done to hide surface flaws, make it smooth and prepare for further finishing work. The blackhouse stucco is the ideal basis for sticking wallpaper, because its rough texture is perfectly engaged with paper. About how to stick wallpaper for plaster, we will tell in this article.
Content
Preparation of the surface for shook wallpaper
One of the main stages of finishing the premises with decorative materials is a thorough preparation of the foundation. From how smooth the surface will be directly dependent on the final result of the work. Even the most dense wallpaper sometimes cannot hide noticeable wall flaws, which can be said about thin materials. In addition, the beauty and decorativeness of the expensive coating can be noticeably retained by the curvature walls. In order to qualitatively prepare a room to stick wallpaper, you need to stock up tools and materials. You may need the following:
- roulette, plumb and level;
- stationery knife, scissors;
- several types of sandpaper with different graininess;
- spray;
- water;
- tassels and rollers of several sizes;
- kraspopult;
- bucket;
- sponges and unnecessary pieces of soft tissue.
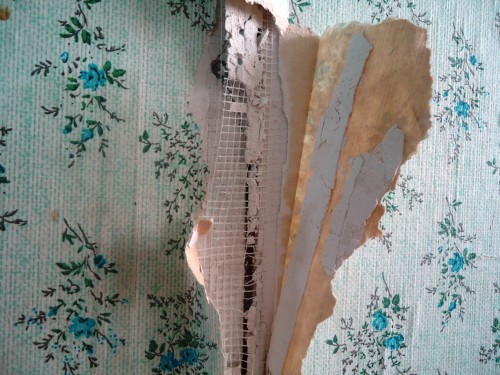
Before carrying out the walls of the walls with wallpaper by plaster, it is necessary to remove the old coating, if any. If there were wallpaper on the surface earlier, they must be removed, without leaving anywhere anywhere. In those places where new rolls will fall on old paper fragments, bloated, wallpapers will be departed from the surface and unsightly "bubbles" will appear on the wall.
To remove the old wallpaper will not work. This is done in several stages:
- Taking advantage of the pulverizer with water, carefully irrigate the wall so that it becomes wet. Do not regret moisture, because the better the paper is soaked in liquid, the more effective you will be able to read it.
- In those places where the wallpaper was enough, remove them from the surface, uplooking the sharp corner of the spatula.
- If some of the paper is considered bad, over again to handle it with a pulverizer.
- So, a plot behind the site, wipe the old coating and remove it from the walls. These places in which small fragments of the material will remain, will need to be cleaned with sandpaper with large grain.
When the old coating is removed, the walls should be thickened to wash the wet rag and leave until complete drying. Then the surface should be inspecting and revealing cracks, deepening, unnecessary roughness. All protruding parts are maintained by all the same sandpaper, and cracks, pits, furrows and other recesses are embarrassed by putty.
Nails or screws, drove and screwed into the wall, need to pull out. If it is impossible to do it, you can drive them away so deeply so that the hats turned out to be twisted in the plaster. The resulting pits also need to be embedded with putty.
In the event that the walls were plastered qualitatively and practically do not have defects, you will not spend a lot of time to close the small disadvantages. But very uneven surfaces, which, besides cracks, have significant levels of levels, have to be treated with starting putty. If not paper, and expensive fabric wallpapers were selected as finishing material, align the walls to the perfect state are simply necessary.
It is possible to glue the wallpaper for plaster without a putty if the plaster layer is made so qualitatively that it practically does not have flaws.
The optimal surface for sticking wallpaper is considered a wall lined with plasterboard. Smooth sheets of this material look almost perfect and need minimal processing. All you have to do is to smear the putty joint between individual fragments. This is done in 3 stages:
- Initially, the gaps between the sheets of drywall are close to a putty and waiting for her drying.
- Then they impose marla or a special grid on the processed places or a special grid and pass on it putty.
- When the second layer of material dry completely dry, the joints are pushing fine-grained emery paper so that they were smooth and coincided in the level with the plasterboard sheets themselves.
Another subtlety of the blending of wallpaper on plasterboard is that its sheets should be pre-treated with a layer of waterproofing. In addition, any plastered wall before starting decorative finishes is recommended to protect against the appearance of fungi and mold. Make it will help substances such as "Titan Fungicide", "xyolate", "Mugel" and others. These compositions cover the wall with the finest impermeable film, which prevents the penetration of dampness and reproduction under the wallpaper of various microorganisms.
The sticker of wallpaper on the plaster should be made after the wall will be thoroughly projected. Some believe that without this stage, it is possible to do without this stage, but we advise you not to save time and strength and still cover the surface with a soil. The primer will provide the best grip of the finishing material with the wall, increasing the duration of the wallpaper service.
The process of priming is carried out twice. The first time a similar procedure is carried out even before you make the shortcomings of the surface with a putty. When the putty dry and will be aligned with sandpaper, the wall is ground the second time, waiting for the drying of the substance and begin directly to the blending.
Priming is necessary in order to cover the wall with a uniform layer. In addition, glue consumption in this case will be much smaller. Especially relevant to use primer on old surfaces with loose texture.
The composition is selected with some factors:
- air humidity indoors;
- the textures of the treated wall;
- the prevailing temperature in the room where the repair is carried out.
All works on wall decoration need to be carried out in appropriate clothing. Eyes and open skin areas need to be protected. The primer is poorly disappeared from clothes and can cause skin irritation, so the gloves should be put on the hands.
Stucco Wallpaper
The process of wicked walls with wallpaper consists of several stages:
- Start the process is better from the place where the window is located - so you will minimize the risk of formation of various flaws and irregularities. Cutting a roll of wallpaper is preferably with the help of a very sharp stationery knife, not forgetting to leave the stock into several millimeters. Before cutting off the desired fragment, it should be measured in advance on the wall.
- Monster and cut wallpaper sheets are laid on a flat solid surface. If you are going to smear the wallpaper glue on the floor, do not forget to clean it well from garbage and dust.
- The glue is poured into a special container with a ribbed side. Such a capacity is the best option, since the excess glue can always be removed, rolling the roller on the side. But if there is no such container, you can use a wide pelvis or bucket.
- The glue is applied on the wallpaper with a roller or a wide soft brush. The roller is more convenient in the sense that does not leave excess fluid on paper. But the brush will help to get there, where it is impossible to penetrate the roller, for example, for the battery.
- Initially, the composition is covered by the middle of the canvas, and then smear the glue towards the edges of the cut. When the sheet is fully processed, it must be added to the missing side inside and give to lie down in this form for a few minutes so that the material is soaked as it is impregnated with glue.
- At this time, the wall of the wall can be covered with adhesive composition, where the wallpaper band will be pasted. It must be taken into account, from which material your wallpaper and what are the features of glue on them. For example, when finishing the walls with fliesline wallpaper, it is possible to smear glue only the wall, and the sheets themselves leave dry.
- When sticking the first strip of wallpapers on the plaster use a plumb, so that the fragment will lie strictly vertically. Applying a strip on the wall, it must be pressing, and then disperse with a soft cloth, moving from the center of wallpaper to the edges and kicking air bubbles from under the material.
Useful advice
Before glue wallpaper for plaster, read some recommendations that will help you repair the most efficient:
- As long as the wallpaper does not fully dry on the wall, it is impossible to allow drafts. Doors and windows need to be kept closed for 1-2 days, depending on the characteristics of the material. If there will be a draft with fresh-tempered walls in the room, wallpapers will be off the surface.
- For the same reason, it is not necessary to warm the batteries. If you live in an apartment with general heating, it is better to repair to start the heating season.
- All tools and materials are better prepared in advance and folded in one place - so you will not spend an extra time for finding the necessary. Together with the tools, put a stepladder or stool in the room to get to high points.
- The room in which the repair will be carried out is better to de-energize and remove all sockets and switches. Preferably to dismantle the plinth.
- The plaster before the glooming need to be checked for the presence of fuses, because in those places where it moved away from the wall, she soon causals and the repair will go to the pump. All swolings need to catch up and consider, and then close the putty.
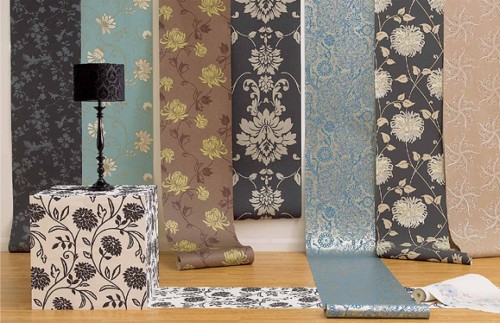
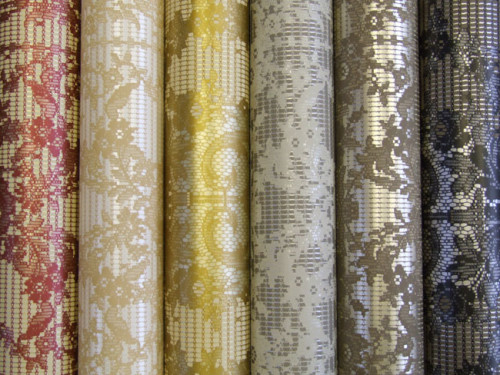
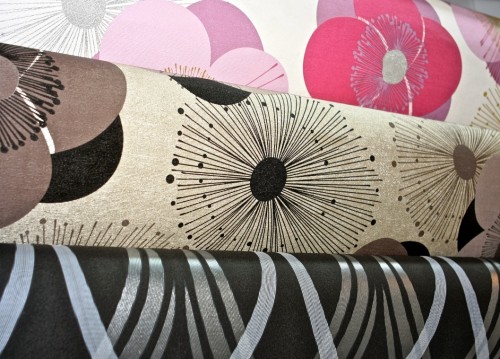
Main types of wallpapers
There are several types of wallpapers that are classified by the type of material. Consider them in more detail:
- Paper wallpapers are the oldest type of material for decoration walls. Such wallpapers are considered the cheapest, in turn they are divided into 2 subspecies: single-layer and two-layer. Single-layer, as clear from the title, consist of 1 layer of paper on which a decorative drawing is applied. These wallpapers are quite thin, quickly burn out on the walls and cannot hide noticeable surface roughness. Single-layer paper is excessively impregnated with glue, which can cause its uneven shrinkage. In addition, such wallpapers can not be washed, but they are polluted very quickly. But single-layer paper wallpaper is the cheapest option. Two-layer paper wallpapers are more dense and durable, they are less susceptible to burnout and can hide small wall roughness. The decorative pattern on the upper layer is both smooth and a bit voluminous. Two-layer wallpapers look more beautiful than one-layer, but also are somewhat more expensive.
- Fliselinic wallpapers are made from phlizelin - fine material made of cellulose with the addition of vinyl. They are much stronger than their paper counterpart, so often used for further painting. Casting walls with wallpaper under painting is convenient when you want to quickly and without much difficulty disguise the shortcomings of the surface. In addition, such wallpapers often have any drawing that gives the wall additional decorativeness. Fliselinic wallpaper can be painted repeatedly, without fear that after a repeated procedure, the paint sits somewhere and exfoliate. The material has on the inside the finished glue layer on the inside, so when applied to the wall it is necessary to process glue only the working surface. In case such finishing you get tired, flieslinic wallpaper will be very easy to remove from the wall with a solid strip. The only significant disadvantage of the material can be called its high cost.
- Textile wallpapers are made of various fabrics of natural or synthetic origin. The fabric is usually superimposed on a layer of phlizelin or paper. The texture of such wallpapers is due to the characteristics of the material and happens both smooth and embossed. Textile wallpapers look stylish, expensive and prestigious. They can be used in any interior and stylistic design, because they are able to decorate any room. Such material is environmentally friendly and vaporural, it also absorbs well and is an additional insulation of the walls of the room. It is difficult to care for textile wallpapers, so it is important to take them from the appearance of spots and pollution. The disadvantage of such a coating can be considered that with time the dust is settled on it, which is not easy to remove. Another minus material is its high price.
- Vinyl wallpapers are made of polyvinyl chloride, which acts as a decorative layer. As the basis, all the same phlizelin or paper is used. Vinyl wallpapers can have the most different appearance and texture, which is due to the features of working with polyvinyl chloride. Thanks to this material on the wall, you can simulate almost any surface, including tissue. The advantages of the material include strength, unpretentiousness in care, the possibility of wet cleaning, long service life. Although vinyl wallpapers are made from synthetic components, they are not harmful to health and environment. The lack of such a material is its airtight and high price.


