
How to renovate bath Plumbing
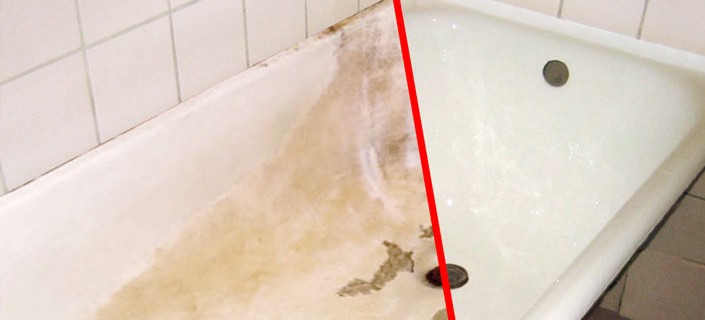
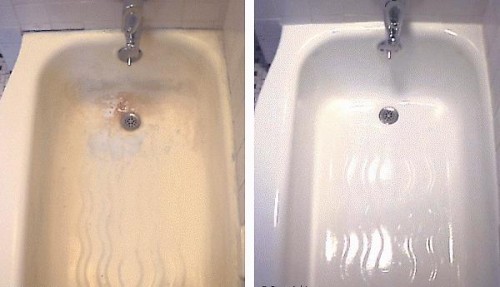
Any bath with time loses the former novelty: fade the color, an unpleasant roughness appears, enamel cracks ... if your bath has lost beauty, it is not necessarily spent on a new one. Restore the old bath will not be difficult, especially since you can choose the most suitable way.
Restoration methods
Before you start the restoration of the bath, you need to make sure that it is subject to updating, and not disposal.
Bath can be updated if:
- enamel became Schelava;
- there are shallow cracks, scratches and chips of enamel;
- the color swept and became dirty yellow.
If the body of your bath is deformed, or deep cracks were formed, no restoration will help here.
Enamelling
Cast iron baths are almost all apartments in the post-Soviet space. These are reliable inbox structures that it is easier to repair than to replace what we are today and we will deal with.
Enamel on such bathrooms wears for several reasons. First, too long service life. As a rule, enamel serves about 10-15 years with proper use. If the apartment, for example, was built during the time of the USSR, then the "natural death" of Enamel was to come again as a long time ago. Therefore, if you got such a "treasure", you must immediately restore the cast-iron bath. Secondly, during operation, household chemicals are used to clean the surface, sometimes very aggressive. Slowly, but rightly they destroy the enamel and bring the repair time.
Restore the smooth enameled coating at home is quite simple. It is enough just to purchase the necessary tools and materials and proceed to work.
Tools and materials:
- drill with a shlif-nozzle;
- abrasive powder;
- rust solvent (you can buy a special tool in the store or get rid of rust "folk" means - "Coca-Cola");
- sandpaper;
- means for degreasing;
- rag without a pile;
- fluce brush made of natural bristles (flat);
- gloves;
- respirator;
- two-component enamel.
Progress:
- Prepare the surface, getting rid of the old enamel. To do this, sprinkle with a powder and pass the drill with a grinding nozzle. Inaccessible places on bends and near the drain will have to be cleaned manually.
- If the bath managed to rusted, remove corrosion by a special tool, guided by the instructions on the package. If you are using "Coca-Cola", it is enough to apply gas to the surface and wait 10-15 minutes, periodically wasting rust. Then remove the plaque with a rigid sponge and shut down the sandpaper.
- Enamel and crumb wash with water and wipe the bath with a cloth. Then apply a degreasing agent with a dry cloth.
- Fill a clean low-fat hot water and leave for 10 minutes. Then drain the water and wipe the surface dry.
- Apply a two-component enamel with flusted brush, starting with the side and moving in a circle and below. Wait for a complete drying of the first layer and apply the second.
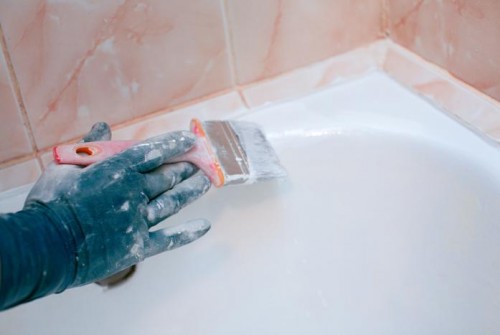
Congratulations, you renovated a bath! However, do not rush to swim - before use it is better to wait about a week so that the enamel should be hardened. Such a coverage "Enough" for 6-10 years, depending on the quality of the enamel used.
Liquid acrylic
This is a relatively "young" way, which, however, has already managed to gain popularity around the world because of its speed, convenience and durability. Just call the masters, and literally an hour you can enjoy the view of the snow-white renovated bathroom! But we are here because we are going to spend money on the services of masters not in our rules. Restore the bath with their own hands with the help of acrylic is easier than simple.
To start a couple of words about this acrylic itself. This is a special high-strength composition, called Stacryl. Stacryl is a two-component acrylic (acrylic and fixer), which is designed specifically for the baths. That is, buying Stacryl, you just can not be mistaken, while enamel is for cars, and for water pipes, and for painting a tree. Stacryl forms a dense film with a thickness of 4-6 mm, which does not pass water and has excellent performance.
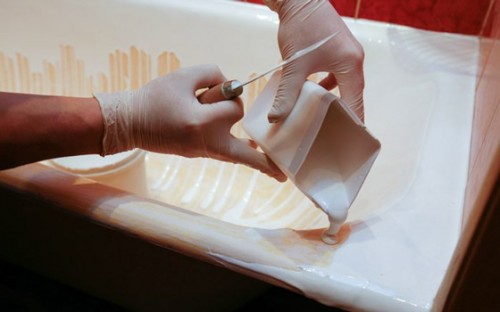
Benefits Stacked:
- viscosity;
- fluidity (the composition quickly envelops and is distributed over the surface);
- slow polymerization (low rates of solidification helps to conduct a restoration with a high quality and hurry);
- protection against mechanical damage (in the frozen form you can not be afraid that the composition will fall from a random strike).
Progress:
- Prepare the surface of the bath in the same way as in the case of enameling.
- Disconnect the siphon and substitute a plastic container under the drain (you can cut a five-liter bottle). There will be acrylic.
- Prepare an acrylic mixture, guided by the instructions on the package, and start the edge to pour it onto the edge of the bath. As soon as the mixture strokes on the middle of the height of the side, start slowly move around the perimeter. When returning to the starting point, repeat the procedure again, starting from the middle of the bath.
- Pour acrylic needs to be continuously, so it is necessary to immediately take care that the container is appropriate. In this case, it is better not to save because it is much more difficult to redo the errors after improper handling than to restore the usual enameled bath.
Polymerization takes from two to four days depending on the type variety. It is best not to hurry and choose acrylic with a long hardening (the longer, the better). In this case, it will be much stronger and will last much longer by quick-drying compositions. The life of the acrylic coating is about 20 years.
Video, how to renovate the bath with acrylic:
Insert or "Bath in Bath"
The most elementary, but at the same time the most expensive way of restoration of the bath. Its essence is as follows: the surface of the bath is lubricated with glue and a thin "cast" of identical dimensions is inserted into it. Everything seems simple, but it is possible to get such a liner only at the factory where the baths are produced. If you live next door to one of these enterprises or you managed to buy such a "cast", the following instruction is written specifically for you!
Progress:
- Remove the cross or grille of the drain hole. The main thing is not to beat it with a rough strength so as not to damage the drain (it will come in handy yet).
- Unscrew or cut off with a grinder overflow nut. To pick up an adapter for mounting the nut, it is necessary to figure out the character of the step on the overflow. It can be pipe or metric.
- Start the liner and with the help of a marker, drew under the edge of the bathing of the bath line. Cut on the board and read the edges so that they later do not cut the liner.
- Scriminate the liner by placing it in the bath - it should come with a little effort or freely, but without wide lumen. If the liner does not enter, in no case should not drive it with a hammer!
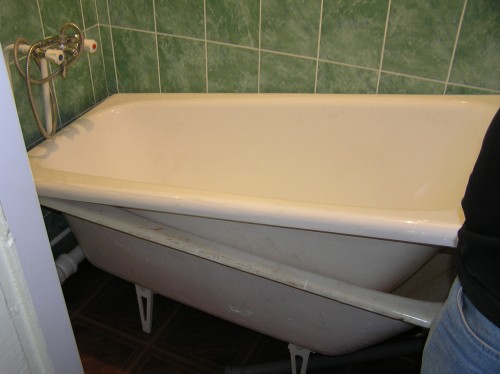
- Remove the liner, lubricate the plug and insert into the drain hole.
- Lubricate the toothpaste of overflow and paste the liner by pressing it in the marked places. Remove the liner and see if the relevant areas have been printed on it.
- Drill holes in the designated points (plums and place overflow) and clean them to not cut down.
- Again insert the liner in the bath and count the amount of foam you need to stick it tightly.
- With the help level, determine the bias required for the full flow of water. As a rule, it ranges from 1.5% to 3% in the direction of the drain.
- Remove the liner, around the thread in places overflow, apply sealant and fix the adapter. On the perimeter of the adapter also apply sealant.
- Lubricate the entire perimeter of the drain opening at a distance of 23 cm from the center. The width of the line should not be 2 cm, the height will depend on how tightly the liner is adjacent to the bathroom.
- Apply on the bottom, sides and walls two-component foam and immediately insert the liner. There should be no more than 4-5 minutes between the application of foam and installation of the liner.
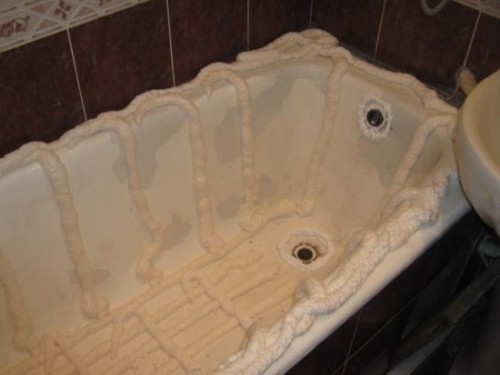
- Press the liner to the liner with your hands, break and stand up in the bathroom, giving your weight insert in the place of plum. Walk out small chambers of the bottom there and back, press the walls.
- Apply the sealant around the perimeter of the drain grille and insert an anchor bolt into it. Lower the grille so that the anchor cares for the drain, and then screw it down and overflow it.
- Insert the plug into the drain and fill the bath with cold water for two thirds. Leave it scored for the night, then drain the water. You can use the bathroom after 13 hours, that is, the day after the restoration.
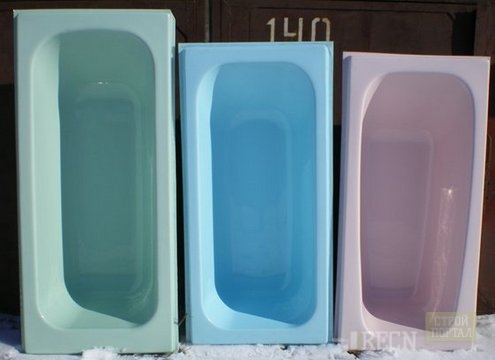
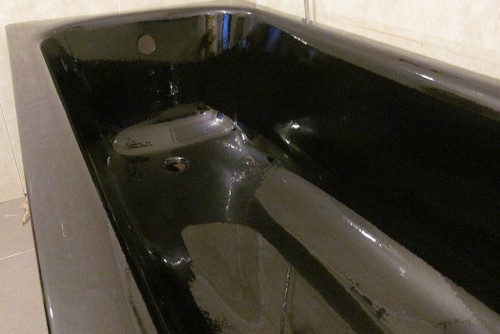
Now you know how to renovate the bath yourself. As a good farewell, we can only advise not to be limited to standard white color, and select the shade of enamel in accordance with the interior or own fantasies. So, black baths look very impressive, but it should be warned that this is "capricious" color requiring continuous care. Blue and green colors will allow you to relax and relax, and the orange will instantly raise the mood!
New comments
Add a comment
To send a comment you need authorize.




I am engaged in enameling baths since 1999, now in the course of liquid acrylic for baths, I tried all manufacturers, choose ancore!