How to build a Russian bath with your own hands. Features, arrangement, useful tips. Master Class Baths, saunas and pools
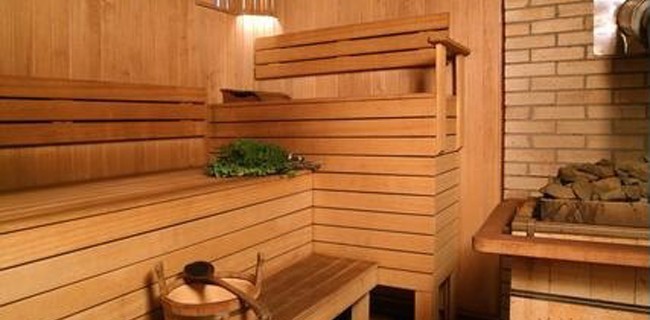
The benefits of Russian bath has been proven for a long time - people who are regulars of pairs, rarely sick. Features of the Russian bath is that it has not only a banal hygienic value, but also gives the healing effect. After the bathhouse, people almost never get across colds, because it strengthens the immunity, as well as the heart, nervous system, and also - vessels. Previously, in almost every courtyard there was their sauna, but, with time, they moved away from this practice. Even in the private sector of a small village today, no one will surprise anyone a decent bathroom, not to mention that such benefits of civilization have long become the norm for cities.
Content
Choice of Material For Bath Construction
Build such a building, like a bath with your own hands at all is not difficult. To begin with, it would not hurt to decide which material you want to use. The bath can be built from brick, wood, samana, different types of block. All of them have both their advantages and disadvantages. If you do not know how to build a bath, then proceed from the fact that you know how to contact. That is, if there are no sufficient skills on the construction of brickwork, then it is better not to consider this option.
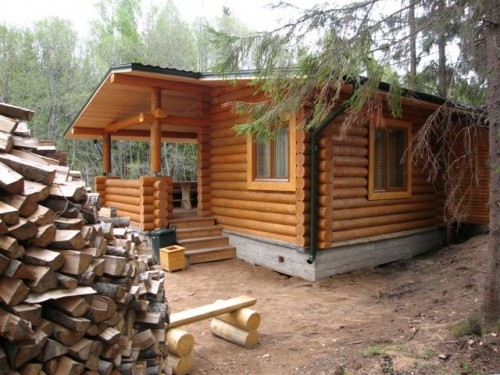
Aged balls build out of wood. Basically use a bar or log. This is a traditional building material, the main minus of which is high cost. Today, the cost of a rounded log or a lot of barracks. Do not forget that you need a good experience in order to build a bath. A photo of a traditional bath can be seen below.
To build balls - prices are better to estimate in advance. The cost of construction follows from such moments:
- Material for logging (pinned log, profile or glued bar, brick, blocks).
- Completion (there is a pool, shower, rest room, pre-tribades).
- Bath size.
- What finishing materials will be used (what kind of roof, what a facing, etc.)
Recently, frame baths are very popular, as their construction is inexpensive and fast, and even a beginner can cope with him.
Stages of construction of a frame Russian bath
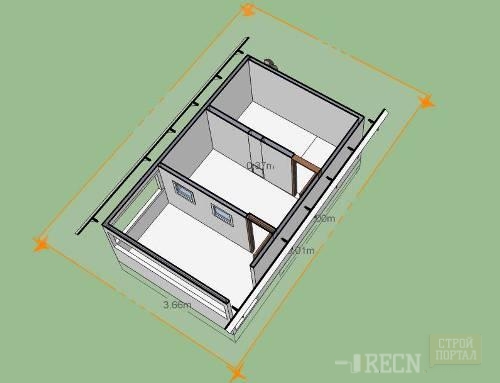
The device of the Russian bath is very simple. In this building, there must be a steam, shower and pre-banker. Optionally, you can add a relaxation room, swimming pool, billiards room. It all depends on what specific goals you build a bath. If yourself, it's enough first option, well, if you are planning frequent gatherings a big noisy company, then the area must be increased and add rooms.
The minimum room for the bath is 2.5x2.5 meters. It does not make sense less to do it - it will be uncomfortable and closely. The maximum area can be any - depending on how many people will be indoors. During the construction of the bath, projects play a big role. Do not neglect the experience of other people, because having examined it you can create your own original project. If all the drawings of the Russian bath have been studied and selected their own project, go to its implementation.
Since it is not difficult to build a Russian bath yourself at all, we offer a visual master class.
Foundation
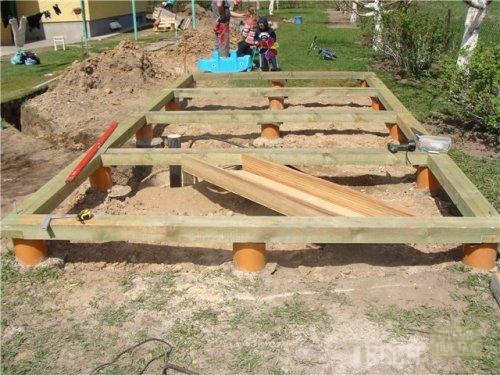
First of all, it is necessary to put the foundation. Best for the bath suits a column foundation. It requires four-meter asbotic tubes (diameter 100 or 200 mm). As for the quantity, it all depends on the construction area - but with a dozen pipes it will be necessary.
1. Pipe cut in half
2. Make wells depth 1.5 meters, and with a diameter of 200 mm.
3. Install pipes in well.
4. Pipe covered sand and thoroughly tumble.
5. On top of the rammed sand pipe pour with a solution of concrete (cement + sand + crushed stone + water).
6. Write to frozen the solution.
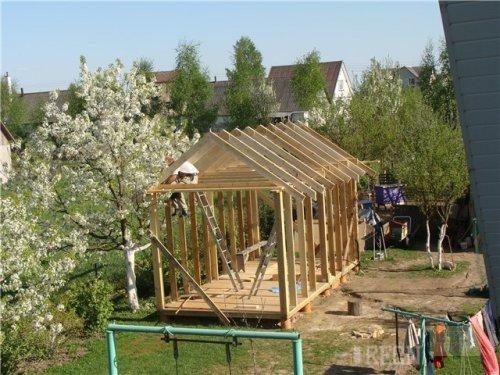
7. From above on the foundation to install the bottom strapping of the design - this is a kind of frame that should "stand" on the prepared posts. The strapping is performed from a bar (150x150 mm or 150x100 mm). It connects with nails.
8. On top of the strapping to install lags. Lags are made from boards (size 150x50 mm).
9. For lags and the strapping lay a layer of rubberoid. The fact is that the strapping will be not high, so waterproofing is needed.
10. If you want to make a more rigid design, strapping boards and lags need to be attached to the foundation pipes - for this manipulation, it is preliminarily necessary to make plates from metal.
11. All wooden elements need to be treated with an antiseptic - from insects and moisture.
12. The design should stand a little - only after that you can build the walls.
Frame
Since construction will take you a maximum of 10-15 days, you will soon be able to not only look at your works, but also to get into your own Russian bath - the video will clearly help you.
After the foundation stood a little (3-4 days), you can start assembling the frame. To begin with, make the frame of the frame from the boards (150x50 mm) and build parts for the rafter system.
In total, the mounting of the walls three stages:
1. Two racks set at the corners, then between them lay intermediate boards.
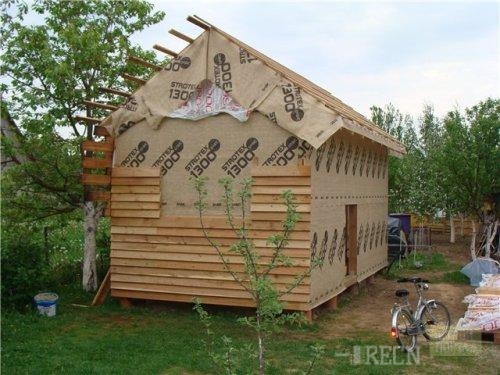
2. We begin the installation of sheets of oriented chipboard from the angle - fasten the sheets of screws to the frame racks. Do not forget to control the smooth masonry using a level.
3. Simultaneously with the second point, set the racks to which the casing is attached.
Racks and fastened sheets of OSP - this is the main job. Remember that your structure should have windows and doors.
Roof
1. To collect rafter structures on Earth - by the template for which you build a roof of a bath.
2. Raise and attach it to the frame racks. You can attach to the beams and temporary overlap.
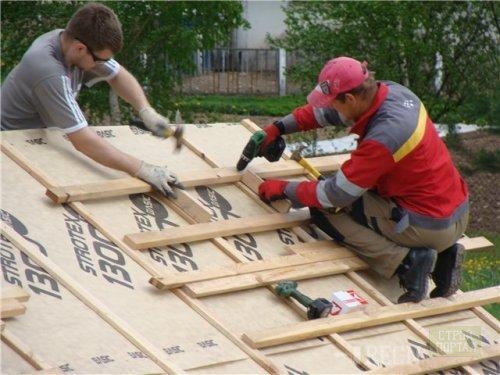
3. Apply the fastening of fastening oriented stoves for frontones. Do not forget about ventilation - Between the counterbuilding and rafters, put the special fee.
4. The roof crate to attach directly on the rafyled.
5. As a roof, any material can be used - slate, ondulin, metalopril, etc.
6. After rafters and roofing material are mounted, it will be necessary to kill OSP sheets (suitable form) to the frontones.
Secrets finish
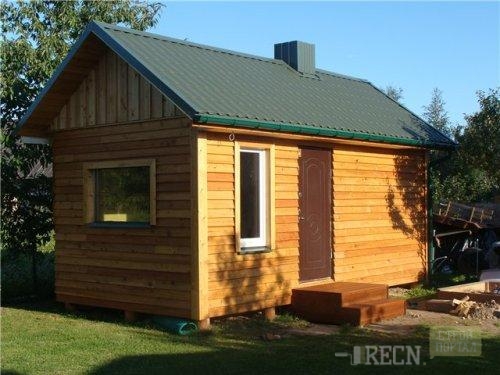
Already ready the frame and the Russian bath on firewood will soon please their owners. The trim of the bath is performed on the basis of the amount you allocate for this construction stage. It is purely all individually, but there are also their secrets of professionals.
The internal trim of the bath is performed as follows:
- On the ceiling - OSP sheets.
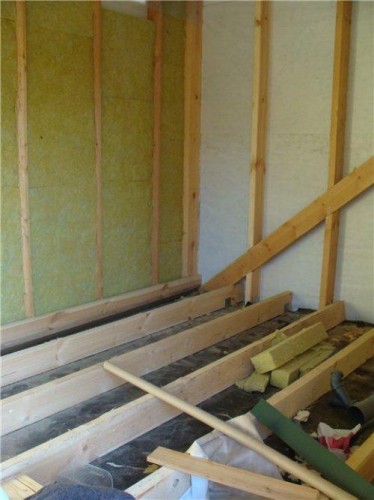
- Insulation. In the steam room, do not forget to lay the "screen" foil.
- Pergamine.
- On the floor - boards. They are nail to lags.
- A stove is installed in the steam room (Kamenka), and in the pre-banker - the boiler for heating water. The steam room and the pre-banker should be separated from a brick wall.
- Finishing inside and outside is best carried out in parallel.
- For recreation room, use a block mobile, but for everyone else it is better to take the lining.
- In the pre-tribades, you can make an entrance to the attic.
- In the steam room, the ceiling is needed very well (ideally several times), and then climb the clapboard (best of the natural linden).
- Shelves in the steam room should also be made of natural wood (also ideally from the linden).


