How to make a star ceiling Ceilings
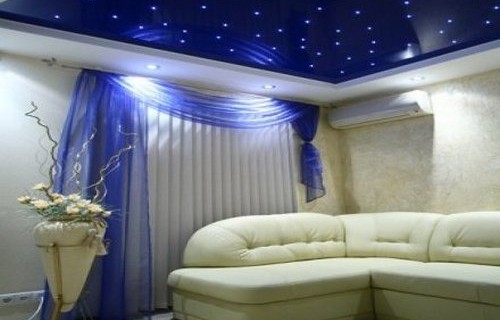
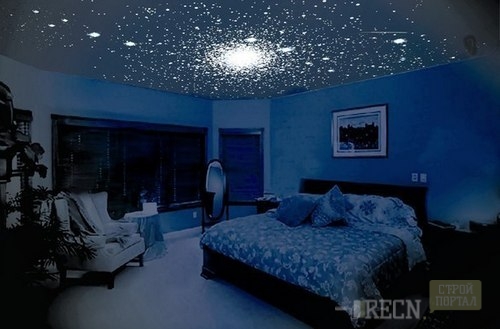
Despite numerous attempts to conquer space, distant stars still look at humanity with a mockery: they will not open their secrets to anyone. Russery of glowing points on the dark canvas of the sky is not different as magic, do not call. And from the "piece" of space with Miriadami galaxies on her ceiling, few people refuse.
Content
Star sky is a popular and very spectacular way to finish the ceiling today. However, obviously fearing the big waste, many connoisseurs are wonderful refuse to decorate their home. The article will tell you how to make the ceiling of the starry sky with your own hands, without resorting to expert services.
The basis for mounting the starry sky
Practices converge in the opinion that the best basis than the design of the stretch ceiling, not to find for the starry sky. They explain their position like this:
- stretch ceilings make it possible to work on an ideally smooth surface;
- using the PVC film and photo printing, you can achieve colorful realistic effects that affect the imagination not only at night, but also during the day;
- stretch ceilings have long won consumer confidence in their practicality and ease of installation. And they are like their reliability in abnormal situations (for example, when flooding from neighbors from the top floor).
Plasterboard suspended ceilings are also good as the base for the starry sky, only require more effort, time and additional expenses: they need to be painted or glued specially prepared film.
Methods for installing a starry sky on the ceiling
A variety of options for creating such beauty exist thanks to a huge range of modern finishing materials that satisfy the possibilities of any wallet. What is the most convenient and appropriate method, you must decide for yourself. Note that different installation options give different effects depending on how much the ceiling is the starry sky in the execution you selected. Let's get acquainted with both cost-effective installation versions and a premium ceiling decoration.
Optical fiber
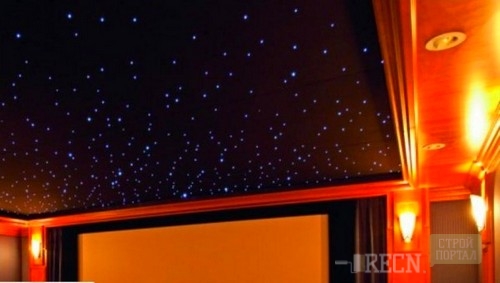
If you, by all means, decided to make a star ceiling with your own hands, but do not possess special skills, try working with fiber. This is a fairly simple way to see a night flickering sky without leaving home.
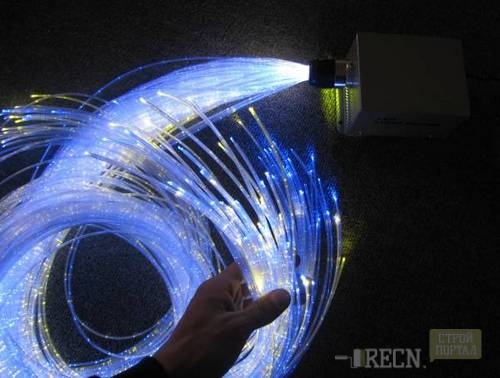
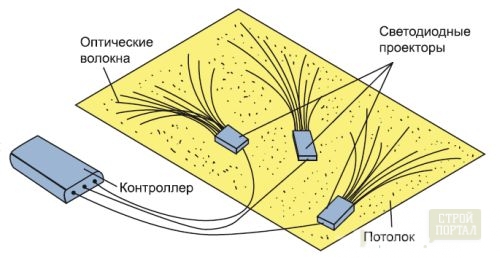
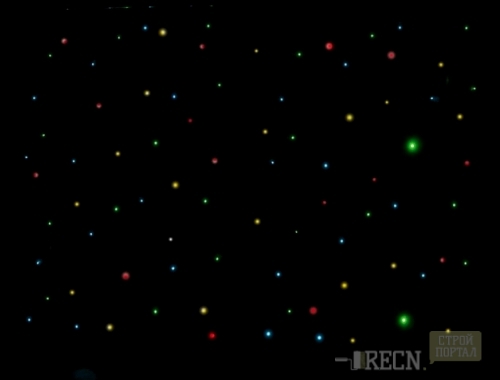
The ceiling need to install a projector that works from a halogen or LED lamp from which the nutrition of hundreds of filaments from fiber optic. With luminous plastic threads, the ceiling is powered by imitating the accumulation of stellar points at the night sky.
Advantages of optical fiber
- Not a source of ultraviolet.
- Not exposed to heating.
- Does not miss the current.
- It has a long service life (more than 10 years).
- It is characterized by modest electricity consumption (10 - 50 watts).
Disadvantages: High cost. For example, a beam of flexible LEDs, consisting of 188 yarns, and the installation of this fiber optic system into the surface of the suspended ceiling "turns out" in the amount of about 7500-26000 rubles.
How to make a stellar ceiling based fiber?
First of all, check out the list of necessary materials and tools:
- lED or halogen generator;
- a beam of long optical LEDs;
- plasterboard, supports and profiles for mounting suspended ceiling;
- watman high density;
- glue;
- cable;
- acrylic paint;
- screwdriver;
- drill;
- knife;
- brush and paintopult.
note
- Burning the LEDs is too impossible. To avoid this, you need to calculate the maximum possible radius of the bending of the fiber fiber thread, namely multiply its diameter by 10. So, the maximum arc radius for the LED 0.8 mm will be 8 mm.
- The permissible heating temperature of the optical fiber is no higher than 70 ° C.
- Contact threads very carefully to not harm them. Mechanical damage strongly reduces the quality of light.
How to make a suspended ceiling of the starry sky from the wholesale fiber
- Make the ceiling markup to install the frame, using the profiles intended for drywall. Then attach the projector to the ceiling surface. Now collect the frame for the suspension ceiling.
- Drill in drywall holes in size of 1.5 - 2 mm. For efficient design, each square meter should have to 65-80 such holes. Ready? Start inccribed fiber optic threads into the holes: a different amount in every hole to achieve a more naturalistic and spectacular effect. As a result, you should get a canvas, combining both the large bright clusters of celestial luminaries and modest lonely sprockets, giving a barely noticeable glow.
- Cut the frame with plasterboard sheets, after selecting where to leave the hatch in order to get to the projector. Connect the bundles of fiber to the projector.
- When the main, time consuming, part of the work is completed, time to paint the ceiling acrylic paint. For consumer effect, make an additional backlight using the LED ribbon around the perimeter of the room.
Listen to the Council!
Create a pattern by template is more convenient with a tight watman sheet. Apply on the paper the desired shape and cut out the drawing. Now glue the desired Watman to the ceiling by paint tape, and paint the surface of the ceiling through the needlework stencil using a brush or ankle.
Installation of stretch ceiling Starry sky from fiber
The principle of installation is the same as in the case of a suspended ceiling, but some differences are still available.
- So, attach the projector to the ceiling. In the perimeter of the room, set the profiles for the installation of the stretch design, pre-retreating from the ceiling surface by 5 to 7 cm.
- Using the drawing, make the starry sky projection on plywood or plastic sheets. And some advise for this purpose to use a network woven from the fishing line. When the projection is ready, drill on a piece of holes, inserting several fiber filament into each hole for each hole. Then the sheets are broken with threads attach to the concrete surface - make the so-called false ceiling. Connect the thread to the projector.
- Now do the installation of the tension ceiling cloth. With the help of an air gun, he heat the PVC film, stretch it and mount it into profiles. In the stretched canvas, make holes - for this you will need a small soldering iron with a wire at the end. To do not look for a thread for a long time, turn on the projector. Now pull them out through holes in the stretch ceiling, cutting superfluous. By the way, the canvas can be left and the whole, but the glow of the thread will not be so bright.
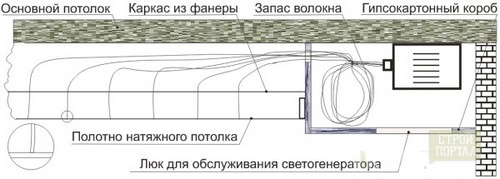
- If you want the most spectacular to issue a tight ceiling of the starry sky, the cost of materials should not confuse you: you will have to additionally buy LED lamps and reflectors. They will be large and bright stars on your ceiling. Do not forget to leave a hatch for servicing the generator. The design of the starry sky with the window in the stretch ceiling demonstrates the scheme.
Finished panels
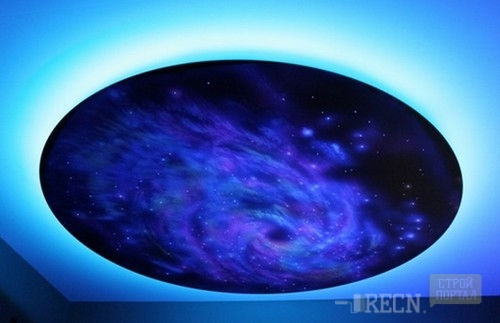
It is nothing more than round discs with a photo printing of space galaxies. They, as a rule, are equipped with 150 - 200 bulbs. The dimensions of such panels range from 120 to 150 cm in diameter. It was not difficult to hindow the design to the ceiling, it would be for what to buy - the cost of the panel exceeds 26,000 rubles.
Stickers
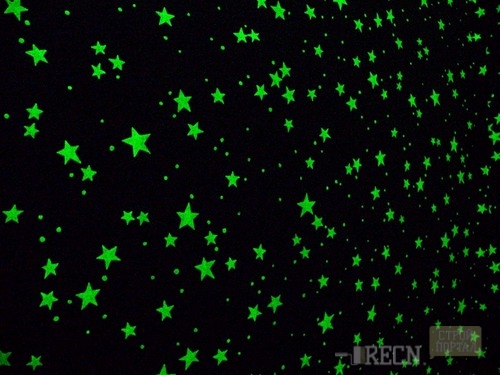
If you have already decided for yourself that you do not afford the ceiling of the starry sky, the cost of phosphate stickers will certainly please you - this is the most budget and pretty beautiful version of the sparkling stars of the ceiling. Figures, during the day you absorb the light and give it at night, made from plastic or paper. To glue them to the ceiling, any special skills from you will not need.
Art painting
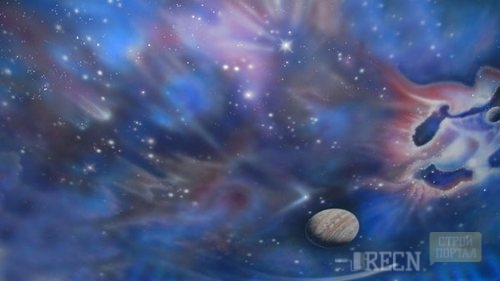
Do you draw well? Then what is the case - are armed with acrylic paints and the ceiling! Also, the drawing can be applied by spraying paint from the airbrush. Even if you can not boast artistic talents, there is still an outlet! Choose the picture you like, make a photo printing from it and plunder the ceiling by the film.
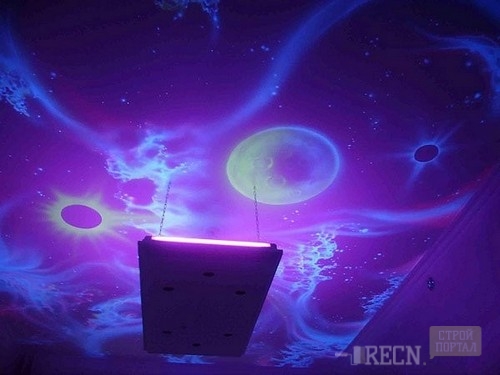
Luminescent paints and glowing wallpapers
And paints, and the coating applied to fluorescent wallpapers, quite usually look in the afternoon, the light is emitted only in the dark. What is not the starry sky?
LEDs
If you want to imitate the starry sky using LED lamps, make a certain number of holes in the plasterboard ceiling (as much as you need is idea). One hole is intended for one LED lamp. By changing the direction and adjusting the brightness of the lamp, you can create absolutely different compositions every time. The system of several light bulbs control the controller.
"Strong" parties of LEDs:
- can arbitrarily change color;
- economically consume electricity;
- practically not heated;
- perfectly fit the role of colorwomen for home parties.
A significant drawback of LED lamps is their short-life (about 5 years) compared with tension and suspended structures.
If you still doubt whether you can decorate your dwelling ceiling Starry sky, video may help you make the right choice.


