
How to install a countertop in the kitchen with your own hands Useful advice,Interior items
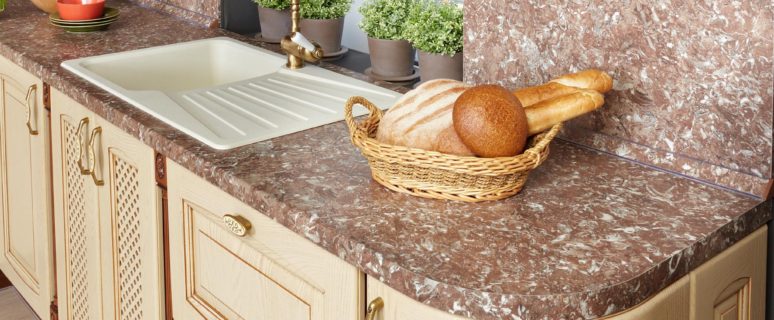
Countertop in the kitchen - the most popular and vulnerable place. It is this piece of kitchen furniture first to deteriorate and requires replacement. But at all, it is not necessary to fully change the entire kitchen set, you can only install a worktop. How to do this, let's stay in more detail on all matters.
Content
Types of tabletops
Before you start work, let's find out which kinds of countertops for the kitchen are available.
Countertops for kitchen:
- Popular and inexpensive countertops for the kitchen are made of fiberboard or chipboard, the top facial part of the plate is coated with durable materials (for example, laminated film). The cost of such a countertop is the lowest, very many different shades, you can pick up a tabletop to the tone of the kitchen headset. The only drawback is that the surface is quickly spoiled, it is impossible to put hot on it, stuck and sharp objects quickly scratch the surface. Numerous scratches and cuts appear on such a countertop. It looks like such a tabletop non-primable.
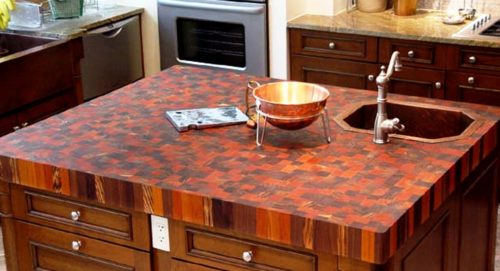
- Tabletop of wood - This material is tested for eyelids, the tree is durable, the material is environmentally friendly. Long contact with moisture, blows and scratches - all this wooden countertops do not like. If you care for such a surface correctly, it will last dozens of years. The only thing you need to cover with protective equipment from time to time, you can also polish and grind.
- Metal countertops have recently been very popular, because the cost of their low, countertops withstand not only temperature differences, but also very resistant to moisture. Alas, the scratches do not protect and this resistant material, metal countertops also require constant attention: they must be rubbed to shit and periodically grind.
- Stone countertops - humidity, high temperatures and temperature differences, scratches and cuts are not scary in such table tops. Even if the countertop is not made of natural stone, but from artificially, it will still stop such furniture much longer than from DVP, wood or metal. The only drawback of such surfaces is too high. Price, if we are talking about a tabletop made of natural stone. Beautiful and durable marble countertops, but they are a little inferior to monumental granite.
A few more recommendations regarding the preparation for the installation of countertops:
- choose a tabletop textured or with a matte surface, they are more enduring. When transporting and installing is not so badly damaged as glossy. More pillars in the cut;
- measurements of countertops need to do accurate, taking into account all the recesses and installation of household appliances. Make a pre-at home flowed from durable cardboard and finally calculate, make measurements in the store. If you doubt something, ask for help from the seller-consultant. And if you encounter such work for the first time, you can invite a specialist to the house to make measurements and cut out the worktop;
- when you install the kitchen countertop, ask you to help, because it is desirable to transfer the worktop threshold or together to prevent donomas and chips;
- installation of the countertop requires a special approach - after installation, you need to carefully chop out all the seams.
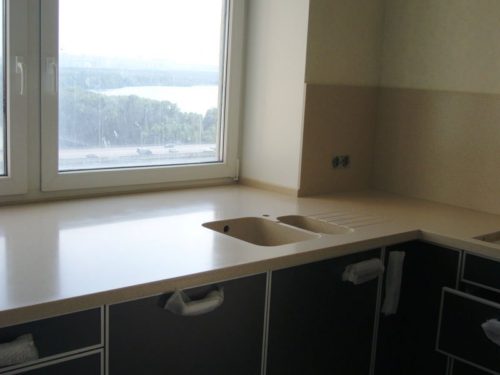
Installation of table tops in the kitchen
The easiest way to install the countertop with your own hands from the fiberboard or chipboard, as well as from the tree. If you are going to replace the old worktop to the new one, then you need to fit it under the size of the lockers, and for this you need to cut a little slab.
How to do it:
- Install kitchen cabinets at a permanent location, be sure to check all the upper planes using the level. If this is not done, then the tabletop will not be installed correctly. When it is impossible to perform this, then the surface alignment can be performed like this: twisted the legs of the lockers (if they are adjustable). If the legs are not, then it will have to insert gaskets (from wood, plastic, linoleum pieces) to align in the surface level.
- The worktop must be put directly on the lockers, align so that a small space remains between the wall, approximately 5 mm.
- Now you need to measure the tabletop over the length with a panel to be installed on the end of the table. We celebrate the point with the marker (can be pencil).
- If you need to shorten a table top, then you need to use the hacksaw. On the front side is allowed to work with a hacksaw, and on the wrong - saber plate or electric jigsaw.
- By cutting line, you need to pave a painting tape to avoid chips, ends to handle with a file or sandpaper to smooth out irregularities.
How to install a countertop with your own hands, see this video:
Types of washes and rugs in the tabletop do it yourself
To install the washing, you need to distinguish them by the installation type.
Let's find out what types of kitchen sinks are divided:
- Overweight washing, it is superimposed on top of the bedside table, so there is no need to install a worktop. The washing of this type is completely replaced.
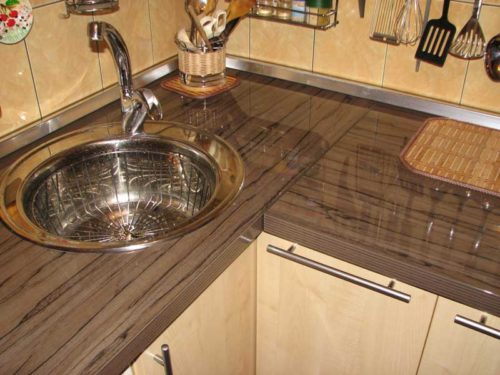
- Car wash - it is inserted or crashed directly into the tabletop itself, so this type of sink is called "built-in". The table top with such a sink looks harmonious, it is convenient to operate. To install such a sink, you need to cut a hole in the worktop.
- Integrated washing is when the sink sink is at different levels with the edge of the table top. They can be, both recessed and raised up, and also be at the level with the tabletop. The routing process is very laborious, so without the help of specialists it is not enough.
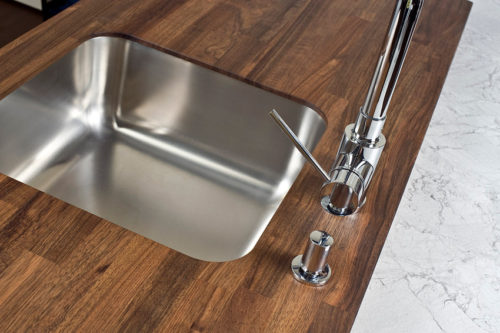
- The washing of the substolete is installed in the worktop made of wood, chipboard and fiberboard, as well as from stone, including natural. The edges of such a sink will be in terms of the level below than the table top itself, exactly on its thickness.
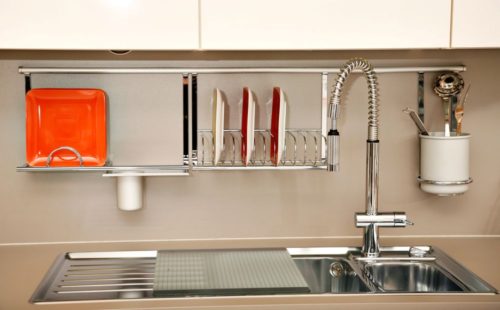
When inserting washing in the table top it is necessary to follow these rules:
- never place an eyebound or refrigerator with a sink, because water is not combined with these devices;
- try to locate the sink so that it is next to the working area so that you can immediately wash the products and cook;
- the sink can be placed in the middle, separating the working area to the clean and dirty zone: where you will cook and serve the finished dish;
- the car wash needs to be connected to the water supply and sewage: now there is no need to install the washing right next to these communications, you can make the sink anywhere and cut it into the worktop.
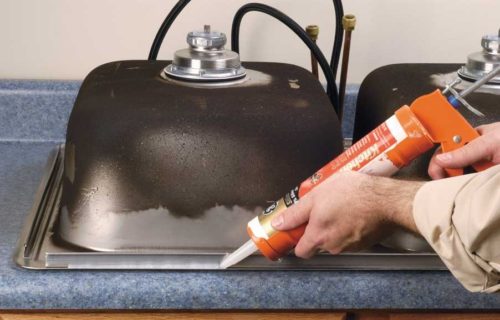
To embed a wash at the tabletop, you will need such tools:
- lobzik (electric), drill with wood drills;
- screwdrivers and pliers, hammer;
- cornel, level, marker with a ruler;
- rubberized sealer;
- sealant colorless silicone.
How to install a sink in the tabletop do it yourself
If you bought a sink and wonder how to install a countertop in the kitchen with your own hands, you need to use the template for washing from cardboard (comes with). If such is not available or washing decided to leave the same, but to replace only the tabletop in the kitchen, then you can get a sink for the template. To do this, it needs to be removed and turned over the opposite, "face down" on the worktop. Discuss the contour of the sink with a pencil or marker (the sink can not be removed, but then you need to add to the template for several centimeters).
And then step by step recommendations:
- Pattern cut out of dense cardboard, place it on the tabletop in the place where the washing will be. The countertop can be installed and secured to make it easier to cut the hole under the sink.
- The pattern must be consolidated so that it does not move or draw the outline on the tabletop with a marker.
- Consider such nuances: the distance from the edge should be no more than 5-10 cm, then the splashes of water will not fly around.
- According to the outlined contour, it is necessary to retreat 1.5 cm, apply the contour, on it and you need to cut the hole under the sink.
- Use the electric drill, cut out exactly on the markup. As for the diameter of the drill, it must match the width of the saw or take the standard 12 mm size (10 mm).
- Put the hole in the tabletop over the contour, after completing the work, you need to clean the cut by sandpaper.
- We check the work: I set the sink on the worktop, check the density of the fitting of the sinks to the table top. Along the way, you need to combine the mixer hoses.
- We set the sink on the worktop, the edges of which are pre-processing from the inside of the sealant. Thus, we protect the design from the ingress of moisture.
- The edge of the edge should be applied to the edge of the scotch at the tabletop. Bilateral tape can be replaced with colorless sealant.
- The car wash should be installed on the table top as close as possible so that the sealant filled all the holes, then fastened to tighten the sink from the bottom in such a sequence: first the angles are diagonally tightened, but not until it stops, then tightening fastening in the middle. Now you need to remove the extra sealant and finally attract the car wash fastening bolts.
- The next step - the washing must be connected to the plumbing and sewer pipes, install a two-speed siphon to avoid clusters of unpleasant odors. Once again check the tightness of the washing installation in the worktop.
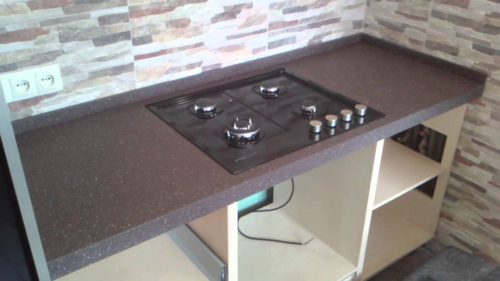
Installation of the cooktop in the tabletop
By the same principle is installed in the tabletop and cooking surface, but there are some differences.
Therefore, consider step by step how to do it:
- unpack the cooking surface, we study the passport. You need to find the size of the niche sizes, on them and it is necessary to cut the hole in the tabletop;
- if there is no data, it is armed with a tape measure and mark the markup right through the cooking surface (it must be put down the face);
- measure meat to the surface of the table top. Once again, think over the location of the hob;
- next, you need to make several holes on each side of the future niche. They are only 4, the diameter of each hole is a maximum of 10 mm;
- cut a niche of a sawmill, an electric jigsaw or another tool, depending on which the material is made of a tabletop;
- work as neat as possible, as one excess movement towards and between the cooking surface and the tabletop can form a gap. It is very difficult to correct the error, and sometimes it is impossible at all. It will be necessary to replace the spoiled countertop;
- when all the sides are almost cut, you need to carefully maintain the middle of the table top. If you work yourself, then the tabletop on the edge of the cut is preferably consistently consistent with painting scotch. This is necessary so that under the weight of the middle did not break out the part of the table top;
- gently remove the middle, treat the edges from the inside of silicone;
- turn the cooking surface, apply a special sticky tape (or plasticine). If there was no such material with the cooking surface of such a material, then it is necessary to apply a colorless silicone on the tabletop to the cut place;
- next, we immediately insert the cooking surface into the prepared niche, attach the surface for cooking, tighten the bolts from the inside;
- once again, for strength, we welt the connection location from the inside with silicone to ensure protection against moisture.
How to install a cooking surface in the worktop, see this video:


