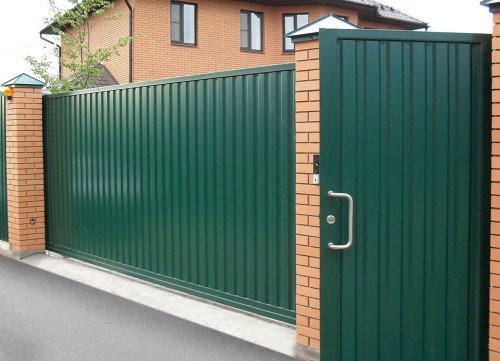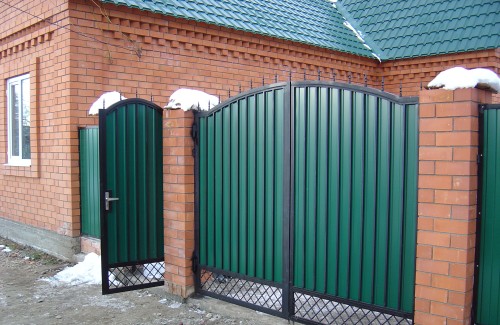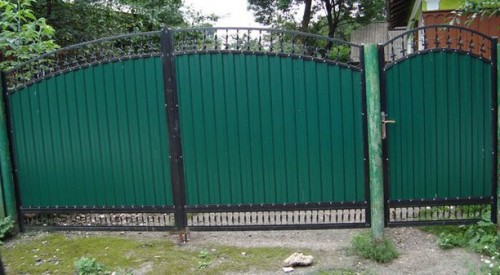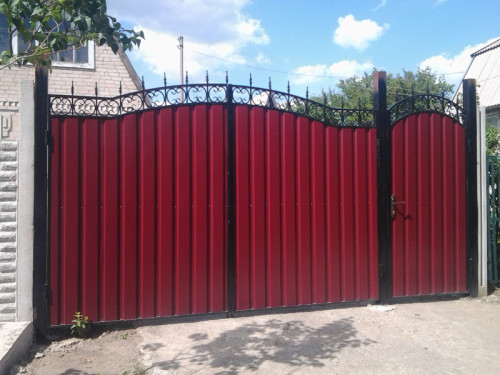
Gittle from professional flooring with your own hands Useful advice
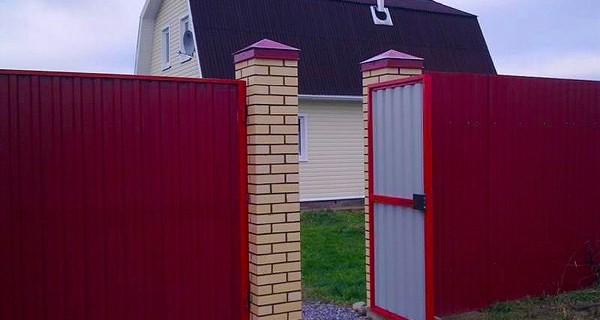
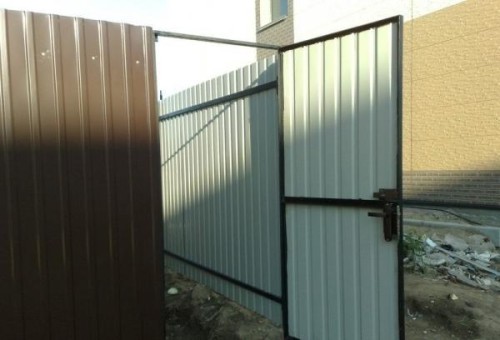
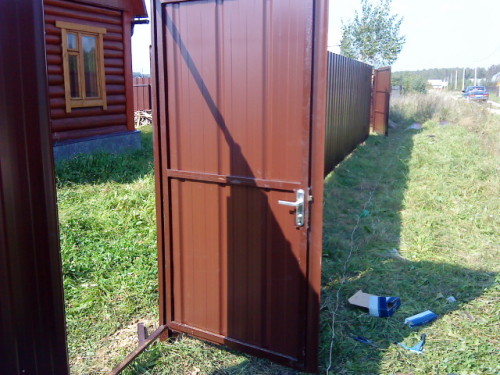
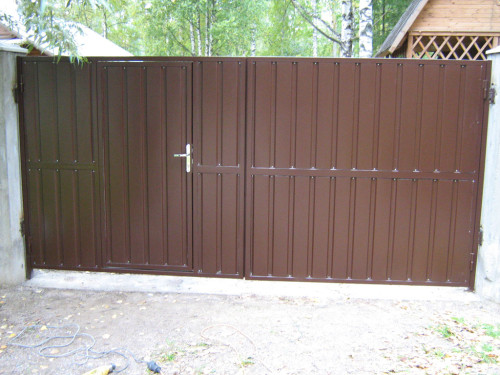
To secure a convenient entrance to the site, but at the same time protect your possessions from outsiders, at the final stage of construction, it is necessary to possess how to make a fence and gate. The main requirements in this case are reduced to reliability, attractiveness and durability. It is all these characteristics to fully meet the simple and affordable material - professional flooring. How to save and make a gate from the professional flooring with your own hands, you will learn from this article.
Content
Why is it convenient to use professional wicket flooring?
Profiled sheets are chosen to create fences very often. The cause of such popularity is the indisputable advantages of this material. They are as follows:
- a very long service life is half a century far from the limit;
- strength and resistance to any mechanical and natural impact - are not deformed, do not corroded, do not rock and do not breathe like wood;
- simple and convenient operation;
- light weight, which allows to reduce the load on the soil and install such structures on areas with any type of soil;
- the speed of installation is the caliper itself from the corrugated floor, and even the whole fence, easy to issue in 2-3 days;
- attractive appearance - sheets today are shipped to sale with various sizes and waveforms, the color palette also makes it possible to choose any preferred shade.
How to make a gate from a professional flooring?
To spend as little time as possible and for the creation of the wicket, perform all the work sequentially in several steps:
- Create a circuit / wicket drawing.
- Make a suitable design size.
- Prepare the foundation for fastening sheets - foundation poles and frames.
- Secure the professionalist.
- Install locks.
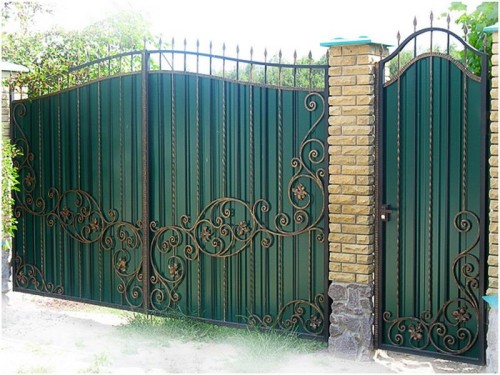
Important! Pay special attention to the design design. If it is very organically fit into the entire design of the ensemble of the house and the site, the image will turn out to be completed, and you will not have to worry about the need for its refinement. Browse a very interesting modern ideas of wickets from a profile with forging - they look not just solid, but very original and unusually beautiful.
Calculation of gate
Even if you strive to breathe well from the neighbors, to do it competently. Therefore, follow the recommended restrictions on the size of the wicket, when you plan the purchase of material:
- maximum width - 1 m;
- maximum height - 2 m.
Important! If you take into account these rules and install the design of the optimal size, you will greatly facilitate the task. In addition, warn loop wear, castle, soil sewage and inconvenience when opening too wide and heavy sash.
Tools for work
Prepare all the necessary inventory in advance so as not to brake the workflow. Focus on this list:
- bulgarian;
- welding equipment, preferably inverter type;
- marker or special construction "Drawberry";
- screwdriver;
- self-tapping screw;
- manual garden drill;
- shovel;
- crushed stone and concrete;
- scrap;
- construction cord;
- plumb;
- concrete mixer or tanks for mixing a solution and a drill with a suitable nozzle;
- roulette;
- ruler;
- corolnic
Materials for work:
- metal pipes 60 * 40 mm, stone or brick for supports;
- metal profile pipes with a cross section of 60 * 30 and 40 * 20 mm for frame;
- anticorrosion impregnation for metal.
Installation of racks
To ensure the reliability of the fender structures and the wicket flaps, eliminate its skew with time, properly prepare the support elements of the design - racks.
Progress:
- Tension the cord along the installation line of the fence and wicket.
- Check the installation locations.
- Understand the pits with a manual brown or dig them shovel, if you have such a tool in stock.
- The depth of the holes is 1-1.5 meters for bunched and sandy soil, if the soil is relatively dense (clay), the height is allowed only at 0.7-0.8 m.
- Install in the pockets of the poles from metal pipes.
- Put them with rubble.
- Align the position on the plumb.
- Failure rubble scrap.
- Cook concrete.
- Fill the solution into all pits.
- Take a technical break until the best grasp of concrete:
- 7-10 days if a conventional solution was used;
- 1-3 days, if the acceleration plasticizers are added to the mixture.
Important! If we decided to use not metal pipes as a support, and stone or brick poles, follow the rules of laying material. In this case, there is no need to additionally pour them with concrete.
Montage Karcasa
- Squeeze the desired dimensions of parts from the profile pipe 60 * 30:
- 2 elements with a length of 1.7-1.9 m for the longitudinal installation;
- 2-3 elements with 1 meter length for transverse.
- Clean the workpiece before cutting from rust with a metal brush pinned on the grinder.
- Make cut parts at 28 degrees.
- Decrease all sections.
- Scroll ready-made anti-corrosion solutions.
- Make a technical pause before drying the protective layer.
- Cut parts between themselves so that all transverse elements are located at the same distance.
- From the pipe with a cross section of 40 * 20, make the same inner frame to strengthen the entire design.
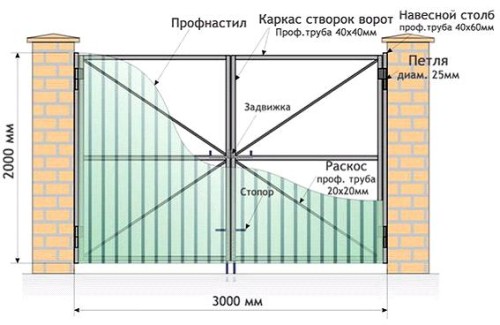
- Connect both parts with each other.
- Paint the frame.
- Wait for paint drying.
Installation of professional flooring
- Welcome loop or polymer curtains to hang the cloth wicket to the post.
- Cut the sheets of the desired width.
- Cut the cuts with anti-corrosion impregnation.
- Secure them on the frame of 3.5 mm with self-draws.
- Mount the proflists into each wave or through the wave.
- Take a ready-made loop wicket.
- Wire an opening stop limiter on the opposite side of the wicket to prevent its opening in both directions.
- Install the preliminary strips to hide the racks.
Installation of the castle
Before proceeding directly to the installation of fittings for the wicket from the corrugated hand, read the following recommendations:
- Castle Choose any suitable for outdoor mechanism doors. But keep in mind, too massive design in this case will be irrational. Nice-profile locks are best suited for this purpose. They are not only easy to handle, but well protected from falling inside dust and water, and accordingly, more likely they will last long.
- Buy the handle so that it fitted with the design of the rest of the fittings on the facade of the house.
- The optimal height of the installation is 0.9 m +/- 10 cm.
Fastening technology:
- Make the lock markup of the lock and handles.
- Drill the openings of the appropriate section.
- Install the castle core.
- Place the handle.
- Securely lock and check the operation of the lock and handles with the open door.
- Install the lining.
Conclusion
Now you know all the rules of how to quickly make a gate from the professional flooring on your site. Adhere to the designated steps in the process of performing work and the excellent result is guaranteed!


