Fastening the lamp to the stretch ceiling Lighting,Ceilings
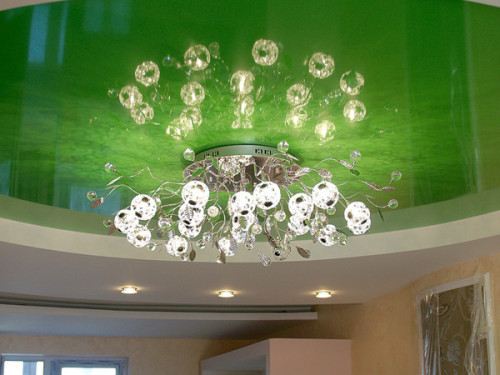
Buy your favorite chandelier is quite simple, but is it suitable for a stretch ceiling? To answer this question, it is necessary to figure out how the installation of the lamps in the stretch ceiling generally occurs, and is it possible to do it with your own hands?
Selection of lamps
First of all, it is necessary to determine the type of device and pick it up in accordance with the design of the room and the operational requirements. Choose lamps for the stretch ceiling better before installing the ceiling itself to immediately provide all the technical points. If the ceiling is already installed, hang a new chandelier will be much more complicated, so it is better to immediately buy lamps and designate place for them.
For stretch ceilings, by and large, any lamps can be used, but it is better to give preference to models without sharp elements and with plafones directed to the sides or down. Otherwise, you risk damage to the canvas. The material from which chandelier or lamps is made should not be very hot so as not to create a fire-hazardous situation.
The choice of light bulbs is also very important. For stretch ceilings, it is better not to use ordinary incandescent lamps, because they are very hot. But if there is no other option, make sure that the distance between the lamp and the web can be as much as possible, and do not use the products with a capacity of over 40 W. An ideal option will be energy-saving or halogen lamps.
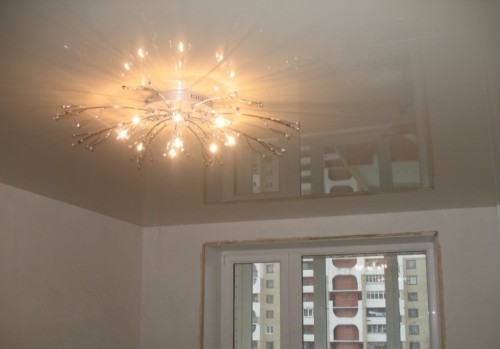
A wide selection of lighting products allows you to find an option for any interior, but at the same time a large range complicates the choice. The lamp can be decorated with a room by emphasizing her dignity and scarce the shortcomings, but if you choose it wrong, the effect will be directly opposite. In the case of stretch ceilings, choose a lamp, focusing on the surface texture. So, if the room is a white matte ceiling, followed by classic rules to the choice of lighting, since such a surface is almost identical to the usual sea ceiling. If the glossy canvas means it will give glare and reflections. In this case, the lighting should be moderate, because in reflection on the ceiling there will be a mirror copy of the light bulb.
But still the appearance of the lamp is not crucial importance, but a method for its fixation. The stretch ceiling itself is unable to keep even the easiest appliances, and therefore it is necessary to decide in advance with the mechanism of their installation.
Fastening the lamp to the stretch ceiling depends on the type of instrument:
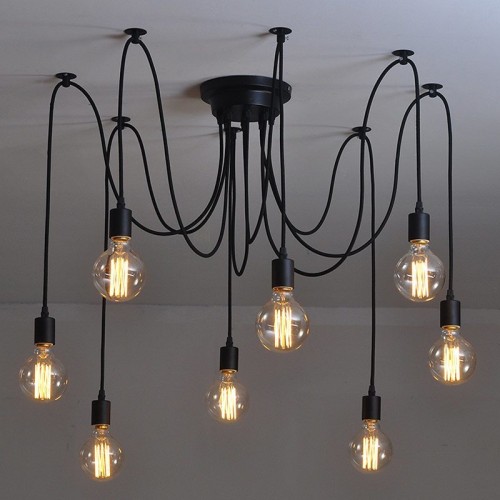
- Overhead ceiling lamps have the same fasteners as the chandelier, and the installation occurs on the main ceiling.
- Embedded lamps for stretch ceilings are placed on the back side of the web, so that only the outer side of the flame remains outside, and the light bulb with the rest of the mechanism is located behind the web.
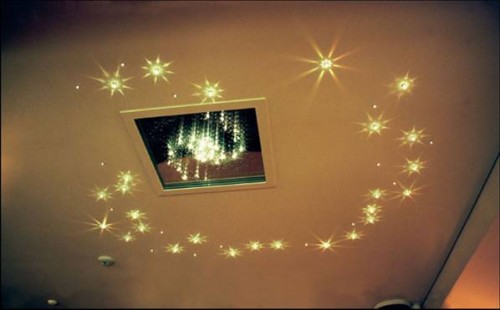
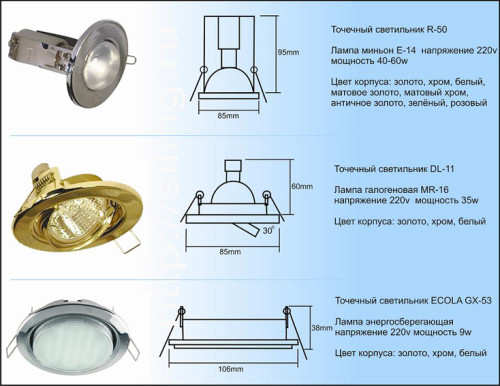
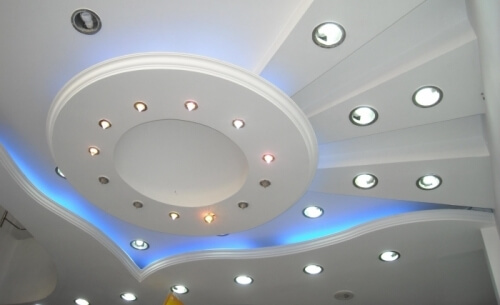
The latter type includes point lights that are very popular lately, especially for stretch ceilings. They are compact, bright, consume little electricity and are able to provide full-fledged functional lighting, simultaneously decorated with an interior. However, not all point luminaires are suitable for installation. So, it is necessary to choose products with a circular base part, and the form of the outside of the role does not play. It is also important that the fitting place of the device, which will be located behind the canvas, should be at least 10 mm. When installing point luminaires between the outer part and the web, it is necessary to place a thermal insulation rigid gasket, and the side of the lamp must be wide enough to close this gasket.
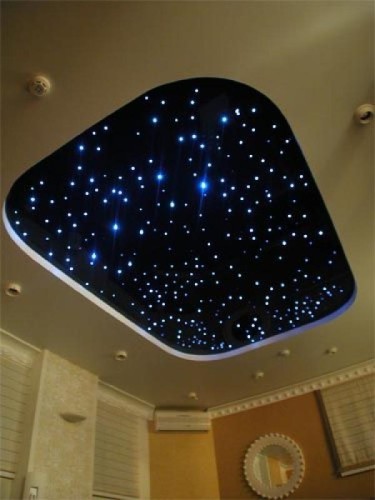
Tip: If you're going to mount the hidden devices, for example, to create a simulation of the sky, choose low-voltage products of famous manufacturers. Quality in this case should come first, as to dismantle or replace the hidden light is difficult. For low-voltage devices at 12 watts will need to purchase a transformer. Ideally, for each lamp requires a separate transformer.
mounting Features
Before proceeding to the installation of lamps described in stretch ceilings, offer to get acquainted with a number of useful tips. They will help you to better understand the specifics of the work and do everything without error.
First of all, turn off the power in the house or apartment. But even in this case, do not neglect the personal safety means - rubber gloves. If you have a home under plaster, in advance find or make up her plan. Learn stroke direction wires can be a special device. This data is needed so as not to violate the basic wiring in the ceiling hole.
Do not screw the attachment to the end, otherwise you run the risk of cut fabric sharp edges of rigid mounting bracket. For rigid fixation, always use plastic or rubberized gasket. When installing spotlights often used self-tapping screws. To securely screw them into the surface, stick in those places small pieces of plastic.
mounting options
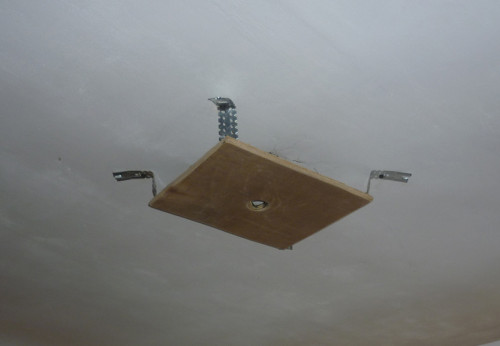
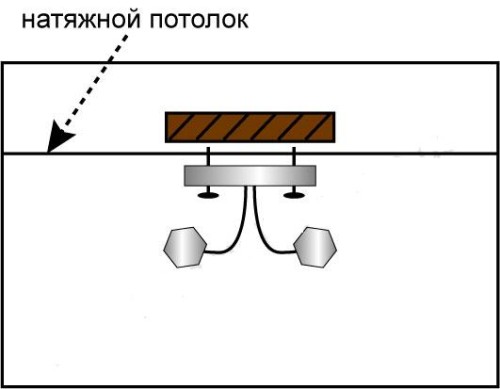
There are two ways to mount the luminaire Stretch Ceilings: bolts and screws or hook. Selection of each of them depends on the design of the fixture: its size, weight, performance. In both cases, to pre-install the mortgage - special strips, which will keep the lighting fixture. This is the usual wooden die attached to the main ceiling anchor bolts or dowels. It allows you to attach the lights that weigh much.
If the lamp is used for fastening bolts or screws in a cloth of a tension ceiling make the slot whose edges glued shut. After installing the blade is fixed with screws around the chandeliers. If you decided to mount the chandelier hook, his first screwed into the mortgage bar, and then make a small slit in the suspended ceilings. After installation of chandeliers place slot cover decorative plate.
For better fixation of the lamps, it is recommended to use an amplifying ring with a thickness of at least 5 mm and a diameter corresponding to the diameter of the device. It is glued to the film using a transparent construction glue, and after it is frozen, the canvas are cut on the inner diameter and only then the lamp is mounted.
Spotlights
First of all, it is necessary to determine the location of the lamps on the stretch ceiling. It is better to be engaged in the installation of the most stretched canvase, and the wiring can be done after the frame mount.
Step-by-step installation of point lamps on the stretch ceiling:
- Install the frame and make the ceiling plane markup.
- Choose a location where all the lighting devices will occur. At this point the junction box will be located. It is necessary to take such a place for her so that it can be accessed at any time even after installing the canvas.
- Calculate the electrical wiring section depending on the power consumed of the lighting appliances. To deal with this will help you "Installation of electrical wiring in the apartment". Take the material (cables and wires) with a power reserve in 20% in case of installation of additional devices.
- Put in the ceiling the tubules leading from the distribution panel to the connection points. To do this, use a bulgarian with a circular nozzle to work with concrete. Consider that the wires are better placed in a corrugated tube for greater safety, therefore the sizes of the channels must be appropriate.
- Connect the cable to the distribution panel and dig them through the channels.
- Attach the wires to the ceiling. When creating connections do not allow twists. It is better to use blinds for this - they are safe and provide a more reliable connection.
- At the installation points of the lamps, make small wire allowances (about 10% more than the desired length).
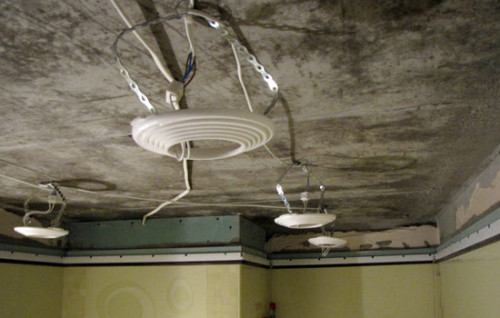
- Attach the installation racks to the main ceiling, then using the perforator, lock the brackets.
- Connect point lamps and check their work. Evaluate not only the functioning of the wiring, but also the quality of the room lighting - at this stage you can still change the position of the lamps, and after mounting the canvas, it will correct anything too late.
- Consider that if you use conventional incandescent lamps when illumination, the plane of the tensioning canvase will be lowered by 10 cm. Once again we remind you that such lamps with a power of more than 40 W for stretch ceilings are better not to use. If there will be energy-saving light bulbs in the lamps, the canvas will drop no more than 4 cm, and here you can not comply with the power limitations - energy-saving lamps are unable to heat themselves.
- Now you can pull the cloth and mark the places where the lamps are installed.
- On the contour of the installation of each lamp, glue a plastic ring. It can be bought in a specialized store along with lighting devices or cut your own hands. These rings do not allow the canvas to break due to the load, which the lamps give.
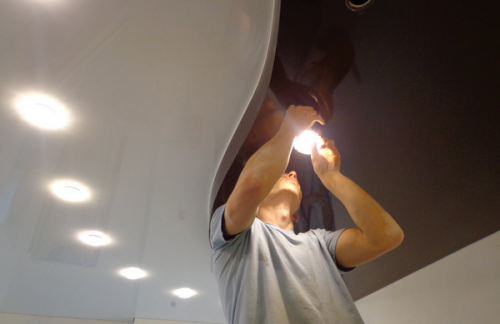
- Press the rings to the film and wait for the whole drying of the glue. Only then can be cut in the hole of the hole along the inner diameter of the rings and connect the contacts to the terminals.
- Press the spring fastening to the case, adjust the position of the instrument and set it up in the level of the web.
Connect the remaining devices along the same scheme. In this case, the wires are better to bring to each of them separately, avoiding fastening on the same line. Then, if the light bullet is burning, only one lamp will go out, not the whole branch.
Fastening chandelier
The chandeliers are much harder to the point lamps, so the frame or the ceiling hook (the easiest way) is used to fasten them. Consider each of the ways in more detail.
Step-by-step chandelier on the ceiling hook:
- Perforator Make holes in the ceiling and secure the ceiling hook per anchor bolts.
- Adjust his position so that it is slightly higher than the ceiling plane - so a glass of chandeliers will fit tightly to the stretch.
- Sample the chandelier to the ceiling, and if the gaps are not formed, sweat it.
If there is an old hook on the ceiling, but you are not satisfied with its location, do not cut it off, but simply bend - in the future it can come in handy.
The second method provides for the fastening of a heavy lamp to the installation bar. You can make it from any wooden bar. Attach it with a dowel to the main ceiling so that it is located in the level of the ceiling or slightly higher. After adjustment, you can screw the lamp to the bar with screws or bolts.
Useful advice: To carefully and securely attach the mounting bar to the concrete ceiling, first drill holes in it, then attach to the ceiling and make marks at the mounting points. It will only remain drilled holes in the ceiling and drive a dowel. So you will be sure that the points of fasteners on the bar and in the ceiling will coincide.
After mounting the point of fixtures of the lamps to the canvas need to decorate. To do this, use special caps and outlets made of polyurethane resin. Products imitate gypsum stucco and very harmonious fit into the interior. If this method is not suitable for you, close the connection location with a small segment of the ceiling canvas - just cut out a circle of a slope of a slightly more attachment point and put on the glue. Also recently, interior vinyl stickers imitating art painting have become popular.
By itself, installation does not cause difficulties. The main task is to properly make the wiring. Finally, we suggest summarize all the above information on the lamps for stretch ceilings:


