Installation of scaffolding Construction
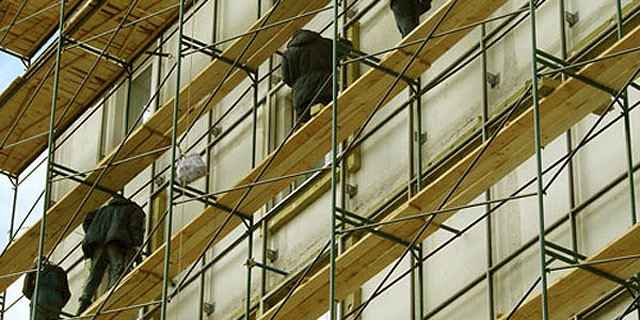
Many construction work, especially those relating to the external decoration of buildings, provide for the use of scaffolding. Such structures allow people to rise to any height and, while in a steady position, carry out all the necessary work. The main requirement for forests is their safety, which is ensured by the right installation and operation. In this article we will tell you how to install scaffolding.
Content
Types of scaffolding
As for the material of manufacturing, the forests can be divided into 2 types: wooden and metal. Wooden, as a rule, are manufactured independently and are used in the construction of small houses. Forests made of steel pipe belong to professional equipment, such structures are more reliable and stable.
Construction of scaffolding is also classified by the type of fastening, they are the following types:
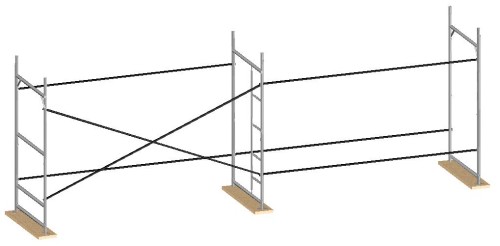
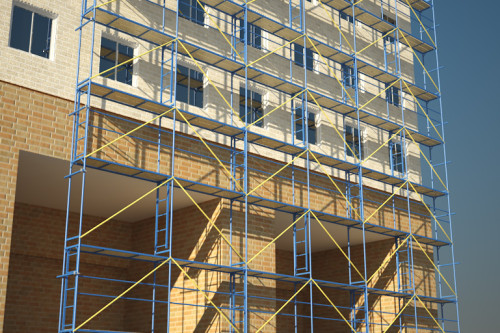
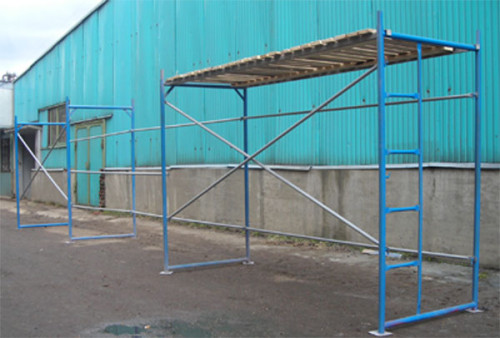
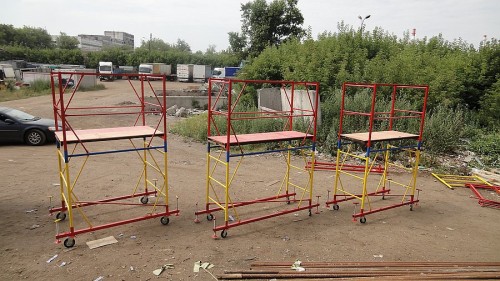
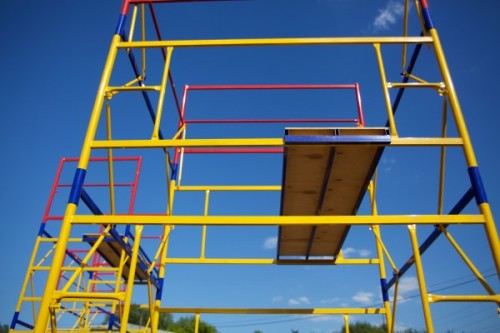
- Frames - the most popular equipment intended for plastering and painting walls. Such structures consist of rigid frames that are fixed on horizontal racks and diagonal bonds with angular connections. The price of such equipment is relatively low, moreover, it is characterized by simplicity of installation.
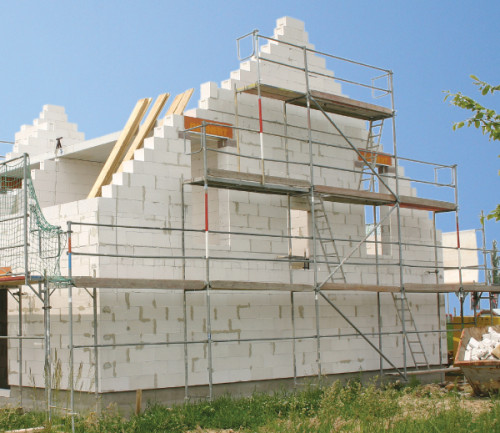
- The pin construction forests are a design, the individual details of which are connected to each other using pin connectors.
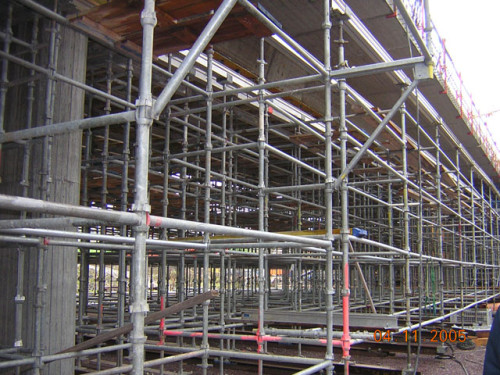
- Wedge-clamp forests are a variety of equipment, often used in professional construction. These forests have the form of frames, fastened with each other details of various types. In the assembled form, wedge-clamp forests have a type of closed design, quite reliable and stable. The price of construction forests of this type is somewhat more than that of the above analogues, and if you want to save money, then rent of scaffolding Price which is acceptable - this is what you need.
Basic Rules for Mounting Scaffolding
If you decide to buy scaffolding, be sure to read their characteristics, as well as installation and operation rules. Below we present the main recommendations that will help you make construction work more secure:
- First of all, you need to familiarize yourself with the design features, explore the rules for its assembly and installation.
- The place where the equipment will be installed must be prepared in advance. The field intended for installation of forests is cleaned of garbage and aligns. The soil is also well tumped and equipped with special drainage.
- Separate fragments of forests rise and are not lowered manually, but using lifting mechanisms.
- Fastening elements, flooring and fencing screeds are installed in the process of assembling forests. Fire frames must be fixed strictly on a plunder.
- To ensure the safety of work, scaffolding must be fixed on the wall of the building in their entire height. The ranks must be even and lying horizontally.
- Workers in the process of operation of the equipment should rise and go down the stairs.
- Dismantling design is performed in the reverse order and only after all building materials, tools and trash will be removed from the forests.
Installation of pinwood scaffolding
Let's look at the features of the assembly and installation of pin construction forests. This process includes the following steps:
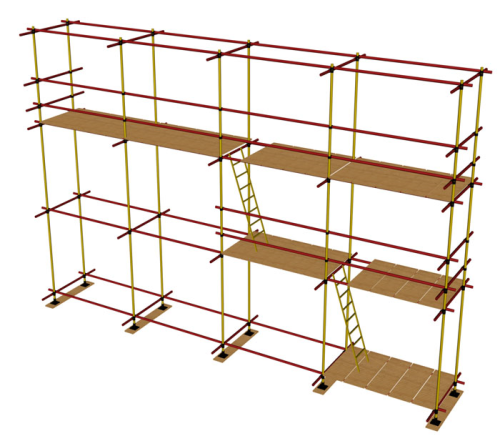
- Initially, it is necessary to carefully prepare a platform for mounting the structure, aligning and tamping the soil. After that, you can put supports by placing them as close as possible to the wall of the building.
- When the supports are ready, the first 4 racks should be fixed on them. Please note the racks must match the type and size, as well as to have grounding.
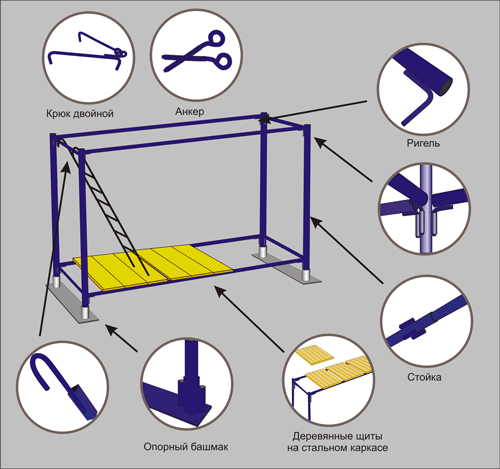
- The third stage is the installation of the next pair of racks on the finished design. Performing the strapping with the help of bollardings, cross the structure around the perimeter and secure the first and last pair of racks.
- Then you can increase the forest to the desired height. In the process of work, you should fasten the new racks with the racks of the lower tier, combining them with the rigels. When the design reaches a given height, you can install stairs and fences, put the flooring. Forests must be attached to the wall of the house throughout their area.
Important! If any defects are detected in any design elements, such details must be replaced with new ones.
Installing frame scaffolding
One of the most common assembly plans are frame forests. Such designs are very popular among builders, because for their installation does not need special knowledge and complex tools. If you finish a small home, then two people will easily cope with the installation of frame forests. For more overall buildings, there will be a brigade of 3-5 people.
Consider a Read more Stages of the installation of frame-type scaffolding:
- The preparatory stage includes familiarization with the technical passport of the design, the preparation of the area, as well as carrying out the instructional of workers.
- When the forest site is ready, it is necessary to install special linings from a tree with a thickness of about 4 cm and so-called support heels (shoes).
- After that, two adjacent first-level frames are installed in the shoes, which are combined with diagonal and horizontal connections. Please note that during the installation of vertical structures it is necessary to use the construction level.
- Similarly, the remaining frames are mounted until the forests have achieved a given length. In this case, it is also important not to forget that the design should be securely fixed on the wall of the building.
- The next stage includes mounting bears on the first working tier, as well as laying of flooring. So that the design corresponds to the safety rules, the flooring should be fixed very firmly. The allowable width of the lumen between individual boards is no more than 0.5 cm. The flooring shields can be placed in length, but the joints of the joints should be placed on supports. All the ranks should have a board with a height of at least 15 cm.
- When the first worker is ready, the second-level frames can be put. They are also combined with vertical and diagonal connections, while the diagonal elements can be mounted in a checker order. However, if you want to make forests more durable and stable, diagonal connections can be fixed in each cell.
- The second tier is fixed on the wall anchor brackets.
- All necessary actions are made similarly to the above, until the equipment reaches the necessary height.
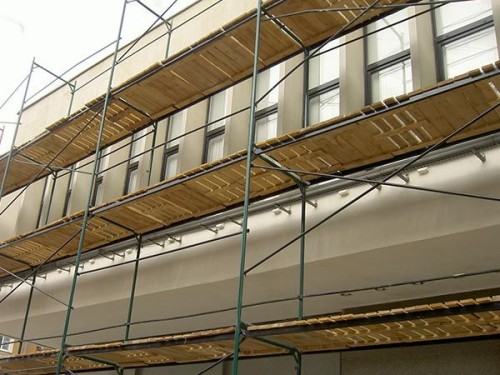
Scaffolding, photo:
Installation of wedge-clad construction
Now we will consider the installation process of the last type of equipment - wedge-clad forests. The installation of such structures is as follows:
- As in the previous two cases, first need to prepare the workplace. After that, lining and jacks are installed on it, the axis of the screws of which should be strictly vertically.
- Then the first staircases are put on the jacks that are connected by farms. After that, the reference racks are attached on the design.
- So that the forests stood smoothly, with the help of screw jacks, you can compensate for various relief differences.
- The next stage includes the installation of carrier farms at that height, where the laying of the flooring is supposed. After that, you can fix the flooring on the steps of the staircase sections.
- Insurance farms are mounted simultaneously with the floor holder.
It is important to remember that the floor holder and parallel staircases must be on the same level. This can be provided by adjusting farms by moving them in the vertical plane.
We also note that when installing scaffolding, more than 5 m is needed to fix equipment parts on the surface of the building wall.


