Wood flooring with his own hands Floors
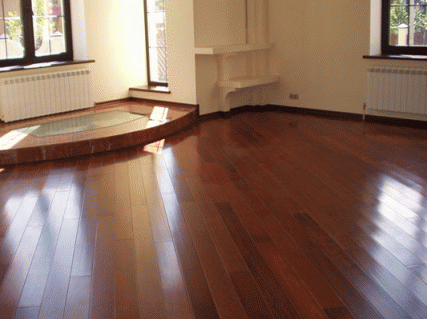
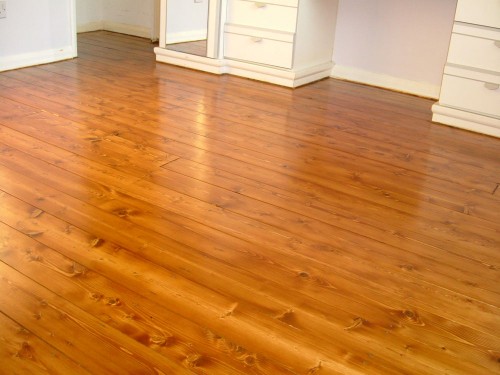
Despite the fact that the current market provides a very wide range of outdoor coverage, natural wood enjoyed constant popularity. Wood floors, regardless of the type of material and styling material selected, always please the owners of their external attractiveness and durability of use.
Content
Choosing wood
To choose the breed, come from the color palette of the interior, personal preferences and wood features that will be more suitable for the type of room in which you plan to install the floor. Note that the cost of flooring of the wooden floor directly depends on the species affiliation of a tree
What breeds should be used?
Most often coniferous breeds.
The Siberian larch is perfect, which, in addition to high strength indicators, has healing properties.
Oak - distinguished by very high strength indicators, thanks to which it is suitable for finishing any type of room. The only drawback is a higher price category of this material. 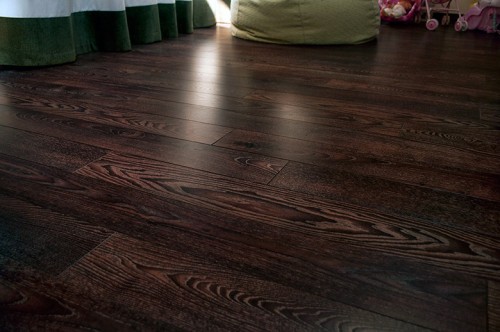
Ospen and Olha are most often used to design a nursery or bedroom. At the same time, the price of wooden flooring will be significantly lower.
It is not recommended to apply as the main material in premises with constant loads on the floor pine and fir. This material is softer in nature, therefore, after a short time, dents are formed, which spoils the appearance not only the floor, but also the entire premises.
What type of material to choose for the floor?
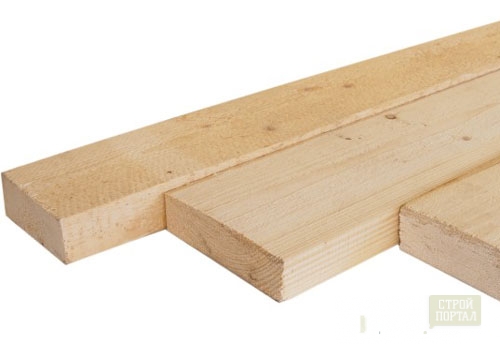
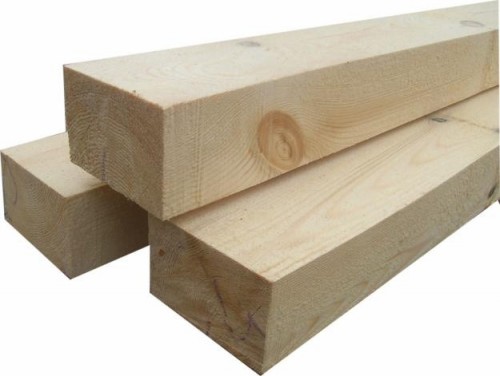
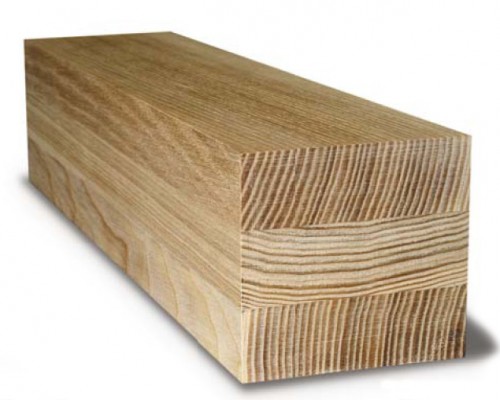
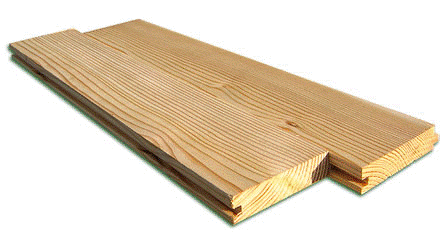
For decoration of the floor, pay attention to such types of sawn timber:
What to pay attention to the selection of wood?
The answer to the natural question: "How much is the flooring of a wooden floor?" It is easy to get, after performing the calculation, based on the complex of indicators, important when choosing. The calculation is calculated, taking into account the fact that the material will require not only a decorative nature, but also for preparatory work.
Criterias of choice
- Dry quality. The material must be dried in compliance with technology. Otherwise, the raw, and the pushed board over time is deformed.
- Grade. Since the boards will be required to design a substrate and decorative, finishing flooring, it is not necessary to buy all the highest quality material: 2 and even 3 grades are quite suitable for the beam beams. It also makes sense not to overpay, but to choose for flooring wood 2 varieties with a planned coating of varnish or paint.
- Quality. Browse the material to be used as the main surface, for cracks, chips, other defects - should not be.
- Humidity. For a draft substrate, wood moisture can fluctuate in the range of 17%, for the cleaner - this indicator is limited to 12%.
- Length of boards. Purchase a bars whose length is at least 2m.
- Processing material. View separate bars or party bar. Be sure to match the parameters of all elements, color, texture.
- The thickness of Bruusyev. To lay the upper cloth, select the thickness of the boards according to the estimated frequency of the lag mounting (step). But, the higher your floor strength requirements, the thicker should be the board. Standard material parameters - 100x25 mm and 120x25 mm. Calculate Made in accordance with the table.
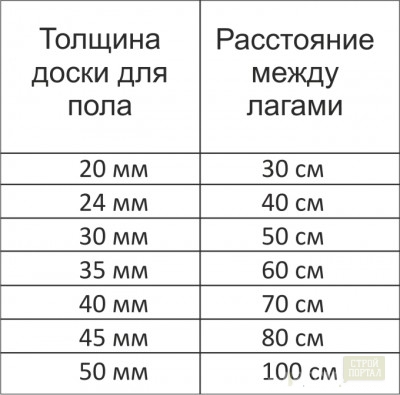
Important! Purchase material with a margin. The theoretical overrun is usually about 15% of the scheduled.
How to make a wooden floor flooring with your own hands?
Select technology, not only laying the main decorative coating, but also preparatory work. Basically, they are in the process of equalizing the initial surface and the installation of a special substrate overlap - lag. High-quality installation of lag will warn in the following gender and the appearance of the screens.
Preparatory work
The volume of preparatory work directly depends on the type of surface on which the floor is planned. It is also necessary to prepare the material itself.
The process of preparing the material
- Collect the planks if they need this processing method.
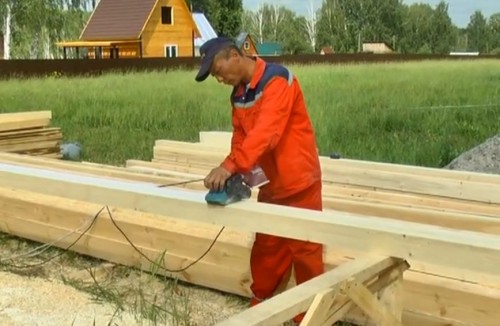
- Treat antipiren and biopropite to protect against fungus and insects.
- Wait for drying.
- Enter the room where the minimum setting is planned 2 days before the start of work.
Main ways to mount lag
- On sad
- On wooden floors
- On concrete floor
- On concrete floor with plywood substrate.
Installation of logs on wooden floors
Sequencing:
- Drill in the beam and board lags pre-holes, with a diameter of 2.5 mm less than the diameter of hardware (by this you prevent the splitting of the board during the installation process).
- Attach the boards of the Lag on the side of the beams of overlaps using screws (recommended size of hardware: diameter - 6 mm, length - exceeds lag width by 2.5 times).
- Observe the mounting side relative to the sides of the beams.
- Check the surface evenness by the construction level.
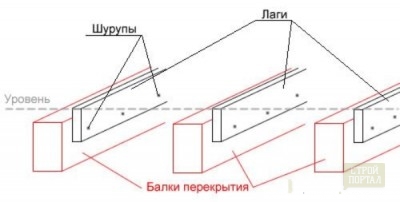
With a large distance between the beams, perform installation as follows:
- Put the boards of Lag on top of the beams of overlaps.
- Attach screws.
- Check the level of surface level.
- Set the next layer of lag to the first, alternating gaps.
- Attach screws.
- Check the flatness of the installed substrate.
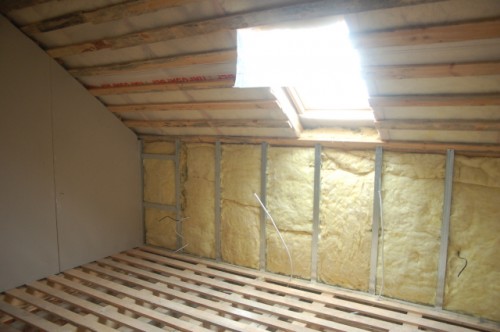
Concrete
mounting process will be slightly different from the first method, given a longer period planarizing. The main burden will be passed in this case, on a concrete foundation, so it is suitable bars of smaller section, for example, 50x50.
Perform work in the following order:
- Prepare a solution of a self-leveling screed.
- Fill surface.
- Cross.
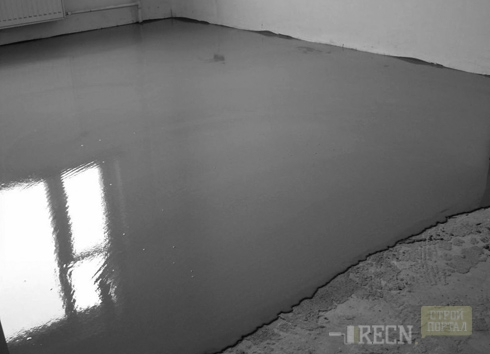
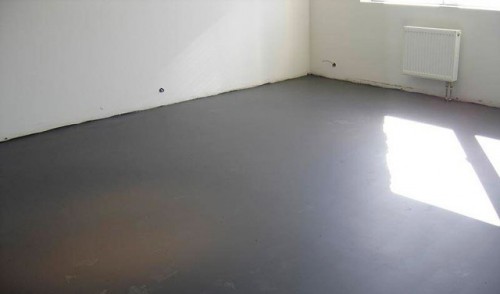
- Wait until the solution has dried (it usually takes 2-3 days).
- Route waterproofing layer using dirt mastic or foamed polyethylene.
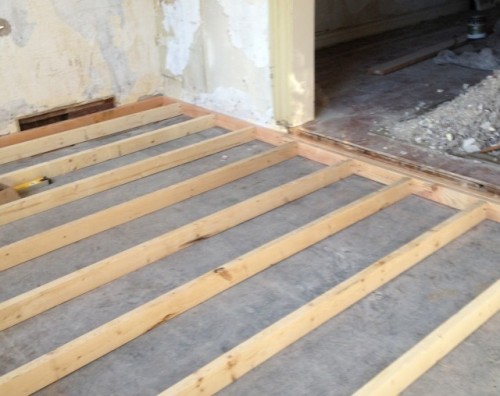
- Make marking territory with regard to the indentation from the edge of 10-15 cm.
- Set building studs with a diameter of 8-10 mm at intervals of 50-60 cm through the proposed lag installation.
- In bars, drill holes for studs, with the extension on the upper face to hide a washer and nut.
- Install the extreme parallel joists.
- Display the level of studs on the edges.
- Pull the twine or cord.
- Fit all the remaining boards lag, focusing on the cord.
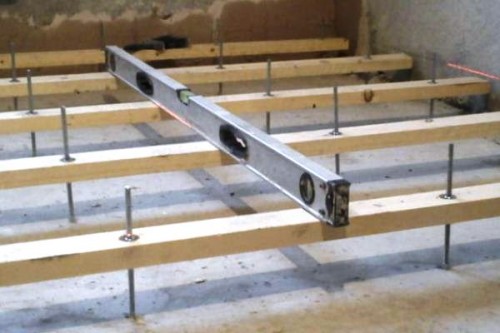
- Spila grinder all protruding ends of the pins.
- Route insulating material between bars.
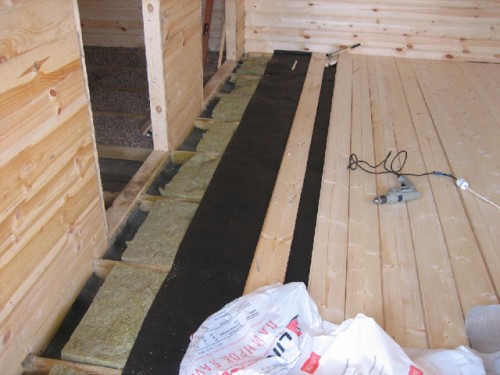
Mounting lag with overlapping veneer
Start of the process is similar to the previous technology - leveling floor screed concrete. As soon as the surface hardness to enable the operation to complete the installation log and veneer sheets.
installation technology:
- Put beacons screwed screws, distinguishing between the whole floor in a room on the squares of 20-30 cm length of one side.
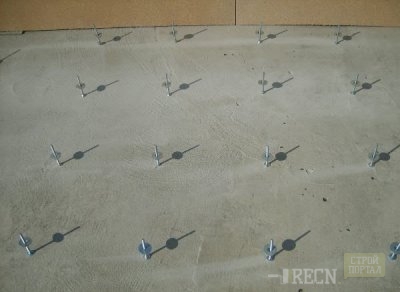
- Install the extreme lag, making indents along the edges of 10-15 mm.
Important! The distance between the beams can be varied depending on the thickness of plywood, a standard step - 40-50 cm.
- Fixing lag perform with self-tapping screws, anchors or wedge lining of plywood.
- Glue all joints design.
- Wait until the glue dries.
- Route glassine layer on the joists (this protects them from condensation).
- Fit the plywood so that the edge of each fragment were on the surface of the lag, but remained in the 1-2 mm gap between the sheets.
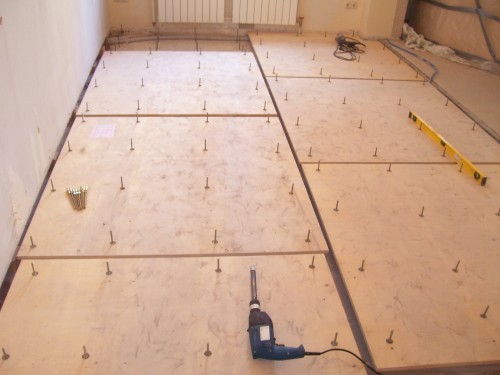
- Use 8-10 screws for fixing each sheet.
- Grind the surface of the detection of irregularities at the end of mounting.
- Check the level of the absence of the slopes.
Important! The use of plywood substrate is not recommended in rooms with elevated levels of humidity and alleged sharp drops of temperature.
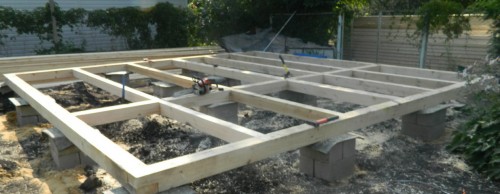
Installation of lag on the ground
Given the nature of the work, the way of installation will differ significantly. But, we note that even in this case, fulfill all the preparatory work and the flooring of the wooden floor alone quite simply. It is only necessary to clearly comply with the terms of the instruction.
Sequencing:
- Failure and crumple the surface of the soil.
- Perform the layout of the supports under the lag.
- Install axial beacons in the places of future columns.
- From each axis, mark 20 cm in each direction.
- Stretch the cord between marking.
- Set the pegs in the places of planned corners of the foundation columns, and then you can remove the cord.
- Remove part of the soil in the marked squares and confuse the surface.
- Fall off the crushed stone and confuse.
- Make a formwork height of 10 cm in the protruding part of the foundation.
- Route polyethylene film for each foundation for creating waterproofing (exception - clay soil).
- In place of the alleged middle of the foundation, install a metal reinforcing grid.
- Fill concrete.
- Continue work in 3-4 days, after the final drying of the solution.
Important! Standard sizes of concrete foundation columns - 40x40x20, protrusion above the surface - 5 cm.
- Perform another layer of waterproofing, now the upper surface of the foundation.
- Make a 2-hslay brick masonry from the M-100 brand brick. Upper position perpendicular to the length of the lag.
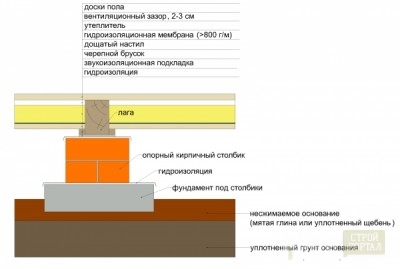
- Waterproofing the rubberoid on top of the brick.
- Ride and secure the noise insulating layer.
- Set lags, ranging from opposite walls.
- Step Lag - 2m.
- Check the level of the horizontal beams and relative to each other and relative to the Earth.
- Secure yourself with self-draws and corners.
- Check the horizontal surface. If you find the deviation more than 1 mm / m2 - correct the linings or grinding.
Wood floor flooring technology
The further sequence of the process depends on the type of material selected. The following are recommendations for the installation of the flooring planks or beams. The principle of installation is quite simple, so it will not be difficult to fulfill it personally, not attracting professionals or assistants.
Perform work as follows:
- Collect the boards if the quality of the surface or parameters require.
- Lay out all the boards for creating markup.
Important! The direction of age-old rings should change in each row.
- Prix \u200b\u200bthe boards after you selected the most correct sequence of layouts.
- Create an indent from the wall at 15-20 cm.
- Install the few first boards.
- Seal their adjacent to lags with the help of a queen.
- Squeeze the boards to each other using a plated wedge and brackets to ensure the absence of cracks.
- Secure all the bars of nails, driven at an angle.
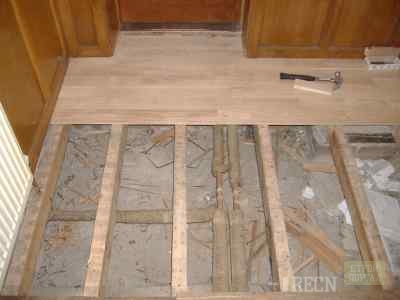
- Mount all the remaining boards for the same principle.
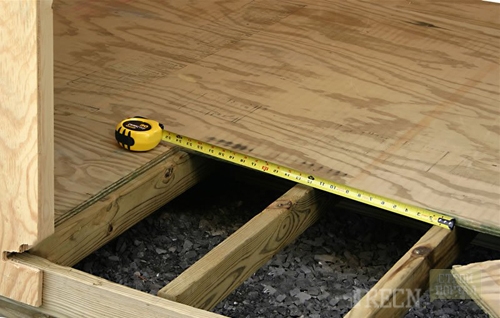
- Collect the surface in the joints of the joints after installing all the boards.
- Install the plinth, closing the clearances left at the wall.
The final processing process of the finished surface
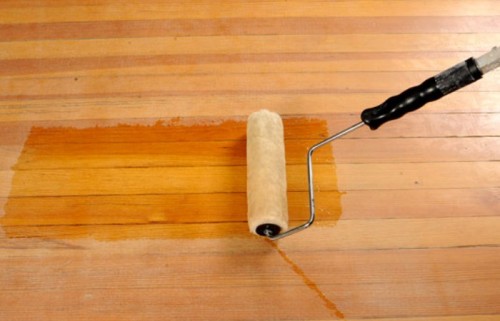
The created wooden floor need a mandatory surface processing to create a more attractive appearance. In addition, the duration of operation and strength characteristics depends on this.
Wood floor finishing methods
Select the most appropriate way and do all the work related to this process.
Important! In order not to leave traces from the roller or brushes, during the finishing work, apply solutions parallel to the fibers of wood.
Video
It will help to clearly understand the technology of creating a wooden floor flooring video applied below.


