Preparation of plasterboard walls to shook wallpaper. Instruction, video Wallpaper,Walls
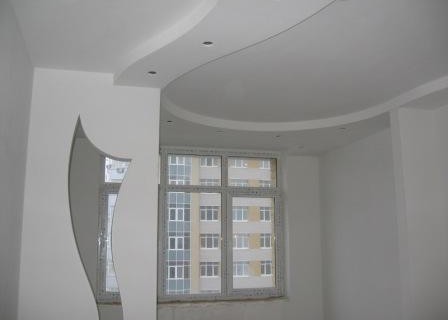
Alignment of walls with plasterboard has a number of advantages:
• Walls are perfectly smooth, angles - strictly 90 degrees
• No time is required to dry up the layer of plaster, as necessary when aligning walls with plaster mixtures
In order for the wallpaper to look beautiful, and did not have problems with subsequent repair work, it is necessary to properly prepare a plasterboard wall under the wallpaper.
Content
The price of such work in construction companies is consistent from the preparation of GLC - cutting the seams, primer, sealing the joints and the full splock of the wall. All these works can be performed independently.
Tools and materials
- two spatula - wide and narrow
- construction knife, replaceable blades for it
- brushes, roller
- grinding grid with holder
- protection Facilities - Gloves, Respirator
- ladder
- capacity for kneading, drill, mixer
- screwdriver or screwdriver for self-taut
- sherryanka for sealing seams and joints
- primer
- two types of shtlocks - for joints and for putty GLK completely
- perforated profile to protect the outer corners
- scissors for metal
Stages of preparation of walls of plasterboard under the wallpaper
• Construction knife, at an angle of 30-40 degrees, cut the joints of the drywall with a cropped edge. On the edge, the hyposprict is not necessary to cut, cut joints only in those places where cropped sheets are used.
• Check if the hats of the screws are sufficient enough. Visually, this is not always noticeable. Swipe on the surface of the sheet - it is so easier to detect the protruding hats. Using a screwdriver or screwdriver, tighten the screws so that they can be deepened in a sheet of plasterboard.
• Primer. Pass the brush of the angles, joints, special attention to the places where the sheets are scrapped. Roller leak up the entire surface. Drying time primer is indicated on the package.
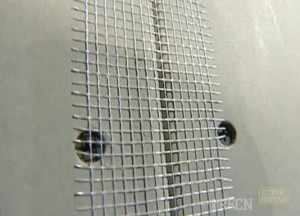
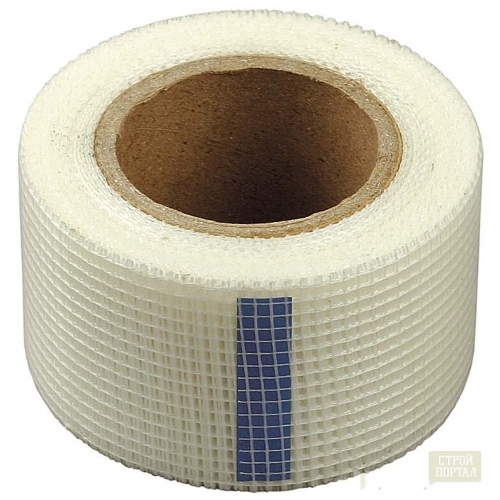
• Putcloth of seams. After the primer dried, proceed to the sealing of the corners and joints. The reinforcing tape is applied when the seams are applied - serpent, construction bandage, or perforated paper tape.
There are two ways to stick a sickle. The ribbon is covered with adhesive composition - it can be pasted directly on plasterboard before filling in the seam by putty.
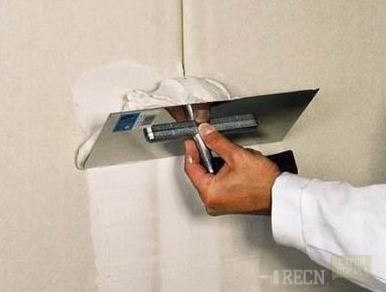
The second method is filled with a spa, then a ribbon is fastened with a spatula, covered with a second layer of putty, the surplus is removed. The spatula is better to hold perpendicular to the junction - this allows you to fill the entire emptiness between the sheets.
The subsequent layer of the putty is applied after the final drying of the previous one. Seams must be two or three times. Check if there is no deepening on the seam of seam, you can attach a wide spatula to the edge to the wall.
• Fill the recesses in places where screws are spinning.
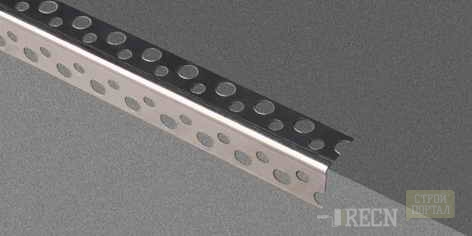
• To protect the outer corners, use a perforated aluminum corner.
Cut the corners of the desired length with scissors for metal. Apply the plate on the angle, press the corner so that the shplanke will squeeze through the holes. Split spinner spatula.
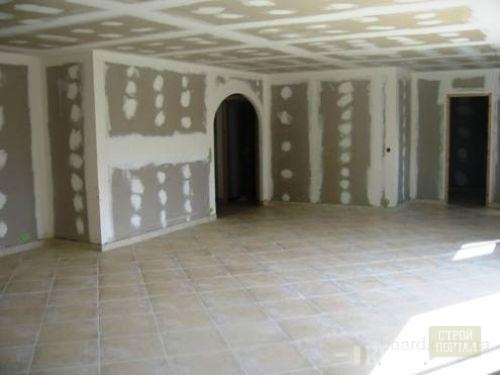
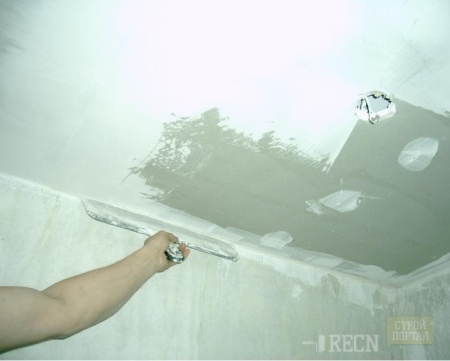
• After all the seams and joints are embedded between sheets, internal and outer angles, the screws of the self-tapping screws are covered, we can begin to put the entire surface of the drywall.
• The time of complete drying of the shp can - no less than a day. Stick up the surface, remove dust.
• Scroll through the wall before sticking wallpaper.
Important moments in work
- Do not use plasterboard plaster on cement based on
- The plasterboard gun can be started only after the end of the work associated with high humidity in the room. For example, floor ties.
- Do not knead a lot of replacement on the seams. A lot of time on the camping of the seams is a lot of time, the putty is grabbed quickly, you will not have time to work out.
- Thoroughly wash the tools and the tank for the shtlock after each kneading. Particles of frozen splocks that fell in fresh damn reducing the time of the robustness of the putty.
- Working from the stepladder is uncomfortable. Find the table to which you can put the putty and put the tools.
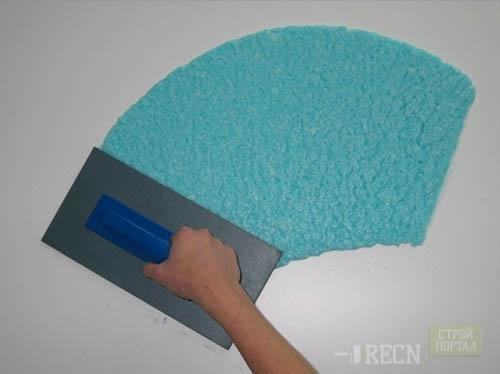
Preparation of walls under liquid wallpaper
The preparation of walls under liquid wallpaper is not significantly different from the preparation for the sticking of ordinary wallpaper.
Before applying liquid wallpapers on a sharp-covered and projected surface, a layer of emulsion paint should be applied. In the paint, you can add PVA glue. The purpose of such technology for the preparation of walls under liquid wallpaper is to reduce the hygroscopicity of the surface. The paint layer will create a film between the putty and the liquid wallpaper. This will help avoid the appearance of spots and properin at the final stage.
FAQ
Why do you need to primer plasterboard?
In the process of installing HCL on the walls, a lot of dust falls. For the shplanke in the future, the primer is applied. The primer helps strengthen the plasterboard in places where the edge is cropped.
In the final preparation of walls, the primer is applied at mandatory. If the sprinkled walls are badly projected, the moisture from the adhesive will quickly be absorbed into the putty. The glue will lose its qualities and wallpaper will populate the wall. Especially carefully you need to grind the walls when pasting wallpaper under painting.
The primer will suit the universal. Deep penetration primers are designed to strengthen loose plaster. For the price they are more expensive. For GLCs will be quite universal.
What reinforcing ribbon to apply?
Reinforcing ribbons are produced several species. If you ask the Serpiank shop - you can offer a self-adhesive fiberglass tape or a construction bandage from nonwoven material. Both are called Serpian on sale. But the finishers are called sickle with fiberglass ribbon. In this paper, such a ribbon is much easier than a building bandage or paper reinforcing tape.
The construction bandage when working twisted, bubbles. Paper perforated tape requires skills in work.
Why do you need to put plasterboard completely?
Wallpaper sticking without a putty - a gross mistake in work. The putty of the entire surface of the drywall is the necessary stage of the preparation of the wall to the blending of the wallpaper. Full putty helps to finally smooth out the irregularities of the transition from the butts of the sheets on a smooth surface. With subsequent repairs you can easily remove wallpaper from the wall. Wallpapers, kicker without a putty, will be kept. But to remove them during subsequent repairs it will be impossible, without damaging the GK-sheets.
What attack is better to use?
For sealing the seams, the plaque is applied fogenfuller or Uniflot of Knauf. Many manufacturers indicate the packaging that the shplanke is suitable for this purpose. For example, the finish "prospectors" or the stitches of the company "Knauf". If you decide to decide to close the seams using the specified putty, the shakes are blocked every time before applying a new plaque layer.
For the finishing putty of the entire surface, the finish firms "prospectors" or polycron are used - the finish plus. Ready putty are convenient in work, but at a cost more.
The video shows how to put the joints:
Here you can see how to install protective corners correctly.
The final preparation of the walls of drywall is a finish attack.


