Floors in the corridor: photo, choice of material, installation Floors

The floor in the corridor is experiencing significant loads during operation, so the choice of material for its device should be treated seriously. It is important to take into account the aesthetic component, but the carpet and laminate are not suitable for this part of the apartment: their service life will not be long. In addition, we need a warm floor in the corridor to create a cold air barrier coming from the outside. How to make the floor in the corridor so that he meets such high demands? Let's try to deal with it.
Content
Types of floor materials in the corridor
For the floor of the floor in the corridor, solid, wear-resistant coatings should be used, such as:
- natural wood (used in the manufacture of a headboard, parquet, parquet board);
- ceramic tile (and its variety - porcelain stoneware);
- polymer materials (linoleum, bulk sex).
How to make the floor warm
Before choosing any of the above materials for the floor, it is necessary to determine the type of heating element that can be used in your apartment. Hydraulic warm floor in the apartment (if it is not provided for by the project) cannot be mounted. In this case, the possible solution is the electric heating floor. For what materials does it fit?
- Linoleum (without insulation): For such a coating, a film warm floor should be used. Such a system moderately heats the surface and cannot damage the material.
- Parquet board, headboard: In this case, film heaters are also preferable, as they do not allow wood to rehabilitate. In addition, infrared heaters practically do not occupy volume and therefore do not increase the height of the floor. This means that they can be laid not only with overhaul.
- Ceramic tile, porcelain stoneware: Such a coating is laid after the device with a thickness of at least 50 mm thick. Before the tie, the installation of a warm floor system based on heating mats or cables should be installed.
Preparation of the surface before installation
Before mounting a warm film floor, it is recommended to conduct the following events.
- Check with the help of the rule and building level the quality of the floor surface: it should be smooth and smooth. Rights exceeding 2 mm per 1 m must be eliminated by grinding.
- The basis should be cleaned of dust.
- The heat-insulating substrate made of foamed polyethylene with a metallized surface is placed. The sheets of the material are joined and skill with a tape with an aluminum layer.
Installation of film warm floor
Technology provides the following sequence of actions.
- Cut and labeled the film along the long wall of the corridor: so you can reduce the number of segments.
- The film is placed by copper tires the book, the joints of the joints are sicking with scotch. There should be no material chances.
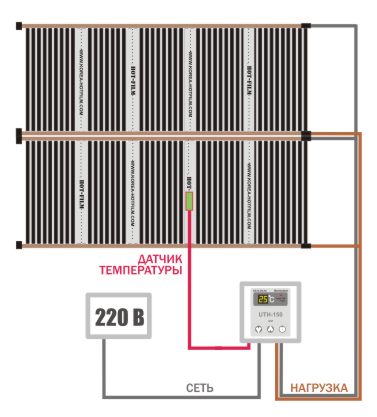
- Copper tires of adjacent stripes are connected by contact clips and isolated. Connection locations should be located near the same wall. It is also installed thermostat.
- In order for the contacts of the clamps to be discharged and did not interfere with the laying of the first floor, in the appropriate places of the heat-insulating material it is necessary to cut out the recesses.
- The compound of the conclusions of the film warm floor with the power grid is performed in a specially installed junction box.
- A place is selected where the thermal sensor is stacked under the film. Its conclusions are connected to the control system (to thermostator).
- Before laying a finishing floor, measures are being taken to protect infrared film. Under the parquet or parquet board is placed plastic film with a thickness of 50 μm, and under linoleum - sheets of plywood or OSB with a thickness of 6-8 mm.
Important: You can cut the film only by a special line marked with a barcode with a symbolic image of scissors.
Visual information on the installation of film warm floor is contained in the video:
Installation of heating mats
In the event that when choosing a material for the floor device in the corridor, the choice fell on the ceramic tile, it is possible to organize the heating of this zone using heating mats. Preparatory work is performed according to the same scheme as for film infrared. After that, the following is performed.
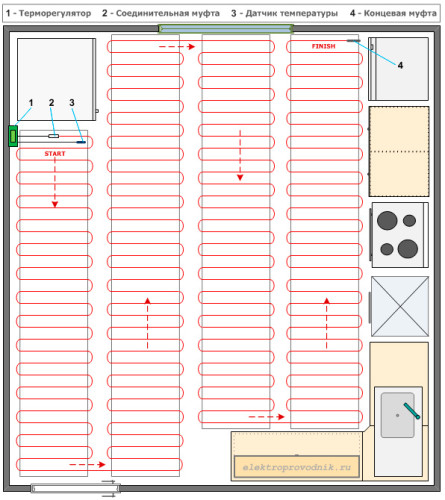
- Mat lay down along the corridor by the method of "snake", cutting the grid in places of rotation of the heating mat. It is important to remove the protective adhesive tape before laying. Neighboring cables must be in no less than 6 cm.
- Cable conclusions are connected to the thermostat installed on the wall-free part of the wall. With an insufficient length of special wires, you can use part of the heating.
- Install the temperature sensor and connect it to the thermostat.
- Connect the system to a home power grid.
- Tile glue is applied over the heating mat, which is spacked with a toothed spatula.
- The tile glue is placed ceramic tiles or porcelain tiles.
It is important to remember that the operation of such a floor can be started after 2 days - after complete drying of the tile glue.
Corridor Floor Design: Some Takes
Floors in the corridor (photos of the most successful interiors - you should be not only practical. When choosing a floor material in the corridor, its textures and colors are guided by the following rules.
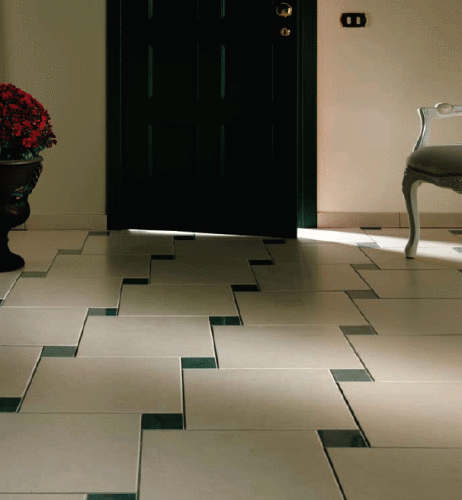
- Diagonal or transverse flooring is visually expanding a narrow corridor.
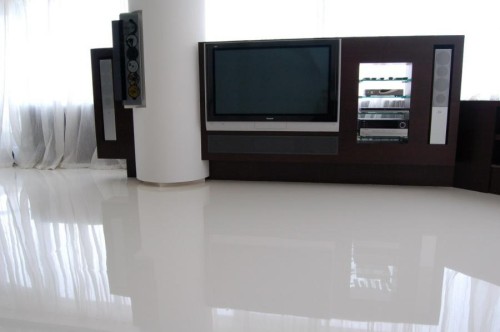
- The white floor in the corridor will be marked, but for a small area is the best solution.
- Laying the same material in the corridor and neighboring premises also contributes to a visual increase in space.
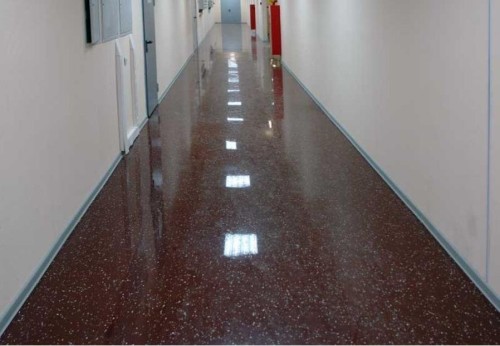
- In the event that in the apartment a large corridor, the dark floor will be quite appropriate: traces of pollution are less noticeable on dark brown tiles.
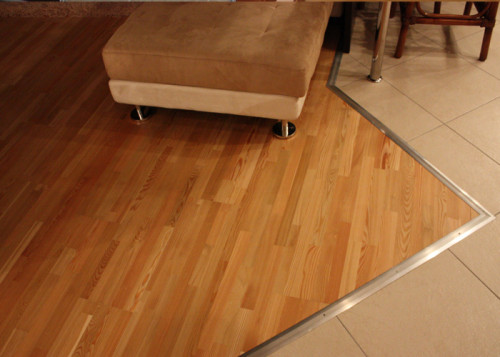
- The combination of materials can be "zoning" the corridor, having highlight the most loaded area and the parade. Near the entrance, for example, put the ceramic tiles, and in the parade - parquet or parquet board.
Floors in the corridor do it yourself: Tile laying technology
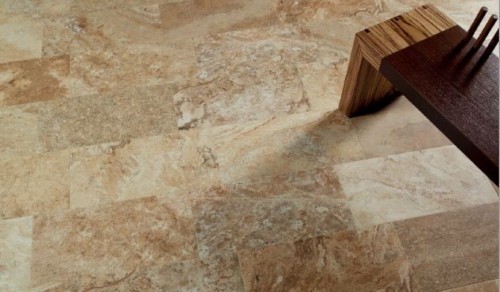
Tile for the floor in the corridor is the best choice. This is the most practical and durable material. If the area is large, you can put porcelain stoneware on the floor in the corridor. It is characterized by a lot of strength and at the same time it successfully imitates a natural stone. Large-format porrite tiles than the usual tile, so the selection and laying of this material requires the following rules.
- The tile surface should not be slippery: you should choose a matte, rough.
- Tile class is preferably a and c: such material is characterized by increased mechanical strength.
- Laying the tile begins with the correct layout. It is necessary to avoid narrow "feeds", for which it is necessary to distribute ceramics from the middle - to the parties.
- The floor of a narrow corridor should lay a small tile. The diagonal location will also help visually increase the area.
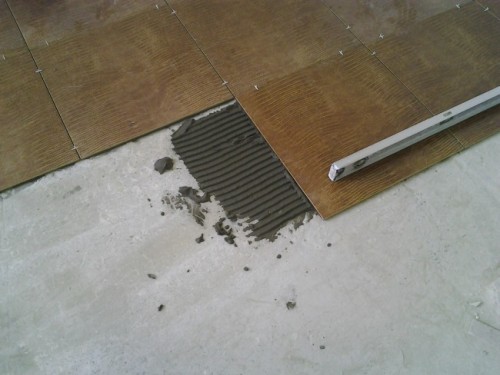
- Tile laying is performed on a special adhesive mixture on a cement basis. The glue is distributed according to a predetermined surface with a toothed spatula.
- There are 3-5 mm gap between tiles, for which special plastic crosses are used. Faster and easier to put the tile with special ribs: in this case you do not need to use in this case. Porcelain stoneware is stacked in a seamless way.
Important: When gluing the tile, it is necessary to check the level of its position of the horizontal plane.
Stalim Linoleum: Basic Rules
- For the corridor, it is recommended to choose the linoleum of such a width to make all its area without junctions.
- For a small area, it is better to choose a material with a small pattern or without a pattern.
- If the area of \u200b\u200bthe corridor does not exceed 25 m², the linoleum is stacked without glue. For fixing in areas with high passability, double-sided tapes are used. If glue is needed - it is applied and evenly distributed on the base with a toothed spatula, after which the linoleum rolls over and tightly pressed the roller.
- Before laying a roll of linoleum, it is necessary to deploy and give it to be searched for several days.
- The sheet is laid on a flat, purified from dirt and dust base, retreating from the wall of 4-5 mm. The linoleum should be on the other walls with a small adhesive for subsequent fit. Advanced before mounting the plinth must be cut off with a shoe knife.
- If there are niches, it is necessary to leave the appropriate science.
Laying Parquet Board: Technology
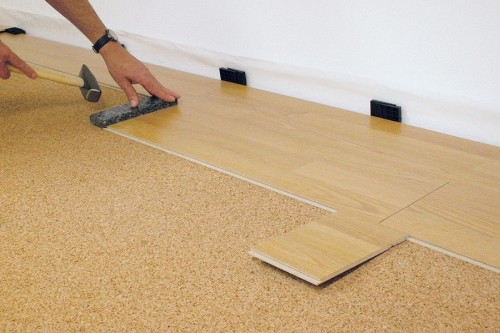
A parquet board is laid without applying glue, docking is performed in the lock. The installation sequence is as follows.
- The first row of boards is placed on a polyurethane or cork substrate along a long wall. It is necessary to orient them so that the grooves is facing the corridor.
- The following row should be shifted relative to the previous one by about 1/3 of the board length. This rule is observed for each row.
- Along the walls, the compensation clearance is 4-5 mm, which is eventually closed by a plinth.
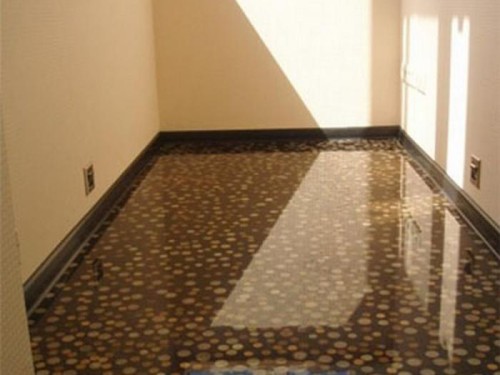
Bulk gender: About the installation process
The bulk floors differ in a smooth surface with an abrasion resistant to the upper layer. Phased Polyurethane Filling Technology can be described as follows.
- The surface of the cement screed is processed by primer twice, after which it is necessary to wait 12-18 hours until its complete drying.
- The working mixture is prepared in compliance with the proportions of the components specified by the manufacturer on the packaging.
- The base layer is applied to the base and evenly distribute over the surface using the rule.
- The entire flooded surface of the hall of the corridor needs to be labeled with a needle roller: it is necessary to remove air bubbles from the mixture.
- The finishing, aligning layer of a thickness of about 2 mm is applied after 2-3 days after drying the base layer. Application technique is similar.
- The last layer is polyurethane varnish. It will make the floor brilliant and protect it from mechanical damage.
Important: After the end of the fill requires 2 days to monitor the temperature and humidity in the corridor. They should be stable, otherwise cracks may form.
Help to avoid mistakes in the installation process of bulk sex helps video:


