Preparation of walls under painting paints and varnishes,Useful advice,Walls

It is possible to arrange the walls of the room in many different ways, and each of them involves preliminary surface preparation. For example, finishing the tile or panels hides almost any drawbacks, so it does not need careful alignment of the walls. Dense wallpapers are also able to hide small irregularities, but with pronounced defects they cannot cope. But the painting of the walls requires the most thorough preparation of the working surface, because even the most minor flaws will be visible under the layer. About how to prepare walls under painting, we will tell in this article.
Content
Wall Staining: Types of Working Surfaces
The texture and material of the walls that can be subjected to staining are the most different. In modern interiors, such types of surfaces are most often found:
- plastered and swept wall with a smooth texture;
- relief decorative plaster or putty;
- smooth surface of the wall: wallpaper, panels, tiles, etc.;
- textured plaster;
- wood.
Getting Started to prepare a wall under painting with your own hands, it is necessary to take into account the type of work surface, because some preparatory processes for different walls may differ. However, in most cases, such a work consists of several main stages:
- wall leveling;
- close up of surface disadvantages with starting and finishing putty;
- cleaning the wall and opening it with a layer of primer.
As for the finish to paint the walls of the wood, the process of preparing such surfaces will be somewhat different. Initially, the tree is well grinding and smeared with putty the most deep gaps and irregularities. At the same time, the natural structure of the wood is trying to preserve if possible. The grinded surface is impregnated with antiseptics and antipirens that protect material from fungi, mold and parasites, and also make it less combustible. Then wood is allowed to dry and get to her staining or opening with varnish.
Preparation of walls under painting in the case of working with textured plaster or other embossed materials in most cases provides for only primer, since such surfaces do not need alignment and grinding. Wallpapers intended for painting can only be opened with a layer of diluted glue.
Wall Preparation Technology Painting
Leveling the working surface
Before you give a smooth wall one or another shade, it must be carefully aligned, so that even small defects are not released under the thin layer of paint. Wall alignment can be performed in several ways:
- grinding;
- plastering on beacons;
- aligning the surface sheets of plasterboard.
Each of these methods would like to describe in more detail:
- You can grind the wall only if it is durable and strong, and also if it is already quite smooth and does not have noticeable recesses and protrusions. Permissible flaws on such a surface should not exceed the indicator of 2-3 mm. If the wall is durable and you are sure that during the grinding, its structure will not be damaged, then you can safely begin to work. From the surface, you should remove the former decorative coating if it is, as well as the top layer of plaster. The plaster can be grinding with ordinary sandpaper, after having wrapped in it a wooden bar, and you can use a special grinding stone. Remember that in the process of such work in the surrounding air, a huge amount of dust falls, so the respiratory tract needs to be protected by a respirator or a mask, and put on the eyes of the glasses.
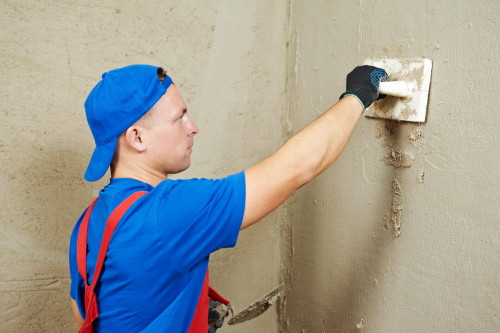
- Stuccoings of walls under painting are relevant if the surface is very curved, has deep depressions and cracks, as well as noticeable protrusions. Wall plastered conveniently produced by lighthouses.
- The walls of the walls of the plasterboard sheets will help in a short time to create a practically perfectly smooth surface. This work is performed much faster than plastering, and the quality of the wall is quite high. After installing drywall sheets, you only need to shake and lure the joints between them.
The obligatory stage of alignment of walls under painting is its subsequent priming. After working with a primer wall, you need to give dry for at least 6 hours, more detailed information on this account is contained on the package with the material with which you have to work.
Wall putty under painting
Splashing walls necessarily if you work with an plastered surface or with a drywall trim. In the first case, with the help of putty, you need to hide small disadvantages in the form of cracks, irregularities, roughness. In the case of plasterboard sheets, the putty will be needed to close the joints between the individual elements of the trim.
Before putting the walls under painting, you need to purchase 2 types of material: starting and finishing putty. Basic putty is designed to align the most deep and noticeable defects. The structure of such a substance is quite grainy and coarse, but it is precisely it allows you to quickly fill deep cracks and pits in the wall. It is necessary to drain the mixture with water in accordance with the information designated on the product packaging. If the putty was purchased in the finished form, you can open the packaging only before the finishing process itself, since the material will quickly dry after air from entering the container.
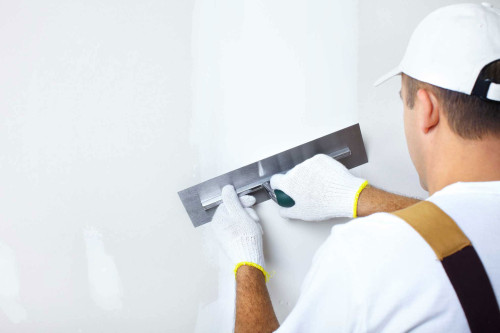
The base layer of the putty will hold better if during operation to use a special grid. Initially, with the help of a wide spatula, the wall fragment is covered with a 2-3 millimeter layer of starting putty, then the mesh is applied to it and pressed it to the surface with a narrower tool. A narrow spatula also helps to smooth out irregularities and evenly distribute the composition along the wall. The painting mesh is revealed by another layer of putty and leave at least 6 hours until the material is completely frozen.
The next stage, the dried surface is grinning to get rid of roughness. Asking the question, how to put the walls of the walls to paint, it is important to know that the grinding process should be given enough attention. This work is quite painstaking and long, but even smooth and smooth wall under the layer of paint will look excellent. The wigble wall is grouped by a special grout, on which an abrasive grid with a grain of 120-150 μm is fixed. The surface is treated with parts, constantly controlling the result of labor. It is also necessary to remember that the layer of putty on the wall is not so fat, so it is important not to rearrange and not consider too much.
When preparing walls to staining can not do without finishing putty, which will help smooth all the small irregularities and remove the extra grain of the wall. Such material has a homogeneous structure that does not contain large particles of the filler, so the treated surface is obtained very smooth. The density of the finish putty is quite high, so as not to absorb excess paint, thereby reducing the consumption of the material. The method of applying material on the wall is almost no different from the above, only the finishing layer must be slightly thinner and make up not more than 2 mm. If you apply a fastening layer, in the process of drying, it can go cracks.
The finish putty is also necessary to grind after the frozen, but the abrasive grid should be taken more small, the grain size should not exceed 60-80 microns. It is also important to remember the thickness of the material layer, trying not to capture superfluous in the process. There are situations where the finish putty is applied not in one, but in several layers. This is necessary if, after the first application, noticeable irregularities remained on the surface. Check such defects are very easy: you need to send light from the lamp at a slam angle to the wall, then the shadow from the protrusions will fall so that all errors will be noticeable.
Cleaning the walls and their priming
When the work surface is plastered, covered and polished to almost the perfect state, the entire construction garbage and dust should be removed. The wall can be cleaned of small particles with a vacuum cleaner, a soft brush, a dry cloth. These tools can be used in one way, and you can combine them to achieve the desired result.
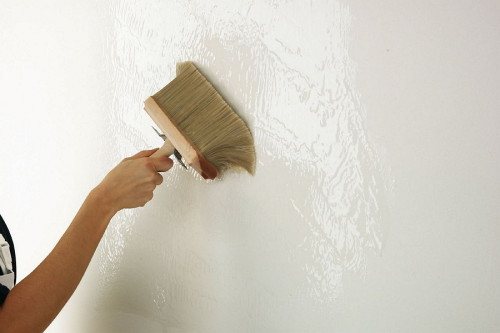
The smooth and clean wall is also desirable to operate with a layer of primer. This material will help the paint to lie on the surface more smoothly, as well as provide the best grip of the dye particles with the wall. The primer is usually applied in 1 layer, after which it is waiting for its complete drying. Drying period must be specified on packaging with purchased goods.
It should be taken into account that the primer is different and it should be selected, based on the type of paint, which will subsequently be covered by the walls. Almost under any paint, with the exception of oil, acrylic primer can be used.
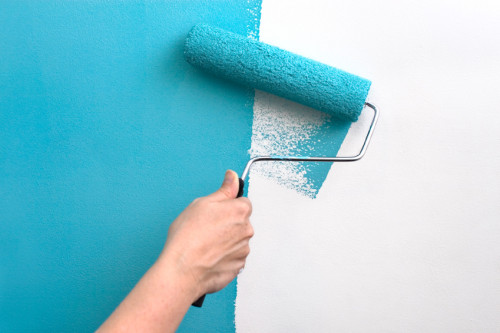
For work, there will also need some tools, for example, a maclove, a roller or a spacing. Preparation of walls under painting is considered completed when a layer of soil dry on the surface is dry.
Types of paints for walls
Defined with how to prepare walls under painting, you need to take into account and the material you will decorate the room. To date, water-dispersion paints used for staining ceilings and walls indoors are considered a very popular option. It is quite simple to work with such compositions, they fall on the surface easily, spread well, forming a uniform layer. Water-dispersion paints dry in a short time, almost not faded and hold on the walls for a very long time, without falling. In addition, there are no organic solvents as part of such materials, so they are harmless to health and the environment. The surface covered with a similar substance is well transmitted by air, so the walls of the room, painted by water-dispersion paint, do not mold and do not rot, and in the room itself the optimal level of humidity is maintained. Depending on the component composition, such paints are divided into several types:
- Acrylic paints are made on the basis of acrylic resins. Their main advantages are high strength, long service life, the possibility of applying on various surfaces, vapor permeability and protection of walls from excess moisture. The surface covered with acrylic paint can be washed, and besides, a similar material is resistant to ultraviolet radiation. Such paint does not fade into the sun, so it can be used not only in the interior decoration, but also in the decoration of facades. Apply acrylic paints for the design of walls from concrete, wood, gypsum. Such compositions can cover plastered surfaces, as well as walls that were plated by wallpaper. It is easy to work with acrylic paints, because they are well applied to the wall and are easily distributed over it.
- Latex paints are in their composition latex rubber, which provide complete waterproof material, its elasticity and durability. The surface painted with such a composition looks very smooth and dense, easily washed with water and many cleaning means. Latex paints are more expensive than acrylic, but it is convenient to use them in wet rooms, as well as where the walls for one reason or another are often dirty. Weight minus material - low solar radiation resistance. Latex formulations will be fused under the prolonged exposure to direct sunlight, so it is better not to use them for finishing the facades.
- Another kind of water-dispersion paints is vinyl formulations. The smooth vinyl surface looks quite attractive, but poorly repels water. Paints based on polyvinyl acetate It is difficult to clean in case of contaminants, so they are practically not used in the outer decoration, and also not used in the design of rooms with high humidity. Such formulations are designed to decorate walls and ceilings in rooms with sufficiently dry air. Plus, the vinyl-based paints are their low cost.
- Combined compositions have mixed characteristics. Latex-acrylic paints are often used in wall decoration, which are considered very durable, waterproof, simple in care. Such materials protect the walls from moisture, easily clean, retain the color for a long time, do not cry and do not crack. Latex-acrylic compositions can be used to finish the walls in rooms with the most unfavorable conditions.
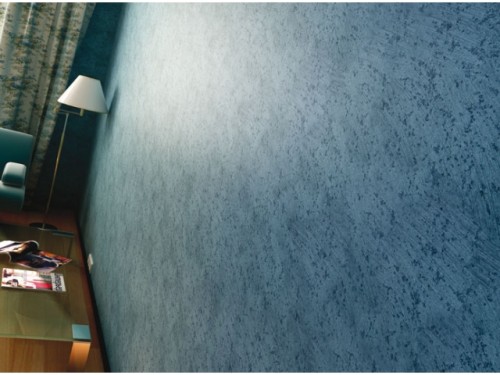
Walls under painting, photo:


