Ceiling on the balcony with your own hands Ceilings
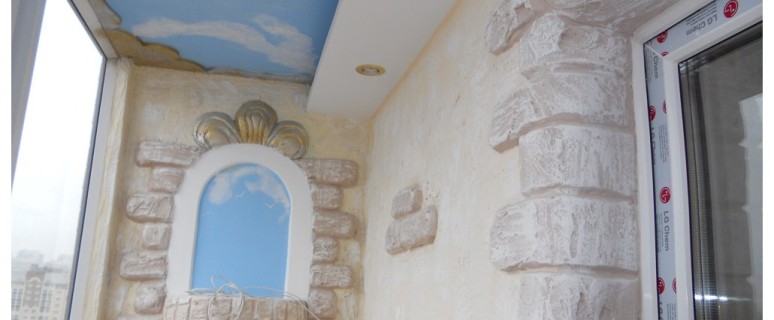
The ceiling decoration on the balcony should pay special attention, given the feature of the room. It is necessary to choose a material resistant to temperature drops and sunlight. It is also important that the ceiling on the balcony can easily be put in order using conventional detergents. How to make a ceiling on the balcony will be set out in the article.
Content
Stretch ceiling on the balcony
One of the modern methods of trimming the ceiling is the installation of a tensionable web or a film made on the basis of polyvinyl chloride (PVC).
Benefits of the stretch ceiling
The following advantages of this material are convinced by choosing:
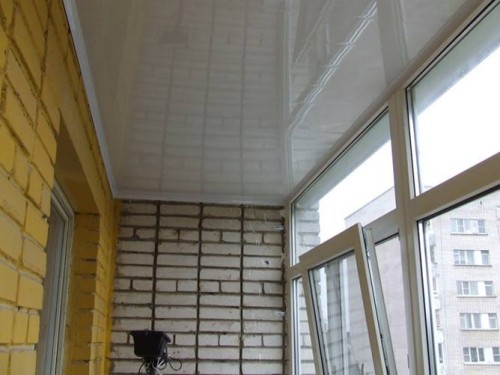
- aesthetic attractiveness: Stretch ceiling on the balcony (see the photo below) Further increases the space even a small balcony, and the variety of colors and shades makes it easy to choose a coating to other materials;
- long service life: coverage of this type will last at least 10 years, and fastening elements - more than 30 years (which allows you to install a new web without replacing a baguette);
- safety: The material of the web does not cause allergic reactions and does not allocate substances harmful to health;
- resistance to external influences: high-quality material does not change the colors under the influence of ultraviolet and does not crack;
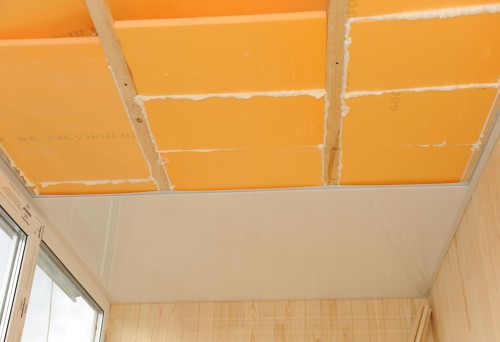
- the possibility of installation of heat and noise insulation: the space between the base of the ceiling and the coating can be filled with mineral wool, foam or plates from extruded polyurethane foam;
- the ability to install hidden wiring and built-in lamps;
- installation does not require preliminary preparation of the base surface (you can hide its disadvantages).
Choose a cloth for the stretch ceiling
Manufacturers offer two types of stretch ceilings: based on tissue and in the form of a film.
- Polyester-based canvas well withstands temperature difference due to protective compositions and has mechanical strength. The disadvantage of the canvas is the limited color scheme.
- PVC-based film can be glossy or matte. Color can be almost any, it is also possible to apply a photographic image. Disadvantage - in poor resistance to sharp temperature drops. Installation is performed using a heat gun.
Tip: Given the complexity of using a heat gun and weak resistance to temperature drops, it is recommended to mount a polyester cloth. The longer will last such a stretch ceiling on the balcony: reviews and practice indicate that this material, unlike PVC film, can be used to finish unheated balconies.
Montaja technology
The stretch ceiling on the balcony can be installed without the help of professionals. For work it is necessary to have at your disposal:
- baguette for fixing the canvas around the perimeter of the balcony with a margin on the pattern of angular connections (there are two types: clip and stroke);
- hacksaw for metal (for sipping baguette);
- dowel;
- web required size (determined by the area of \u200b\u200bthe ceiling of the balcony plus 0.15 m to each side for refueling to baguette);
- construction level;
- screwdriver;
- pencil;
- roulette;
- putty knife.
IMPORTANT: Before starting to install the tensioning canvase, it is necessary to pave electrical wiring for mounting the lamps and complete the walls of the walls.
The sequence of performance is as follows.
- It is necessary to check the quality of the old plaster on the ceiling and clean it so that its fragments do not hit the stretched canvas.
- At a distance of at least 30 mm from the base of the ceiling (depends on the design of the embedded luminaires) the baguette is attached on a strictly horizontal level. The distance between the dowels (dowel-wedges) should not exceed 150 mm, and in the area of \u200b\u200bangular connections, additional fasteners are required.
- A mortgage detail is installed for the central luminaire suspension (if provided for by the project) not lower than the level of the web. To determine the level between oppositely fixed profiles, the cord is stretched. The mortgage detail can be made from a piece of plywood or chipboard, attaching it to the design of a metal profile.
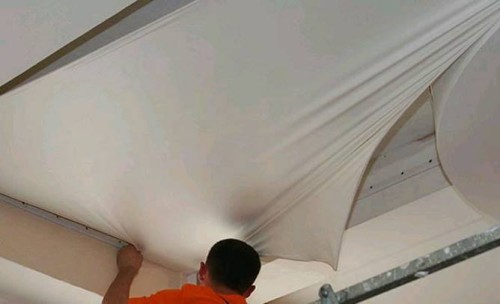
- Place the cloth into the baguette with a spatula with the participation of the helper. Start work on the one hand, after which they go to the opposite. The excess canvas is cut off with a sharp knife.
- In the outlined places, the holes are cut with a sharp knife to install embedded lamps. In order to protect the cloth from excessive heating, the lining rings are used. Luminaires are connected and check their operation to be turned on.
- The clearance between the wall and the canvas is closed with ceiling plinth.
IMPORTANT: Baguette profile is sliced \u200b\u200bin size with a metal hacksaw. The edges are processed by sandpaper so to remove all burrs.
Some nuances will help to figure out the video.
Facing the ceiling on the balcony polystyrene tiles
In the event that the base of the ceiling is a smooth surface, a polystyrene tile can be used for its finish. The advantages of this material:
- relatively low cost;
- simplicity and installation speed;
- good heat and sound insulation qualities;
- aesthetic appeal: The surface of the tiles after installation forms geometric patterns or plant ornaments.
For work, except for tiles in the required quantity, materials and tools should be at their disposal:
- primer;
- putty;
- ceiling plinth;
- water-emulsion paint;
- glue for tiles;
- spatulas (wide and toothed);
- slevka sandpaper;
- construction knife;
- level.
Sequence of work.
- The primer of deep penetration is treated with the base of the ceiling.
- A wide spatula impose an alignment putty to eliminate small defects. They grind the base "zero", after which they are again treated with soil.
- Plan the layout of the tile on the ceiling, for which the axial line is determined.
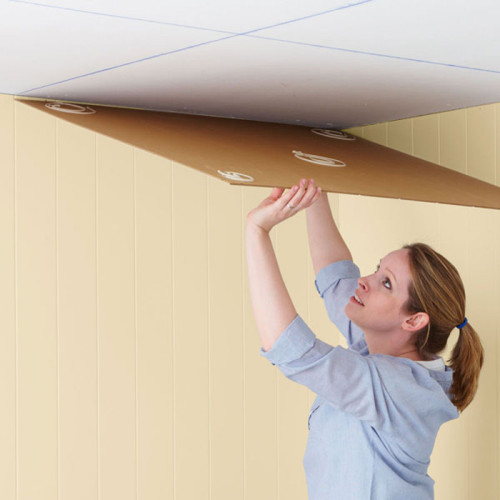
- On the side of the axial line sticks the tile (glue is applied with a toothed spatula). Tile with glue pressed to the ceiling and fix about 2 minutes. If necessary, the tile is easily cut with a construction knife.
- The plinth decor the joints between the ceiling and the balcony wall.
- After complete drying of the glue (after 24 hours), the tile can be painted with water-level paint of any color.
Important: When gluing the tile, the windows and doors on the balcony should be closed to avoid drafts.
Ceiling on a balcony of plasterboard
The most budget version of the ceiling finishes on the balcony involves the use of drywall. Considering the features of this room, it is recommended to use moisture-resistant GKK. They are distinguished by green (sometimes blue) color of outdoor cardboard and the corresponding marking. The technology of installation of this material consists of several stages.
- Preparatory work is to install electrical wiring for lamps.
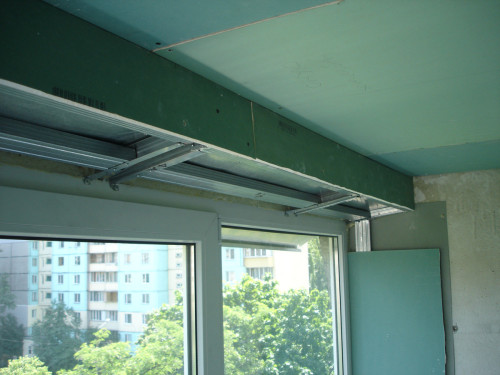
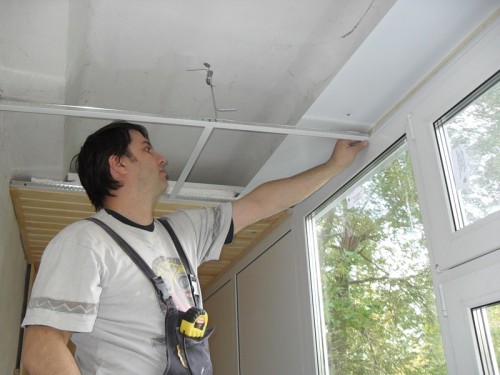
- Installation of crates: It can be made of wooden plates or from metal profiles. Initially, the elements of the crates are attached around the perimeter, after which they are fixed. The crate level is chosen so that it does not interfere with the installation of embedded lamps.
- The plates of the plasterboard are cut off plates for mounting the ceiling. Their locations should be over the cross.
- Separate plates are fixed to the crate of self-drawing. Screwing the screws should be performed with a moderate force so that their caps are hiding into the material flush, but they did not swear.
- Places of docking plates from GLC are appleed, and on top of stick sulfyan tape.
- After the primer, a thin leveling layer of plaster plaster is applied, which is then covered with paint.
The final stage is the sticker of ceiling plinths and the installation of point lights.
It should be borne in mind: the sheets of HCL on the ceiling must be located a bright side of the book. It is this side that is facial.
Ceiling on a balcony of plastic
Plastic lining is not afraid of temperature and humidity drops. To finish the ceiling on the balcony use suture and seamless lining. Rakes are different colors and widths.
The ceiling on the balcony of plastic lining is mounted according to the following technology.
- The ceiling is mounted a doomlet of wooden plates according to the rules described above. Reiki is recommended to have a long side of the balcony. The distance between them should not exceed 300 mm.
- Between the rails lay insulation. Mineral wool can be used, polystyrene foam, foam.
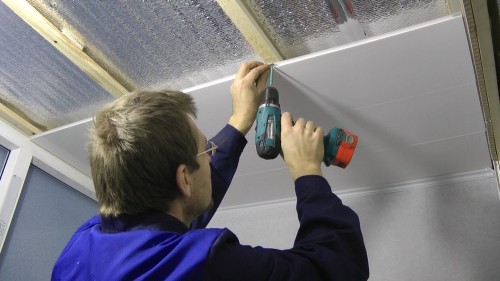
- The lining is fixed perpendicular to the raits with self-tapping screws or using a construction stapler.
- Ceiling plinth is installed around the perimeter.
It is important to tightly press the seamless lining after docking, otherwise the connection site of the adjacent panels will be noticeable, which will spoil the appearance of the ceiling.
Rack ceiling on the balcony
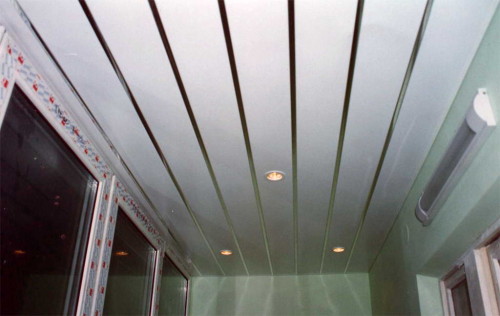
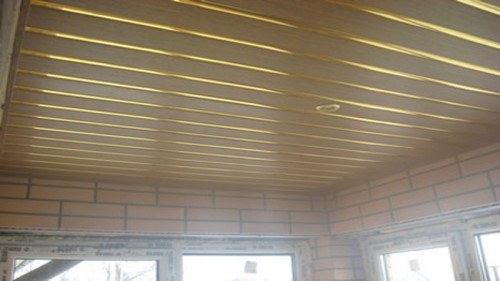
Such material is very practical for premises with high humidity, which means ideal for the balcony. Reiki is covered with anti-corrosion composition, which also protects them from chemically active substances. In addition, such a ceiling on the balcony (photo is presented below) is aesthetically attractive: the color palette allows you to embody any ideas of the decorator.
Distinguish systems of the following types:
- open: Decorative inserts of 14-16 mm wide are installed in the gaps between the slats;
- closed: There are grooves between the slats, which are coming by each other;
- bigless: panels are located close, without gaps.
To mount the rush ceiling, you must purchase the following (selection on the choice).
- Reiki (panels): The facial surface should not have scratches and dents. All panels in production are necessarily covered with a protective film.
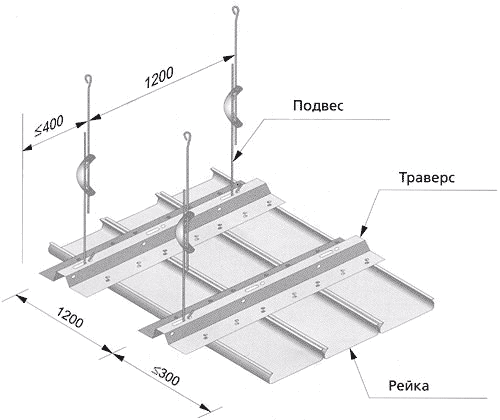
- Steel Profile Guides: Comb, Stringers and Traverts. Length guides - 4 m.
- Adjustable suspensions.
- P-shaped profiles or corners for a used plinth.
Regardless of what type of rails will be selected for the ceiling device on the balcony, it will take:
- level;
- scissors for metal;
- perforator and electric drills;
- roulette;
- dowel-nails, anchors or anchor-wedges;
- marker.
Frame Mounting Technology: Basic Rules
- In the lowest corner (determined by the level) from the base surface, the distance is 4cm and the installation line of the attached system is noted. If the installation of embedded luminaires is provided - the distance increases according to their size.
- A closed angular profile is prepared (holes are done in it), and then attached to the wall of a dowel-nail with a step of 300-400 mm. Near the opening angles are drilled additionally (at a distance of 50 mm from the edge). On the lined ceramic tiles of the surface, the attachment point is recommended to combine with seams.
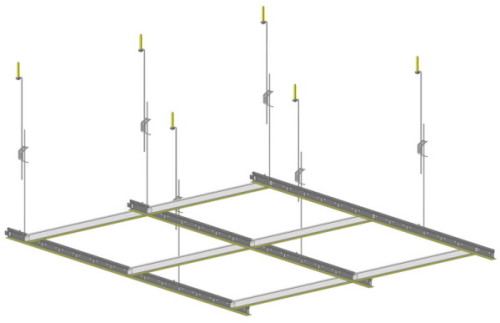
- The guide profiles are shortened to the required size with scissors for metal. Usually they are located in the width of the balcony. The method of attaching stringers to the base ceiling is chosen depending on the level of installation of the suspension system. In the case of a considerable distance from the ceiling together with the stringers, suspensions are used.
- To fasten the suspensions in the planned places, the perforator drill the holes with a depth of 40 mm and a diameter of 6 mm. Through the eye of the suspensions, the anchor-wedges or anchors are inserted and scored them.
- The distance between adjacent suspensions should be equal to 1200 mm, between the wall and the nearest suspension - 350-400 mm.
- In the event that the P-shaped wall-fired plinth is used and its upper part creates an interference for fastening the stringers, the edge of the metal is rejected upwards.
Installing the panels of the roll ceiling
The process consists of several stages.
- The required number of registers of a certain length is harvested: they have across guide profiles.
- Installing panels is performed by a special movement: they are at an angle and then aligned to the characteristic click of the Stringer Latch.
- After all the rails take their place, decorative interpanel elements are installed.
Tip: Holes for embedded luminaires should be done with the use of electric drills and special nap-crowns of the required diameter.
Suspended ceiling on the balcony
On the glazed balconies with a large area, the "Armstrong" suspended structures are installed. The advantage of such a finish is in a large variety of cassettes that can be represented in the form of stamped aluminum, extruded mineral materials, glass inserts.
Instructions for the installation of ceilings of the Armstrong system provides for the following actions.
- Beveling profiles are attached to the installation of lamps with the help of suspensions to the basic ceiling. The distance between them is selected depending on the size of the cassettes.
- The corner profile is attached to the perimeter of the balcony.
- Between the supporting profiles, transverse profiles (T-shaped) are installed. As a result, cells of 600 × 600 or 600 × 1200 mm are formed (depends on the cassette form).
- Mounted cassettes and ceiling lights.
More detailed about the installation of suspended ceilings "Armstrong" will be stated in the video presented.


