Wooden Shed: Step bypass Instructions Construction

If you decide to equip your own site, to comfortably and comfortably live in a country house, you will have to build not only the cottage itself. An attractive landscape is equally important and the presence of practical utility buildings. It is impossible to best suit a wooden barn, which you can easily find widespread use. To build it with your own hands is also not difficult. You will learn about this from this article.
Content
Why do you need a barn?
The purpose of such a hospostroy can be very diverse. To greater extent it depends on your life and method of using the site itself. For example:
- If you cultivate the Earth, then in the barn it is very convenient to store the entire rustling equipment, garden technique, part of the crop.
- For outdoor activities on the surrounding expanses of nature in the barn, it is easy to store a bike, a scooter and other types of transport.
- In case you decide to row animal breeding to get fresh your own products, a large barn will suit for living in chickens, pigs, geese.
- Those who love to constantly make something with their details, the barn are completely indispensable - he will become a full-fledged workshop with a properly equipped room.
Important! For what purpose you will make a wooden barn with your own hands, solve only you. But be sure to decide on this before you choose the type and size of the construction, the materials for the assembly.
What are the advantages of a wooden shed?
Shed can be built from different materials - brick, foam blocks. But wooden is characterized by a number of benefits:
- availability of material;
- maximum simplicity of cutting parts;
- convenience of assembly by mechanical fixation of girlish fasteners;
- the possibility of building a shed at any convenient time of the year;
- wide challenges and selection of the form of construction.
Important! If necessary, you can easily build such a utility building, even from any girlfriend lumber, which remained in stock after the construction of the house.
Where to begin?
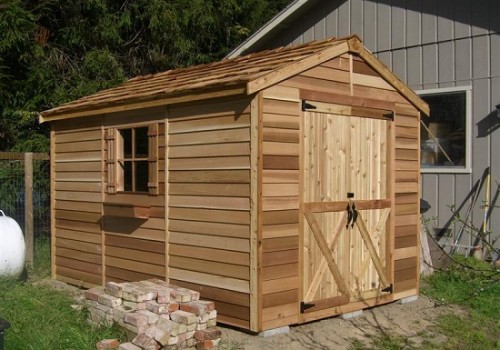
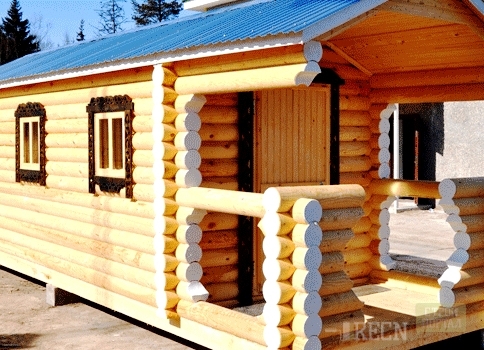
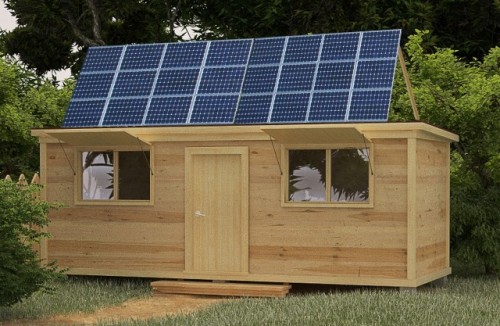
To more clearly imagine a possible design on its own site, initially browse the photo of the Sarai for the cottages of ready-made projects. So you will save a big piece of time. Further act by this plan:
- Determine the shape and size of the construction. If possible, create an outline of the drawing of your own barn, noting all the important parameters.
- Choose the location of the building.
- Pick up a suitable set of materials and tools. Make cut parts.
- Collect the design by holding the rules set out below.
What are the sheds?
One of the advantages of this type of buildings is that it can have any size and shape that you will be comfortable. Most often prefer:
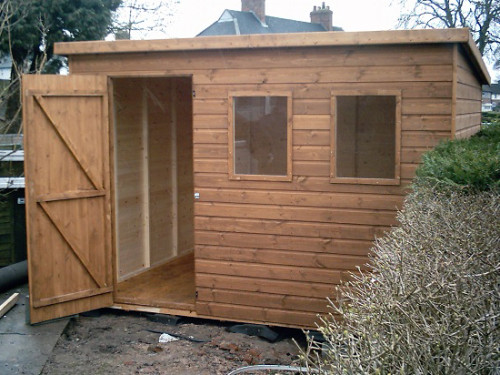
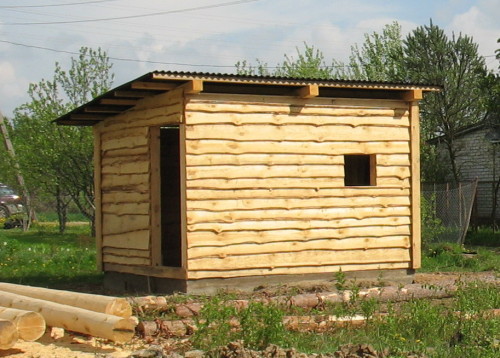
- Simple rectangular shape of a house with a single-sided roof.
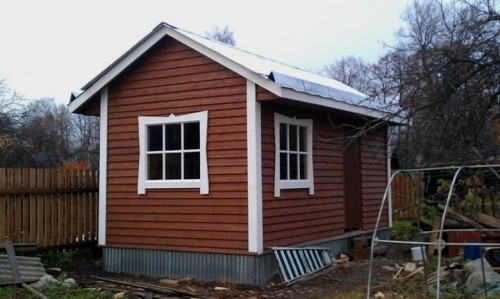
- Square or rectangular shed with a 2-pitched roof.
- Combined building is a more complex project that requires careful preliminary design design.
Important! If you decide to give preference to this option, do not limit ourselves in fantasy in relation to the distinction of the internal space, nor in the choice of decorative material. But keep in mind that the assembly and finishing of such a barn at the dacha with their own hands will most likely take much longer.
How to choose a seat for a shed?
Choose a suitable place in its own area is quite simple. To do this, follow these criteria:
- The soil is not suitable for both planting and growing plants.
- Insufficient number of light access.
- Convenient access at any time of the year.
Important! Despite the fact that there is a commodity opinion of the need to hide the shed "away from the eye", if you decorate it with an attractive finishing material, it can be a full-fledged element of landscape design. It all depends exclusively on your preferences and your own vision of organizing your site.
How to build a wooden barn with your own hands?
To facilitate the task of building a wooden barn, we give several ways to build it. Choose more convenient for you and act according to plan.
Saraja device
Like any other building, the shed design consists of several elements:
- foundation;
- walls;
- roof;
- window;
- doors;
- internal shelves, separate rooms.
Important! Already presented how your barn will look like and sketched the drawing? Prepare tools and start building it. Be sure to think in advance how much the premises, the shelves will need to store all the necessary things or content of livery, which they should be sizes, what furniture and equipment you plan to install if you create a barn for workshop. Otherwise, you can subsequently encounter the need to expand the building, which is not always convenient.
Tools and materials
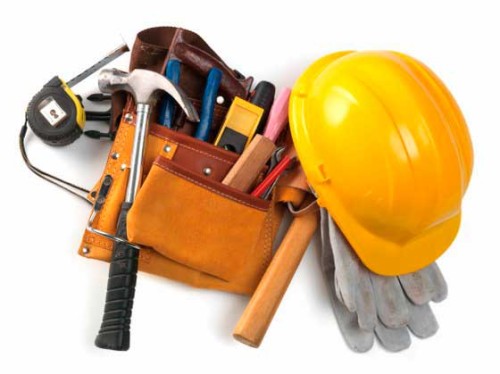
In order not to arise in the assembly process, prepare all the necessary materials and tools in advance, following this list:
- rake;
- shovel;
- roulette;
- level;
- hammer;
- saw;
- screwdrivers;
- drill and drills of different diameter;
- antiseptic for wood;
- capacity for the preparation of concrete;
- dry construction concrete mixture or cement, sand, crushed stone and water;
- wooden beams in length in 4 m;
- bars 50 * 50 mm;
- cutting board for plating, shelves, floor;
- ruberoid;
- drainage pipe;
- windows, doors;
- nails, selflessness;
- asbestos pipes for the foundation;
- decorative material for trim.
Method 1.
This option is the simplest building of a square or rectangular shape with a single-sided roof. A number of work will be as follows:
- Clear the seat under the barn.
- Remove all the garbage.
- Mark clear corners of the building.
- All wood treat the antiseptic and leave dry.
- Treat 1 meter from the bottom on the wooden columns by any waterproofing material.
- Intect in these places the front concrete pillars, blowing them by 0.6-0.7 m.
- Discover the rear concrete pillars to a depth of 0.4-0.5 m.
- Burn their land and thoroughly trim.
- Mark the indent of 10 cm below and from above.
- Make sequentially at this level the upper and lower strapping of pillars with bars 50 * 50 mm.
- Align them when installing in a building level.
- Mark the middle between the strapping, doing all the measurements of the tape measure.
- At this place, make a central strapping with the same bars.
- We carry out the entire design of the cutting board of a suitable length.
- Place boards vertically.
- Make ropes in them for mounting doors and windows.
- Top measure the length of the design in front-back.
- Divide it at 3 identical distances and make the mark in these places.
- Secure clearly on the marks 3 of the bar - it will be rafted.
- Sewing their edged board.
- Squeeze the desired number of rubberoid to cover the roof, making a supply of 5-10 cm from each edge.
- Ship roofing roof, fixing it by bars in length.
- Set the roof drainage.
- Insert the doors and windows.
- Shipping floor boards.
- Place as on the shelf scheme, cabinets and other furniture items.
Important! The average service life of such a building is 6 years, which is quite enough to come up with a new design and re-implement a plan with their own hands.
Method 2.
For the construction of the design of this type, a little more materials and time will be required, but it will last longer - up to 20 years. In this case, act like this:
- Well detect the place under the construction.
- Make the design markup.
- In the corners, throw the pits by 1.5 meters.
- Install asbestos-cement pipes in them.
- Prepare a concrete mix in the proportion:
- cement - 2 parts;
- crushed stone - 4 parts;
- sand - 3 parts.
- Fill the finished solution into pits with pillars.
- Look out 3-4 days before full of frozen.
Important! Periodically, before setting, control the location of the columns so that they do not stick. If you want to speed up the process of pouring concrete, add special plasticizers to a mixture - there is a fairly large range in today's construction market.
- Treat all prepared parts made of wood by antiseptic solution to protect the design from rotting, deformation, pests.
- Make lower pillars.
- Install and adjust vertical corner wooden racks.
- Lagged on the floor.
- Collect the rest of the rack by making the layout of the location.
Important! Calculate the number of racks like this:
-
4 pieces - for corners;
-
2 pieces - on windows and doors.
-
- On the corner above also make the strapping.
- Mark the location of the rafter and install suitable bars on the same principle as described in the method 1.
Important! If you decide to make a 2-stranded design, make feeds in the upper strapping clearly by the size of the beams to securely fix the roof. Install bars in them and secure bolts.
- Make the cover of the entire design - walls, floor and roof, edged board.
- Lay on the roof rubberoid.
- Install drain, doors, windows.
- Organize the internal space according to your plan.
Important! To make your barn, not only practical, but also beautiful, boldly use comfortable decorative materials:
-
soft tile or lining - for roofing;
-
waterboard or oil paint, lining, siding, drywall, stucco on drash - for walls.
-
Construction of a wooden barn - video
In the suggested form, you can familiarize yourself with another option of step by step assembly of the barn at your own hands.
Conclusion
As you have already been convinced, the construction of a barn in the country with their own hands is a very simple task with which you will probably cope quickly. In addition, you can show your creative talent and create not just a utility room, and the present work of art you will be proud of. The main thing is to correctly set the goal and adhere to simple recommendations from this article.


