Plaster for foam, features of work Walls
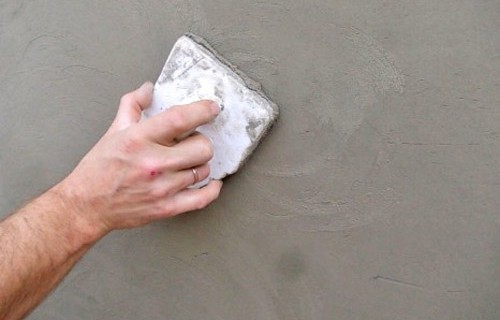
Today, more and more people prefer the "fur coat" of foam for insulation of the external walls of the building. The rustling material perfectly preserves heat, but at the same time needs protection against bad weather. Extremely by the way there is a decorative plaster. The article will tell you about the subtleties of the tandem "Plaster - Polyfoam".
Content
So, you "dressed" the walls of your house into a foam or penoplex (material similar to foam). Paulled made. Now you need to take care of protecting the insulation "fur coats" from the devastating external factors: water, temperature drops, mechanical destruction. Polyfoam plaster with her own hands - this is the only right solution to the issue.
Step-by-step foam plastering technology
- Preparation of the solution for plastering.
- Strengthen plaster mesh on the wall.
- Grind mesh.
- Distribution of the leveling layer of plaster over the wall.
- Grouting the applied layer.
- Application on the wall of the primer mixture.
- Applying decorative plaster.
Preparation of a mixture for plastering
For the preparation of plaster for work on foam, mixtures are suitable, specially designed to interact with polystyrene-based materials. You can safely buy products of manufacturers "Cerezit", "Strathes", "Economics".
Important! All finishing materials that will be used on the walls of one building, if possible, should belong to one manufacturer.
You can see the product line for work on foam, consisting of two separate mixtures: with the help of one, the foam sheet is glued onto the wall, the second is used to create a protective layer. Those who came across like, advise: it is better to buy a universal agent. So it will be faster and more convenient. Its approximate consumption is such that 4 kg / m² on average goes to glue the grid and about 6 kg / m² to equalize the walls with plaster.
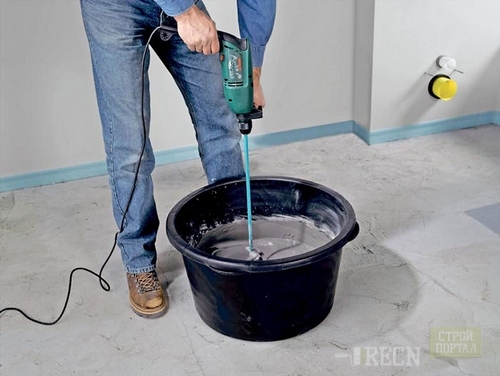
The mixture is mixed according to the manufacturer's instructions. True, practice shows that the universal mixture for sticking the grid on the wall is better to prepare a slightly more liquid consistency than indicated on the factory package. And for the high-quality layer of plaster, when the wall is aligned, the mixture will still need it - it should freely drain from the spatula.
How to glue a plaster grid
The grid holds an alignment mixture and plaster on the wall. The best option is considered to be a stack designed directly for use in the process of external facade works. Its density is 140-160 g / m2. The greater the density of the material, the more accurately lay down the layer of plaster. But, on the other hand, in order to make a high-quality corner of the corners, it will have to tinker a little.
Important! For foam plastering, cement mixtures are most often used. This means that the grid for plaster must be alkalic.
Start with gluing a mesh in the corners of the wall, without excluding the passing slopes of windows and doors. The order of work is as follows:
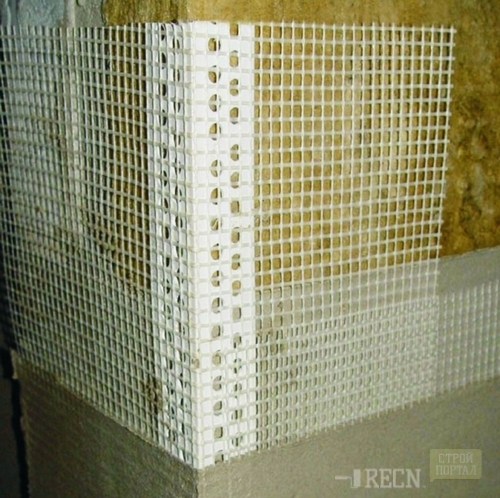
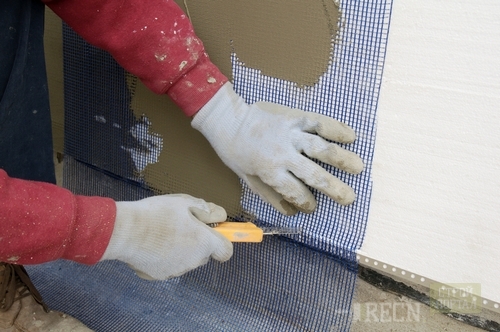
- Measure 30 cm mesh in width. The length depends either on the length of the slope (equal to it), or on the length of the wall (then there is no length of about 1 m). Cut the required mesh strip.
- This strip bend strictly in the middle, with the effort to press two halves to each other - the visible strip of bend should remain, even if folded in half the grid again deploy.
- The spatula distributes in advance the cooked universal plaster on the corners and slopes. The layer of the mixture should not be thicker 2 - 3 mm.
- Apply the grid on the plastered wall, pressed the spatula and smooth in the direction from the corner to the side and down. The outdoor side of the grid leaves non-relentable - it will adopt when the joints are sick.
When the grid in the corners is glued, go to its strengthening directly on the wall:
- Sliced \u200b\u200bpieces of mesh size in 1 m - no longer worth it, because the mixture for gluing the mesh dries very quickly.
- A spatula of 350 mm on the wall is applied by a strip of a universal means: length - 1 m, width - 85 - 90 cm. 4.5 - 5 cm on each side will go to the cloak of the mesh docking seams. The layer of plaster is trying to do thin - no more than 3 mm.
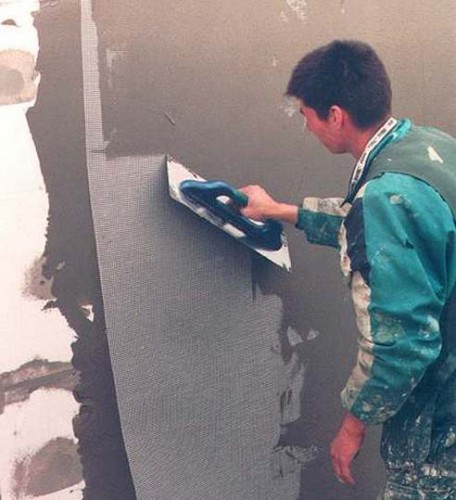
- The wall presses the grid and the spatula smoothes it from the center of the movement from top to bottom. You need to fully immerse the grid in the mixture of plaster. When the grid is aligned with a spatula, you can dial a little solution and distribute over the grid to close it completely.
- By gluing one vertical mesh strip, go to the next. The edges of the two adjacent bands are putting a mustache, which ensures their reliable fixing. Vancest is sick and joints at corners and slopes.
Important! If you do not leave the edges of the grid in advance, it is immediately glued to glue the seams, the joints will turn out with rude, it will not be hidden even finishing finish.
How to rub the grid
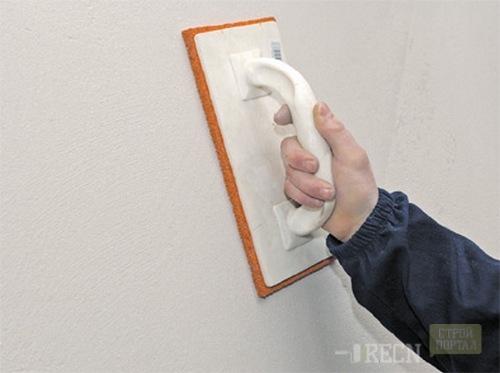
The mesh immersed in the layer of the universal mixture is necessarily watched by a plastic grater with a sandy blade. Getting started after the mixture is completely dry. At high temperatures in the summer it occurs in a few hours. If the weather is wet and cloudy, the mixture will be needed for a day to operate. Slightly pressed on the grater, the grid perform circular movements counterclockwise. If the emery surface of the tool is stained by a short-sighted mixture, change the canvas.
How to apply the aligning layer on the wall
Aligning layer, the entire universal mixture is applied to the ground grid like this:
- On a wide spatula (width from 350 mm) with a small spatula superimplement mixture.
- The tool evenly distribute the leveling plaster onto the working surface. Apply a mixture with a thin layer (3 mm) is easy if there was a high-quality grid.
- The leveling layer of material is applied in small zones so that their joints do not impose on the joints of the grid.
How to sweat the leveling layer
The surface of the leveling layer is lined in the same way as the surface of the plaster grid.
Important! To handle the leveling layer, the day will wait. But work should be done no later than 4 days after applying plaster. If you do not hesitate the leveling layer on the specified time, process the material then it will be very hard.
The surface is watched until the maximum smooth wall is obtained, which subsequently apply the finishing finishing agent.
How to apply primer
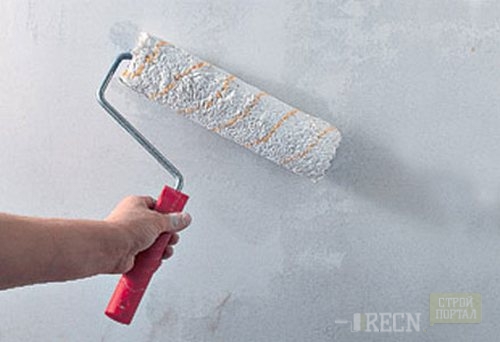
This part of the work is very important - it is from its result that will depend on how long the textured or decorative plaster will laugh on the wall. The decorative facade material is good on the primer with quartz grains (for example, Ceresit CT 16), and if the building owner plans to limit itself only to the staining of the facade wall, the primer needs, after which the surface remains smooth (Ceresit CT 17). The primer material is applied with a roller with a small pile, trying to the extra droplets of the primer do not glate along the wall.
How to Apply Finish Plaster
It is not difficult for decorative plaster with your own hands if the previous stages of work - alignment and primer - are made on conscience.
Here is an approximate instruction:
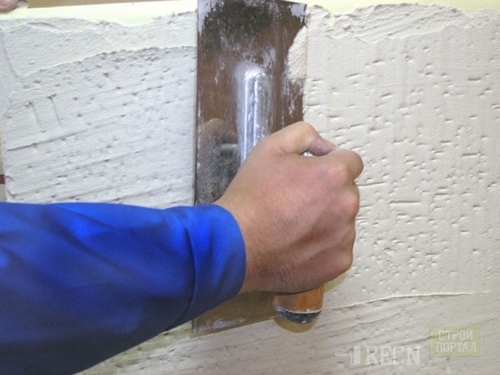
- With the help of a spatula on the wall, the base plaster is placed, following the uniform distribution of the layer throughout the surface area. Its thickness depends on the magnitude of the mineral grain as part of plaster. The greater the size of the grains, the thicker make the layer. In general, the application of plaster does not cause any difficulties.
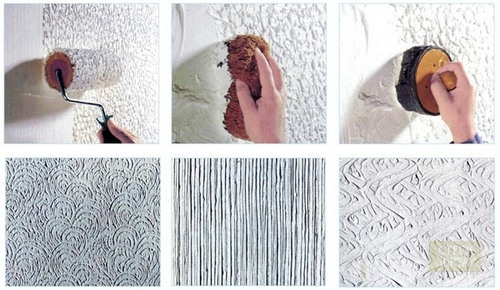
- Now the finished basic layer needs to be "refined", armed with the following tools: a large sponge, spatula or grater for the formation of a decorative surface.
- When the whole wall is finally processed, the finishing layer give time to dry. The texture of the frozen plaster is optionally, you can give a bright or pastel shade with a special paint or apply a layer of a protective transparent agent.
The method of processing of the insulation material on the wall considered by us is not the only right. How many builders, so many ways. This is how, for example, foam plaster is performed by the authors of this video:


