Warm beds do it yourself Plot
How cool to eat delicious and clean vegetables, berries and fruits grown with their own hands. That is why, every year, any owner of even a small land plot seeks to find new, effective solutions for increasing yields. One of these is the organization of warm beds. How to do it correctly, you will learn from this article.
Content
What are the advantages of warm beds?
To understand, it is worth it or not to spend time and strength to create a garden in this style, you just have to get acquainted with those advantages that the seedlings will give landing in this way - this is:
- No need for constant weeding. All weed plants cannot exit outside, and therefore they burn under the film, and then overload. Thus, weeds turn into a natural organic fertilizer.
- Minimum time spending. The film layer eliminates the freezing of seedlings at night or a strong effect on them scorching sunlight. In addition, such beds always remain clean and the collected fruits do not need a thorough cleaning from the nylby comievable land.
- No need to additionally prepare a compost bunch for fertilizer.
- The ability to create in any convenient location. Warm beds can be organized in the greenhouse and in the open area - the effect will be the same in the same way.
- Minimum water consumption for watering. It is carried out directly in the wells, and therefore it is even enough to water the plants only 1-2 times a week.
- The ability to use a short year in a row prepared according to the rules is ideally for 4 years.
What to plant on warm beds?
Depending on the duration of the period of intended use, a set of cultures for planting will be varied. So, if you take, for example, standard 4 years, then the optimal solution will be this option for each year:
- Stage 1 - zucchini, pumpkin, cucumbers. In the soil in the first year a large amount of nutrients, as well as the intensive process of the decomposition of the organic, and this gives a lot of heat.
- Stage 2 - cucumbers, zucchini, tomatoes, cabbage. Such recommendations are not accidental, there are still a lot of nutrients in the ground, and these plants need such a soil for rapid full-fledged development.
- Stage 3 - cabbage, pepper, tomatoes, beans, beets, salad, potatoes, carrots. Power recesses are already lower, but they are still enough for certain varieties and types of listed vegetables.
- Stage 4 - greens, peas. On the 4th year of operation of the garden, its supply supply for plants has exhausted significantly, and, accordingly, if not to make an additional feeding, it is possible to grow solely unpretentious views in this plan.
Important! Note that there are certain restrictions on the use of warm beds. Thus, in the first 2 years, it is categorically not recommended to grow those cultures that can accumulate nitrates. These include:
What are warm beds?
There are quite a few options for organizing warm beds with their own hands. Lovers-gardeners and professional agrants apply their own schemes, every time bringing something new in them and analyzing the result. Time proven 2 standard methods:
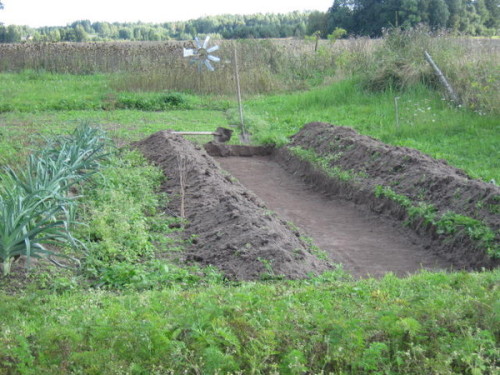
- Outloan. The main difference of this option is that the laying of all the necessary layers is incorporated. As a result, the garden surface turns out to be either clearly flushing with the main line of soil on the site, or more than it exceeds it.
Important! This method of arrangement of warm beds categorically cannot be used on those groceries, where groundwater in the soil proceeds close to the surface.
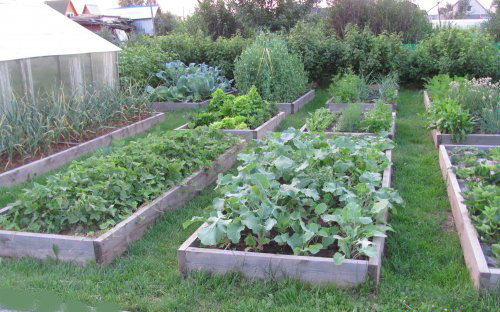
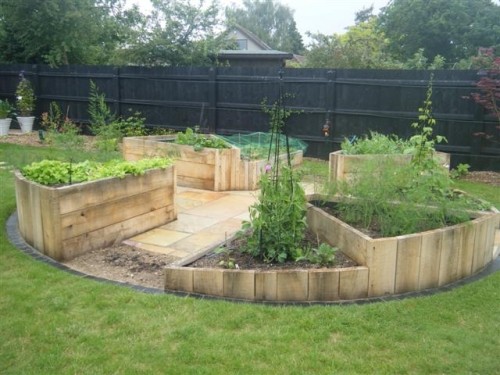
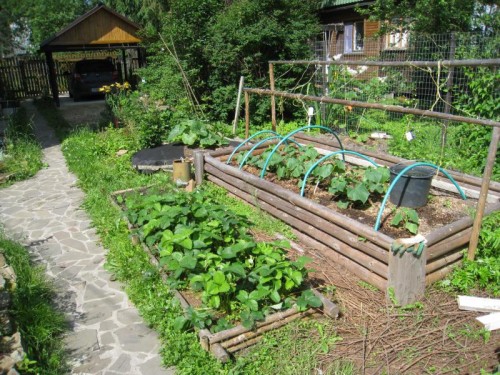
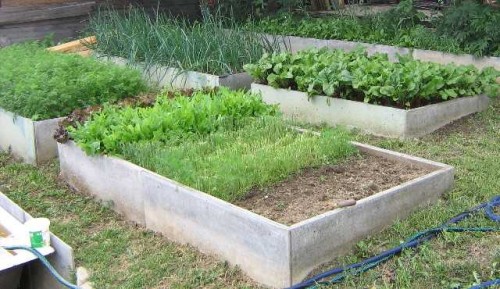
- Raised. It is this option that give preference to break the warm bed in a place where the moisture is often happening in the soil or spring flooding. To build it, additional consumables will be required to create a perimeter fence - a kind of box. In this case, the warming will occur faster than when designing a shrouded version.
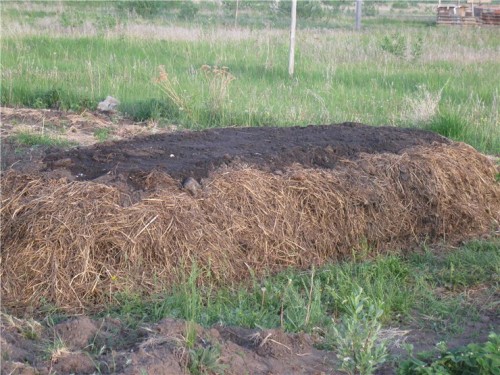
Important! You can do without a box, but to make a rounded hill. This will not only reduce costs, but will allow the use of a large garden area, and accordingly get more good harvest.
When to lay warm beds?
Another advantage of this method of organizing the garden is that if you have not managed to conduct preparatory work in the fall, you can make warm beds and in spring.
Important! The only nuance is, if you lay a bed in September-October, in the spring more free time will remain directly for planting plants. When to prepare is to solve only you, given your usual working schedule and the planned holiday time.
What should be the size of a warm bed?
Choose arbitrary bed length, but considering the area of \u200b\u200byour site and the desired number of plants for planting. With respect to other parameters, choose more convenient for you, given the future sizes of the root system of selected crops and ground parts:
- height - 0.6-1 meter;
- width - 0.4-0.6 m; 0.6-0.8 m; 1-1.2 meters.
Important! Be sure to follow the recommendations directly to each plant. Specify specialists from specialists from the specialists selling seeds needed free space for a good development of culture. With this approach, you will not have to continue to make an extra quiet, and the risk of a bad crop will be negligible.
Device warm Grokery
In essence, warm beds are the same compost heap or a peculiar puff pastry from organic fertilizers. The decomposition of the selected ingredients gives a double effect:
- heat isolating to warm seeds and their accelerated germination;
- plant feed for several years.
Important! The main condition in order to ensure the qualitative functioning of such a garden is that a constant natural air exchange must occur in the layers. In this case, the processing of fertilizers will be correctly and in the nutrient medium will not develop pathogenic microorganisms, mold and will not spread throughout the sector.
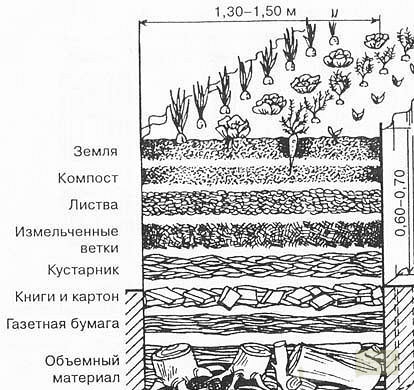
The main rules of the right organization of warm beds are as follows:
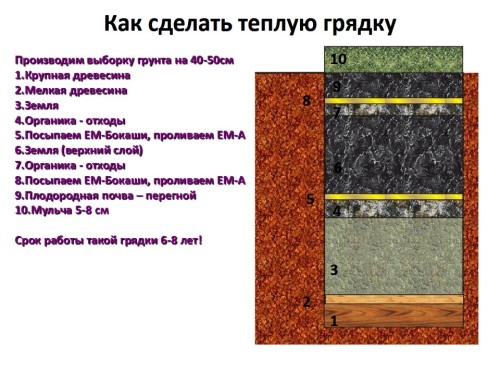
- For the bottom layer, use exceptionally coarse and large waste, which requires a long time for overloading. These include: branches, trimming and chips of wood, durable stems of such cultures like sunflower, corn, Topinambur.
- For the next layer, all sorts of vegetable residues are suitable - tops from vegetables, floral stems, remote weeds, even cleaning vegetables. The laying of the turf is allowed, but in this case it must be placed down.
- As intelligent layers, additionally take those materials that is at hand in your farm - ash, special chemical fertilizers, even ordinary paper and newspapers.
- The top layer is preferable to arrange a thick layer of leaves if it allows the amount of leaf fall tree on your site.
Important! As a filler of warm beds, use waste only healthy crops without seeds that have not been amazed by diseases or pests as they grow.
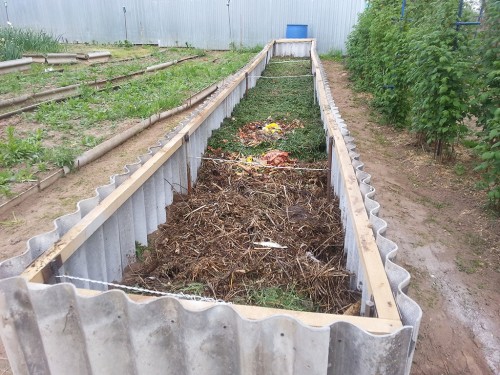
How to make a warm bed?
The procedure for creating warm beds with their own hands is simple, and even requires more flight of your imagination. It will come in handy in order to save maximize on the organization of the nutrient medium for the garden and get an excellent result. 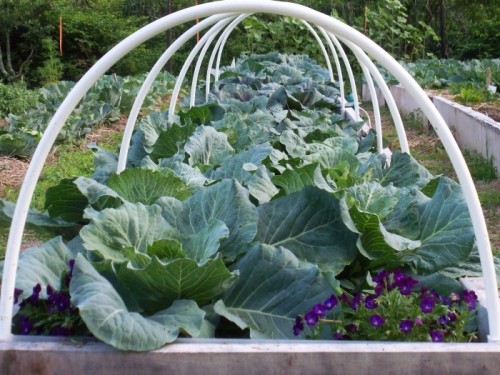
Check out one of the options for creating a warm bed, described below as a sequential instruction:
- Drop the trench of the desired height, given the depth of the depth + 5-10 cm of the reserve, if you decided to make a swallowed bed.
- Take the board and construct a special box if you prefer the variant of the raised bed.
Important! In this case, the height of the box must be at least 60 cm.
- Make a small-piece metal grid on the bottom - by this you prevent the destructive activities of rodents.
- For peat soil on top of the mesh, put pieces of unlenized linen leaf or cotton fabric, pre-impregnating the material by mangalling with a proportion of 2 g / 10l water.
Important! For each 1 m2, use 2 liters of solution.
- For a subline soil, prepare drainage from sand, broken bricks and a layer thickness of 15 cm.
- Place the selected materials for warm beds sequentially selected by layers, adhering to the recommendations in the previous section of the article and the proposed schemes of schemes.
Important! Consider another rule: raw remnants alternate with dry materials to prevent sticking of the entire mass and the absence of air circulation in the thick of the garden.
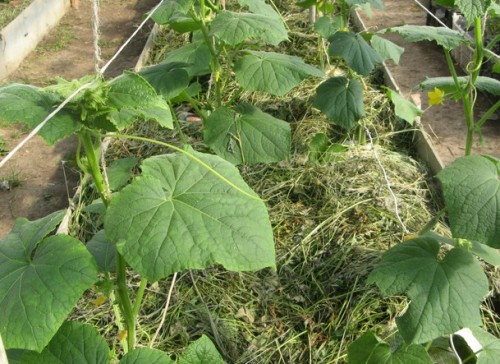
- Pull this bunch of wood ash or chalk from above, spending up to 2 glasses for each 1 m2.
Important! If you admit the use of not only natural organic materials, but also not against the use of chemical fertilizers, use the following recipe: 3 tbsp. l. ash, 1 tbsp. l. Superphosphate, 1.5 h. Boric acid, 1 tsp. Urea, 1 tsp. Sulfate potassium, 1 tsp. Zinc sulfate.
- Put the earth.
- Squeeze the layer of fallen from the trees and shrubs of leaves with a thickness of up to 15 cm.
- Thoroughly paint the whole mass of warm water, adhering to the flow rate of 5-10 buckets per 1 m2 beds.
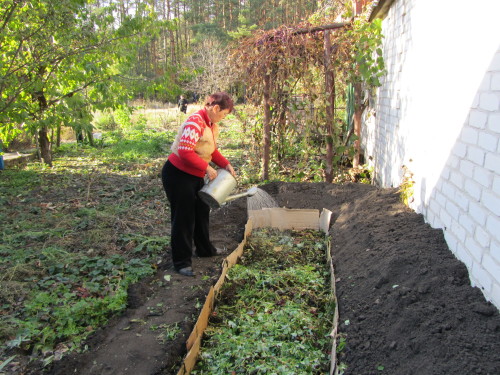
- Place the mature compost or overwhelmed manure.
Video
Browse the video example of creating a warm bed in order to more clearly imagine what the result should happen when creating a universal bed.
How to plant a warm bed?
In order not to have problems during planting plants, carefully read the following recommendations regarding the landing and growing vegetables:
- Over the entire length of the warm bed in the center, make a small dividing hill lane - by this you will provide water from the watering clearly into the wells.
- On both sides of the central line, dig large wells to a depth of 30 cm, withsting the distance between them in 60 cm.
Important! Landing pits can be issued using the usual 3-liter banks. In this case, the diameter of each well will be the same.
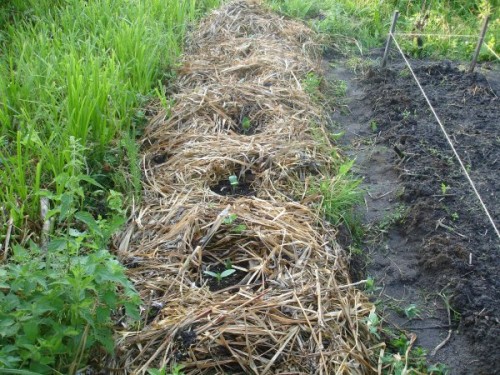
- To each pit, put dry seeds from the following calculation: 1 pc. When landing pumpkin, 2 pcs. When growing zucchini, 4 pcs. When designing a bed with cucumbers.
- Put the pits of the dug up the ground by 2-5 cm.
- Pour all the wells.
- Take a transparent film transmitting, you can reinforced.
- Tightly cover the bed, pressing it from all sides to the surface.
- As the seedlings are growing, with the appearance of more than 1 leaf on the stem, shift the cruciform hole right above each well.
- Corners of the film fuel inside, and the sprouts gently position the coating on top.
Important! If the weather conditions are not quite suitable for landing, but you are aimed to perform it, make another layer of the sheltering web - you can use special Loutrasil for this purpose. Such a procedure will exclude freezing of seeds or seedlings.
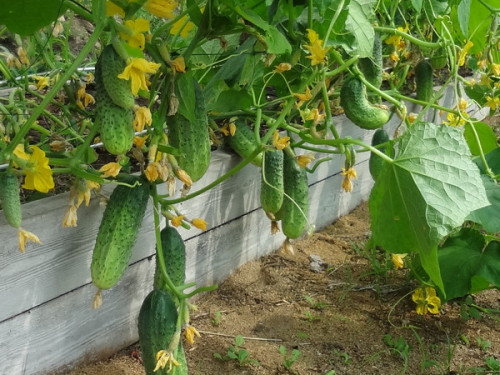
Conclusion
As you have already seen, make warm beds with your own hands in fact simple. In addition, this event will be with the right approach to small-time, and the result will certainly be high. Evaluate how much your crop will increase next year, using the proposed instruction on organizing your own garden.


