The roof cornice device: how to make something to need? Construction
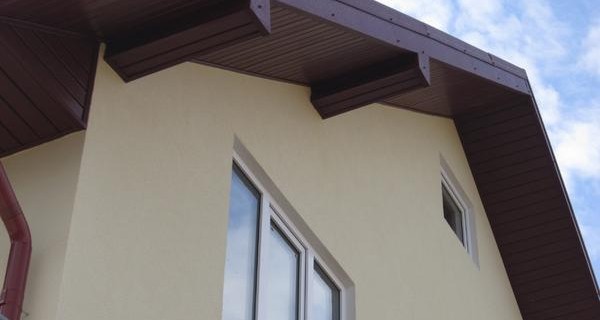
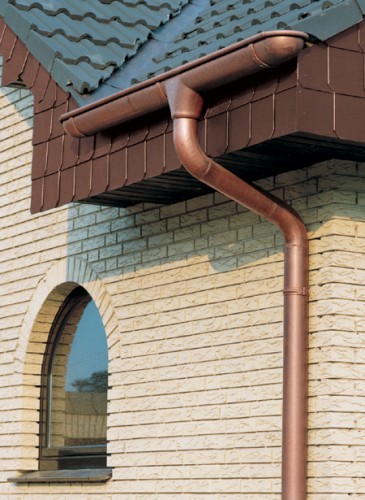
The last step of work on the construction of the roof is the cover of its eaves, which serves to protect the inter-level space from the accumulation of foreign moisture, snow and the destructive strength of the wind.
Content
The need for a roof cornice device and features of this work
In addition, the cornice is indispensable to create the final image of the roof itself. Therefore, its device is a very responsible and important work that you can, nevertheless, do it yourself.
The size of the roof cornice depends on climatic conditions.
- Too small abnormal sinks well protects the walls of the house from moisture and gradual destruction due to its influence.
- A large cornice contributes to the accumulation of snow on it in winter, under the weight of which it can happen its collapse or breakage. Therefore, it is necessary to think over the sizes in advance, the shape of the cornice and the material for the binder.
Selection of material for covering roof cornice
Now the construction market offers a large selection of various materials to cover the roof karnis, which differ between them with their properties, appearance and, of course, cost.
For the binder, the eaves are traditionally used:
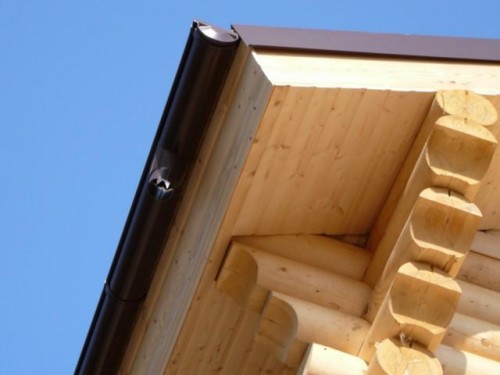
Wooden lining
In order for this material to be appropriate to use for work, it should have the appropriate quality, namely it is worth paying, first of all, its humidity. It must correspond to environmental humidity. This can be achieved by long-term storage of wooden lining in the open space. Too dry material, during operation, it can actively saturately saturate from air and swelling or, on the contrary, a very wet material will begin to dilute, due to which wide gaps may be formed or curvatched banging boards.
Planed cutting board
Most often used boards of coniferous wood thickness from 1.5 to 2 centimeters. One significant drawback is a susceptibility to the negative impact of external factors.
- Before applying such material to cover the eaves, it must be subjected to preliminary processing with special antiseptic means to protect against rotation and fire processes.
- To give the boards of suitable color, they are recommended to paint annually.
Professor
This material is a sheet of galvanized steel with a polymer coating of various colors. It has good rigidity, not afraid of sudden temperature drops and resistant to wind pressure.
- This is an affordable, easy-to-use and effective way to binder cornice skes.
- In addition, the cornice, which is shown in this way, is perfectly ventilated due to the resulting gaps due to the height of the wave.
Soffit
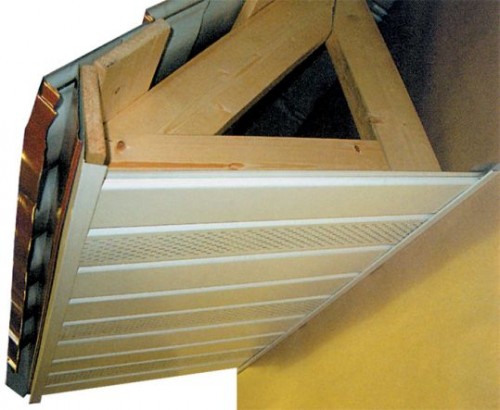
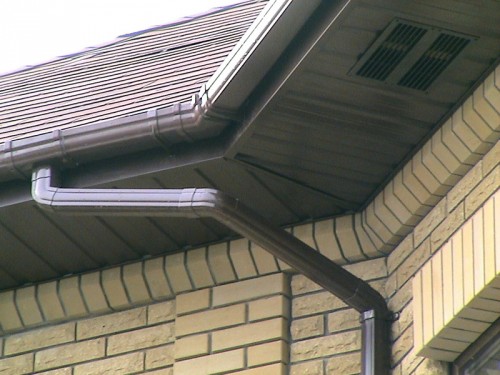
This material represents a special plastic panel, which is often used to binder cornices. Sorry for eaves: vinyl or aluminum.
- Externally, this material is similar to siding, however it has a special perforation for ventilation of the underpowering space.
- Sofit is resistant to the negative effects of ultraviolet rays and has a greater thickness than siding.
Bearing cornice
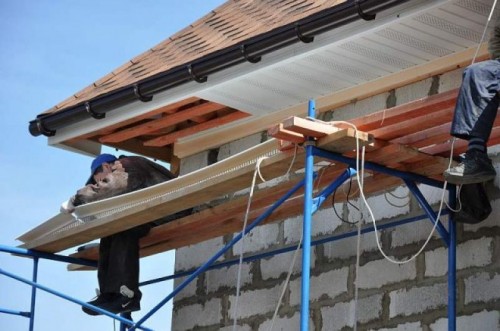
So, the appropriate material for the cornices device is selected, you can move directly to their arrangement. Of course, the cutting technology of soles depends on which material is used for this. However, each method has a lot and in common. All work on the binder of the eaves starts after the installation of the rafter and insulation of the walls is completed, if necessary, before the creation of the roofing crate begins.
The roof cornice device can be performed by one of the two most popular ways:
Method number 1.
Such a method of binder binder assumes the binder of the eaves directly along the rafters, at an angle of inclination. It is suitable if the roof has a small bias or when it is necessary to increase the height of the building.
- The lining should be mounted parallel to the wall directly to the roof itself.
- For this, first of all, it is necessary that the bottom of all rafters be on the same plane.
- If this is not the case, then the alignment is made using additional wooden boards. They are stuffed on rafters, after which they set the extreme strips, between which the threads stretch out that they would serve as a kind of level.
- After that, all other planks are mounted.
Method number 2.
Most often you can meet the second version of the roof cornice device.
- He implies trimming rafters strictly vertically and horizontally, at the bottom of which the board is fixed.
- In order for the extra moisture to be accumulated, and there was an opportunity to go on to independently, a wooden bar is attached to the wall at a distance of 1 cm above the frontal board line.
- If the width of the sink is more than 450 mm required installation of an additional board in the middle.
- When the rods of two roofs converge at one point, then the board must be knit from one corner of the roof to the corner of the house.
In more detail about the swiss switches, you can find out on the video.
In both embodiments, the roof cornice device is made in the same way, namely the board is stuffed to the mounted crate along the wall along the frontoth, and the distance must be measured from it that must match the width of the sink. After that, you must navigate the board parallel to the wall of the front.


