
Veranda at the cottage - we build a garden veranda with your own hands Construction
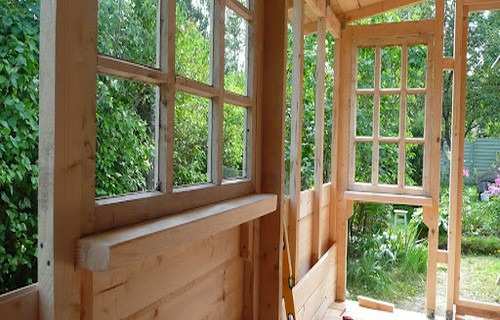
The veranda is a gorgeous place to relax in the summer in the fresh air. If it is inspired, then you can use all year round as a dining room. In addition, the veranda is considered to be a non-residential premises, respectively, there will be no difficulty with the design of documents. Given that this building in no way cannot be counted for capital buildings, there are many options for construction, the choice of which depends not only on taste preferences, but also from objective facts. So, how to build a veranda on your own.
Content
Types of veranda
There are several varieties of this building, each of which has both its advantages and disadvantages. It is customary to allocate:
- open veranda
- closed veranda
- combined veranda
- french veranda.
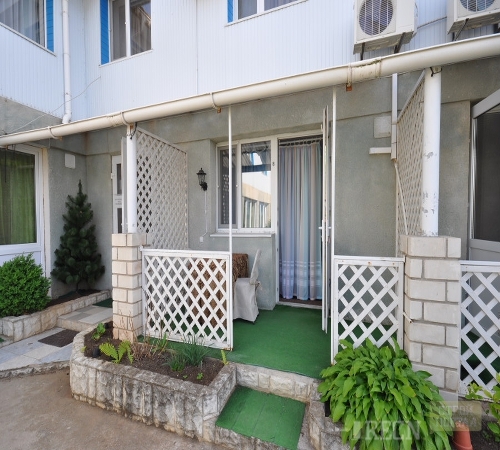
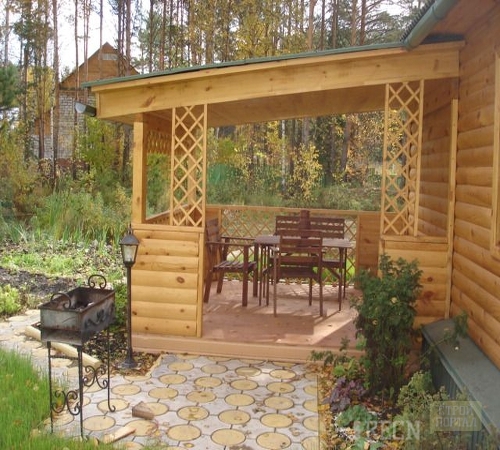
The easiest on installation is an open veranda. As a rule, it consists of a peel, fence and canopy. It is erected in front of the facade door. It is recommended to use this space exclusively in warm weather, as in the winter, it is not comfortable in an unheated room. Ideal for country houses.
The closed veranda is an already more massive design, to which, in addition to listed items, still walls and windows are added. Such verandas are suitable for private households. Since they must be heating.
Combined verandas are a copy of closed, only the exception that there is from the tree. And the walls of the verandas are made from removable shields that are cleaned in the garage or shed in the summer. From the disadvantages of this option, it is exclusted exclusively when assembling and disassembling structures, and yet it is the most spectacular method of the veranda device.
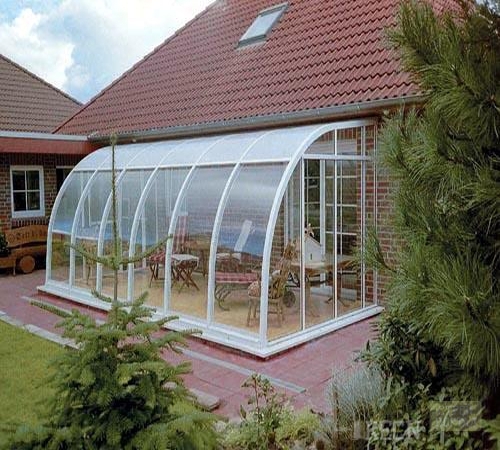
The French veranda is another variation of the veranda of a closed type, only instead of walls use metal-plastic bags from the floor to the ceiling. This approach allows you to use the veranda all year round and creates a feeling that you are on the street. Of the minuses, certain difficulties with heating and the high price of such structures. They are made only to order.
Preparatory stage
After we decided on the design of the veranda, proceed to its construction. To begin with the foundation. Under the porch is used:
- belt,
- pillars
- pile.
The ribbon foundation makes sense to do only if the closed veranda is erected. First, the stone walls weighed quite a lot, secondly, such a foundation will serve as the basis for the floor covering.
Pillar foundation apply most often. It is most economical and easy to build. The only thing to pay attention to is the type of soils. From this parameter depends the depth of the pillars, their width and features of the drainage.
Pile foundation is known for a long time. As a rule, it is a metal rods that are either driven or tweed into the ground to a depth of 20 to 60 meters. But modern technologies offer a novelty. Some construction firms establish piles for private households, they go to Earth by 10-15 meters and withstand up to 100-150 tons of weight. This procedure is two times cheaper than a belt or pillaby foundation, but it is impossible to perform it yourself, as special technique needs.
For bay foundations there are general recommendations, the parameters vary depending on:
- depths of ground freezing,
- depth of underground water,
- the type of soil,
- type veranda (total construction weight).
Speaking in general (the depth of the soil - 10 cm;
- dig a trench with a depth of 50 cm (for poles 40x40 cm),
- on the bottom of pouring a large rubble,
- to wake up with sand (5-10 cm),
- on the sand, the ramp is small crushed stone or clay,
- collect formwork (at least 20 cm above the earth's surface),
- pour with concrete or cement mortar.
For drainage around the foundation, the ground is removed to a depth of 25 cm and the width of 0.6-1 m, the bottom falls asleep with sand by 5 cm, on top of the grainsite or a small crushed stone by 10 cm and the ground is covered.
These parameters are indicated taking into account the additional stock of strength, so completely exclude the possibility of wetting the foundation and its premature destruction.
Tip: Certainly a ribbon foundation is more expensive than pillars. But it will allow you to fulfill all subsequent work is much easier. In addition, it will serve longer.
Construction of open veranda
Open veranda build from wood. This is not only fast, but also economically justified. First, for draft works, cheap blanks made of pine, secondly, wood processing does not require expensive tools and special equipment. The following steps are distinguished:
- floor laying
- roof construction
- erections of fences.
The main work is the floor and it should be started with the choice of coating. Naturally we are talking about wooden flooring, or about linoleum. Any other types of coating are not suitable for aesthetic or practical considerations.
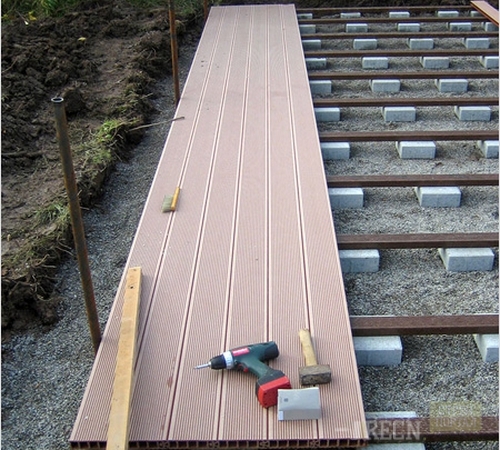
Installation of the floor begins with the assembly of the base. Without additional supports, a wooden bedding board retains stiffness at a distance of 1 m. Consequently, if a large veranda is planned, additional supports are needed. Usually they are collected from bricks laid directly to the ground. In order for the board to felt the support, the width of the post must be at least 5 cm, i.e. Single laying in one silicate brick. The columns are built on the wall of the house to the foundation at a distance of 1 m from each other. Their height should be equal to the height of the foundation.
Next, install the hearing board. From one edge, it goes to the foundation, so that there is no 5 cm from the end to the end of the foundation (otherwise the end part will be difficult to reorganize), from the other to a special support. If the house is stone, then the support is erected, like pillars, from stone. The only condition, it must be monolith. If the house is wooden, then on the necessary height, screw the beam with a cross section of 5x5 or more can be screwed.
Tip: The reference edge, which is adjacent to the house, must be somewhat higher than the foundation. This will make a bias and ensure the natural elimination of moisture from the veranda (in case of rain or during the melting of snow).
The firmware is necessary for the following reasons:
- adds structural strengths,
- aligns the base under the floor covering,
- increases the life of the wooden floor.
Next, it remains only to analyze the main coating. In the case of linoleum, it is enough to put it on top of the filling board. If you decide to save and let the board are not solid next, then before installing the linoleum, the monolithic coating of plywood or OSB should be installed.
The wooden floor is somewhat more expensive, but it allows you to make an additionally insulation, in addition, it looks much more effectively. For its installation:
- Over the already installed substrate, 5x5 cm beams are attached (5x8 cm) at a distance of 50 cm from each other,
- There is a heater between the beams,
- The floor is laid on top.
Outdoor boards are better to buy not processed, and perform the procedure yourself. It will take:
- antiseptic
- morilka
- dye.
The antiseptic will protect against parasites and protect from the fungus, the simulator or paint will give the desired color. From above, the coating must be opened with varnish to protect against moisture.
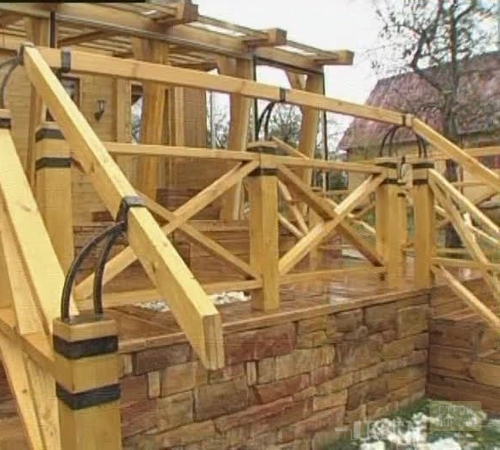
Fences do either independently or order in carpentry workshops. With the choice of a fence for a garden veranda, a photo on the Internet will help.
The question of mounting the roof Consider at the end of the article, since the procedure is the same for all types of veranda.
Construction of closed and combined veranda
Wooden veranda is suitable only for summer pastime. In all other cases, it is more expedient to immediately build a closed veranda. If everything is clear with the floor, then the issue of the construction of the walls remains open.
First of all, it should be understood that the construction is not capital and will not bear any load, therefore, for the construction of the walls, the cheapest brick will fit the thickness, the thickness must be minimal. Another important point is windows, without which the veranda will resemble a crypt. The laying is performed from below. In the window openings it is better to install metal plastic bags.
The next important point is the trim of the veranda. Since it is planned to use it all year round, getting started with insulation. For this wall, the walls are squeezed with foam, on top of which plaster is applied. Next, or paint it, or use various types of siding.
For a combined veranda, a frame is collected for a start. He resembles a chessboard. In order for the removal and installation of the shields did not destroy the supporting structures make them from the stone. The process is as follows:
- columns 20x20 cm or more, at a distance of 2-3 m apart,
- metal corners are screwed to columns (on dowels) with outdoor and inner side,
- the shields are attached to the corners, between which the sheets of pressed foam plates are paved.
In order not to be seamless, the shoes are made with the grooves (the bottom edge, the top shield, closes the place of attachment). For the manufacture of the shield, any boards are suitable. From the facade they are trimmed by wooden siding. The shield must necessarily be square.
The windows for such structures are also made of wood. The size of the window must be the same as the shield. Corses connected to the wooden frame, which connect and fix the window and shield from the inside.
Construction of the French veranda
The most exquisite version of the garden veranda is your own hands - the use of solid metal-plastic overlaps. The process comes down to the selection of the manufacturer and ordering. It is necessary to do it before starting the construction of the foundation. Since while you fulfill this work, and cement will become, the manufacturer will already make a frame.
It is easy to mount it simply even without the help of specialists. The package consists of:
- glasses
- rubber gasket
- framework
- fixing jumpers
- decorative linings.
All mechanisms are installed by the manufacturer, so they independently put the handles and customize the locks do not have to.
Installation is happening like this:
- install around the perimeter angular supports (if any, then intermediate), they are attached from below directly to the base of the floor, on top to the carcass from metal products.
- cover with rubber gaskets,
- paste glasses in plastic frames,
- fasten fixing jumpers
- put on decorative elements.
These beautiful verandas are in great demand, and nevertheless it is worth thinking twice before choosing this option. The snag consists in heating. Radiators will be installed on the bearing wall of the house. If in the house on the same wall already installed batteries, then excessive heat will lead to the drying of the wall. As a result, the solution will be pulled out and the stone will deteriorate. There is a risk of collapse.
Construction of roof veranda
This is the final and perhaps the most important step. On how well the roof is done depends comfort inside the veranda. To begin to determine the type of roof. Flat suitable option for the summer garden porches, because such a structure can be used for drying fruit or herbs. In all other cases, the roof should be sloped, with a slope of not less than 25 degrees.
There are two types of roofs:
- cantilever,
- support.
Flat roof can only be reference. This means the construction of supporting pillars, which will go to the joists. Mount Technology is as follows:
- build the pillars (of stone or wood) to the desired height,
- on the wall to install the support (for wooden structures to fasten the beam to the stone hollow recess of at least 10 cm)
- top supporting pillars put integral bearing beam (at least 5x5 cm)
- between the supports put joists overlap (or 5x5 cm or 2x10 cm or more)
- set on top of the waterproofing,
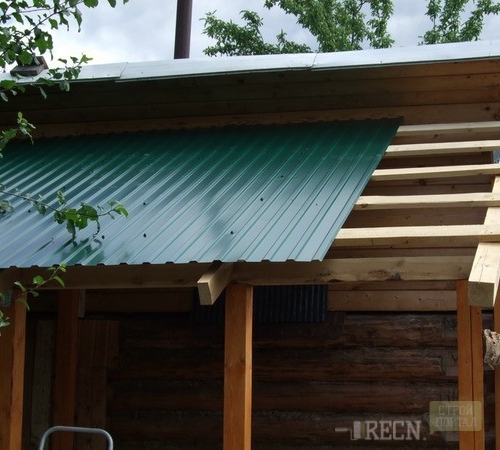
- cover roof slate, tile or a metal,
- hem ceiling inside for decoration (any kind of siding).
The location fit the roofing material to the wall of the house is necessary to perform high-quality waterproofing. It is best to throw the seam of bituminous mixtures or conventional resin.
Important: even flat roof slope should not be less than 5 degrees, otherwise the water will flow to the wall of the house and destroy it.
Tip: to insulate flat roofs is not advisable since the use of any material reduces heat loss of only 20-25%.
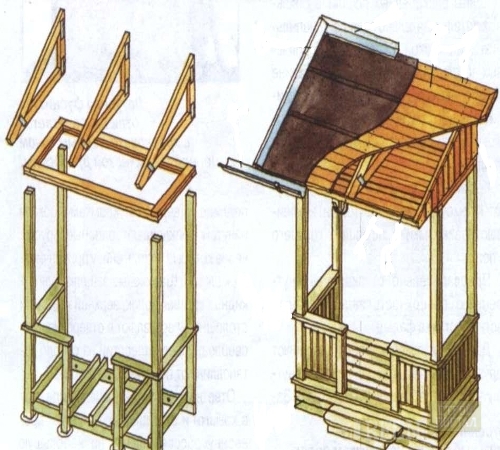
Pitched roof is on the same principle, except that instead of lag on a support installed truss. Void in the rafters better fill mineral wool, this is the most lightweight material, except that it will cut heat loss by 60-80%.
But if you plan to open the veranda and do not want to cut the display columns, then you must install the roof with the help of arm structures. Any console - "P" is the letter. Mounted as follows:
- the upper edge of the carrier beam zapilivaetsya desired angle (not less than 60 degrees),
- supporting beam fixed to the wall (width not less than 5x12 cm)
- the upper edge of the base is fastened to the roof,
- the base and the supporting beam are connected by jumper.
To increase the reliability of the design, and the jumper bearing beam must be washed down so as to form a groove. When assembling, it is better to glue. Fixing elements takes place by means of screws. Next, the finished frame upholstered as well as standard and rafters.
New comments
Add a comment
To send a comment you need authorize.




well written everything is clear) I would like this