Rubbing tiles do it yourself Tile
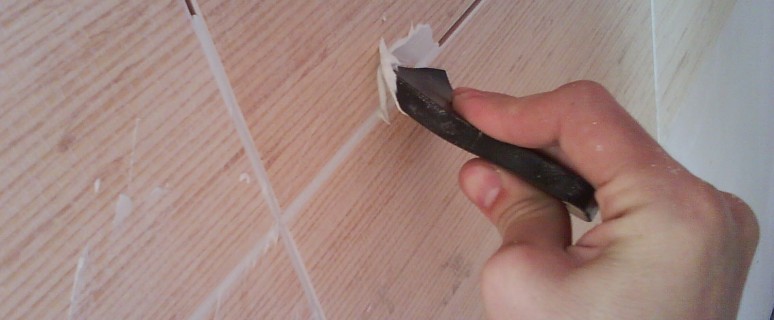
The facing tile loses its attractiveness over time, and the resultant reason for this is not a damage of the finishing material itself, but the deformation and darkening of the interlocking seams. To return the tile of the primordial look, it is not necessary to repaid repairs, just update the old seams. We will tell about grouting tiles with your own hands in this article.
Content
Why do I need scatching seams
- The first and most important reason for the implementation of a similar event is a refund of the cladding coating of the decorative species. Thanks to the updated seams, the tile looks as if she recently put it. Without grouting, it is not necessary in the event that the tile was recently laid.
- Walls and floors decorated with clinker tiles have bad vapor permeability. So that the surface was not selected and passed the air, the seams between the details of such material are made quite wide. Grout for clinker tiles allows the surface to breathe, and also gives the walls a neat look.
- Many types of facing tiles belong to fragile materials, and thanks to the proper processing of seams, chipsets will not be formed on tile joints.
- If the tile was laid poorly and not very smoothly, you can visually correct the masonry within reasonable limits. Well-performed seams will help hide minor defects.
- The correctly selected stilt material between the tiles allows you to make a facing more reliable and durable, as well as extend its life.
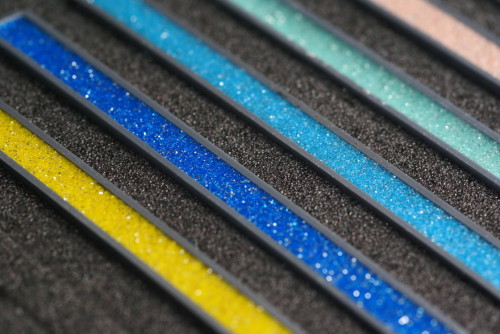
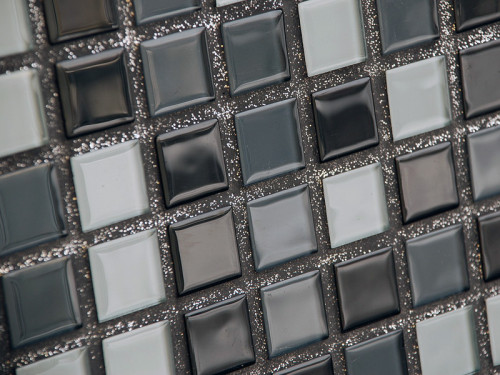
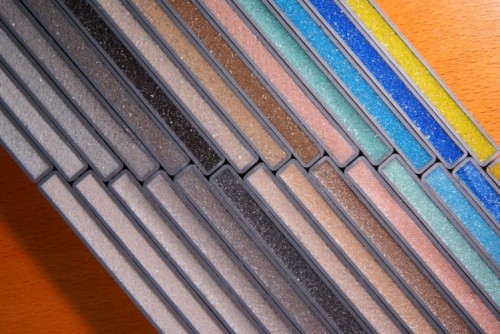
- The appearance and effects of cladding depends on the choice of color of the culforal material. The shade may be selected in the tone of the finish, and maybe it can be contrasted beautifully with it. Fortunately, modern manufacturers of building materials offer consumers a wide range of goods, for example, grouting for the tile "Cerezite" is produced in more than 30 different colors.
Types of grouts for tile
Cement-based formulations
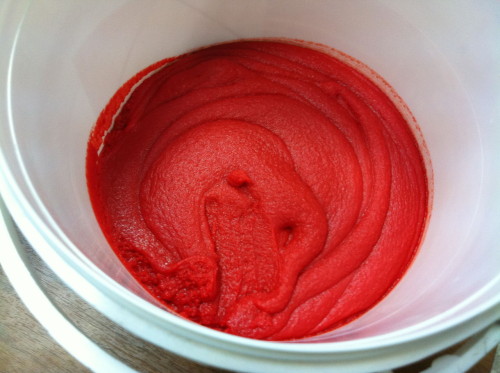
For the grout of the seams of ceramic and many other types of tiles, many consumers choose cement mixtures. They are easy to prepare and apply, do not require any special skills, and the result in most cases pleases high quality. Such mixtures include cement, plasticizer, dye and some other additives. The dry mass is divorced by water or liquid latex, after which the mass becomes plastic and reminds putty on the consistency.
Before you choose a tile grout, you should decide on the desired type of composition. The material is classified according to different criteria, for example, there are grouts for narrow and for wide seams. In the first case, the grout does not include sand - such a mixture is used to fill the seams with a width of up to 5 mm. In the second case, sand is present among the components of the material - a similar type of grout is used to process the seams whose width exceeds 5 mm. The sand is needed so that the cement mass is not cracked after frosting.
Grouts for tile seams are sold both in finished form and in the form of a dry powder, which must be breed in a given proportion. With ready-made masses, it is easier to work, because there is no risk to make a mistake in the ratio of components when mixed them. On the other hand, if not to use the entire can of the substance at a time, the residue simply dries it, and the money spent will disappear. If the tile grout was bought in a dry form, during its preparation, it should be very accurate to adhere to the proportions specified in the instructions. Dry powder is convenient to use if the surface being processed has a small area - then for dilution of the mixture, you can take a small amount of powder and use it at a time.
Among the main advantages of cement rates, you can allocate such:
- low cost;
- extensive color palette;
- ease of use;
- versatility;
- high strength characteristics.
However, compounds based on cement possess the disadvantages, among which it is possible to name poor resistance to various kinds of pollution, as well as the ability to collapse from household chemicals.
Epoxy grouts for tile
Epoxy grouts consist of several components: epoxy resin mixed with silicon filler, as well as a special hardener. Such a composition has a challenge quickly, so it is necessary to work with it quickly.
The main advantages of such a substance include its strength and elasticity, as well as resistance to aggressive chemical environments: alkalis and acids. Epoxy wiping waterproof, they do not absorb dust and easily cleaned from contamination. Thanks to good elasticity, after frozen the grout does not crack, even if you smear with its help wide seams.
Among the components of such a grout there is quartz sand, which determines the shade of the mixture. However, additional pigments can be included in the mass.
The minus epoxy forces is that they are hard enough to rub out from the surface. In case the tile during the operation was fan, the composition should be removed in the first day after applying. To do this, the easiest way to use special tools that are sold in construction stores.
Silicone grouts
Silicone sealants can also be used to fill interputer seams. Such a grout for tiles is often used in the bathroom, toilet and other rooms with high humidity. Silicone absolutely does not pass liquid, so it is advisable to use it in those places where the tile is constantly in contact with water, for example, near the shells, baths, shower cabins.
Silicone sealant is available in tubes equipped with a long narrow "nose". This allows you to apply a lot in hard-to-reach places. To the advantages of such rates, except waterproof, can be considered resistance to fungi and bacteria, elasticity, low spreadability, a good range of colors.
Silicone grout for seams tiles in the bathroom also has disadvantages, such as low strength. This mass is best used not as the main grouting agent, but as a supplement to the cement or epoxy mixture.
Tips for choosing and using grout
The choice of grout color for tiles is a purely individual, however, to obtain a beautiful and accurate result, you can listen to several recommendations:
- If the mass is used to close the seams between the floor tiles, the shade should be chosen to 1-2 tons of darker or lighter than the main color of the coating.
- In the case of a tile that are finished walls, it is better to give preference to a brighter grout. You can also choose a means that coincides with a shade with the wall surface.
- If the trim is used a tile of several colors, the grout should be selected by the brightest option.
- As a rule, after the preparation of mass, its shade is obtained by several tones darker than the color indicated on the package. Among other things, the end tone depends on the time of drying - the faster the grout is dry, the lighter will be the seams.
- For the floor, it is better not to use white grout, especially if it is prepared on a cement basis. Such seams quickly absorb dirt and darken.
When performing the stamps of the seams of the tile with their own hands, you should first decide on their width. For example, for the medium-sized tiles, the size of which is 10x30 cm, the seam is optimal about 3-4 mm. For more overall elements of the seams, it is advisable to do a little wider. If the cladding uses a curly tile or elements of incorrect shape, it is also desirable to make wider seams.
It is worth taken into account that the maximum seam size should not exceed 12 mm, otherwise the dried grout is likely to just crack. It is also undesirable to make seams too narrow, since in a similar case, the process of rubbing them will turn out to be more complex, and the final result may be substantial and leakage. Many tile manufacturers are indicated in the instructions for their product the recommended width of the seams, so that in the process of performing work it is worth taken into account such information.
The grout process of intercutric seams
Preparatory work
In the process of rubbing tiles, such tools may be needed:
- rubber gloves, glasses to protect the eyes from dust, as well as a respirator, especially if the work is used in the work;
- bucket and sponge;
- clean dry rag;
- small rubber spatula, metal spatula;
- malyary Scotch;
- the exercise that can serve a piece of cable or a sharpened wooden wand;
- a piece of plywood if you need to rub the surface of the floor.
A short action algorithm looks like this:
- Initially, you should prepare a mixture for wiping.
- After that, the mass can be left for a short time, so that dry ingredients have enough water with water.
- Then the grout should be mixed again, after which it can be applied to the seams.
- The last stage is cleaning the surface of the tile from excess substances.
Sometimes it is enough to clean them to update the old seams. Cleaning the old seams from dirt is nothing complicated. For this work, the easiest way to use vinegar and soda, especially if the process is carried out on the floor covering. At first, soda needs to be poured into the seams, after which to pour these places with vinegar. When the acid begins to extinguish the soda, a large amount of foam will be produced. After the chemical reaction is completed, the seams need to lose well with a rigid brush and rinse with water.
Sometimes intercutric seams are also cleaned with the help of a chlorine bleach. Such work can be carried out only with the open windows, otherwise there is a risk to poison in chlorine evaporation. The cleaning process is very simple: putting rubber gloves and armed with a small sponge, bleaching should be applied to the seams, leave it there for a few minutes, after which it is thoroughly washed with water. Wash seams in this case follows several times, since the chlorine is not immediately removed.
If it was decided to lift the seams anew, the old solution should be removed and proceed to filling the seams with a fresh mixture.
Preparation of masses for rubbing seams
After calculating the flow rate for the tile and gaining the desired amount of material, you can start cooking. As mentioned above, dry mixes are connected to water or with liquid latex. It should be noted that the grouts on a polymer basis can be mixed exclusively with water.
Before making the grout, you need to carefully read the instructions for the product, in which the proportions of dry matter and solvent should be indicated. Mass should be breeding in accurately according to this information. According to the consistency, the finished substance should resemble a putty, be enough plastic and well smeared on the surface. Too liquid grouting for tiles is not desirable, as an excess moisture can trigger the cracking of the material after it is frozen.
In the process of mixing the components, the dry mass must be added to the solvent, and not vice versa. To begin with, it is desirable to use not the entire volume of the liquid specified in the instructions, but approximately 2/3 of the norm. As soon as the desired amount of powder, the residues of the liquid can be added gradually, adjusting the consistency of the mass.
Stir the ingredients is conveniently using a special electrical stirrer or cells. If the work is used in the work, its nozzle must be immersed in a solution entirely, so that air bubbles are not formed in the grout. Stirring the mass on too high revs is also not worth it. After cooking, the solution is desirable to withstand in the late 10 minutes, then mix it again, and after it starts to use it.
Stages of rubbing tiles cement or epoxy
- Before starting rubbing tiles, the seams should be cleaned of dirt or from excess glue if the tile has been laid recently. Finished seams need to be slightly wetted with clean water with a small sponge or brush.
- If the outfits of different shades are used in the work, their docks should be sealed with a painted scotch. By the same scotch, you can protect the various adjacent surfaces to the surface tile, so that it is subsequently not cleaned them from the solution.
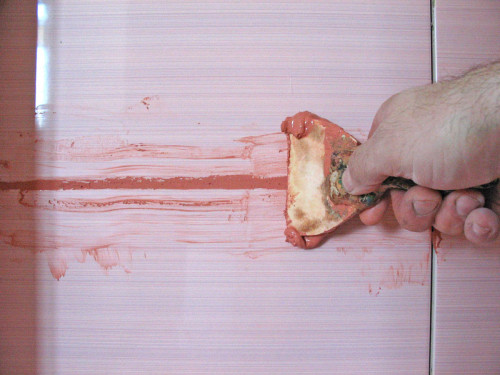
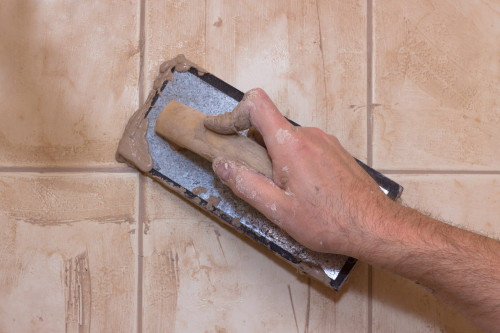
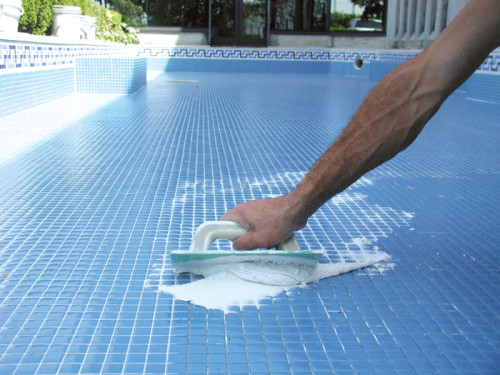
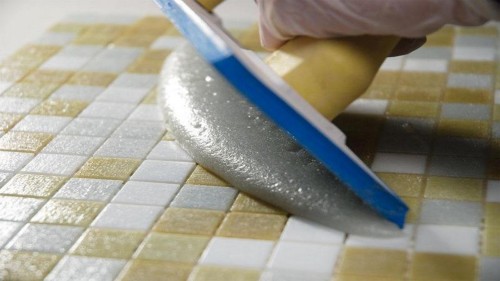
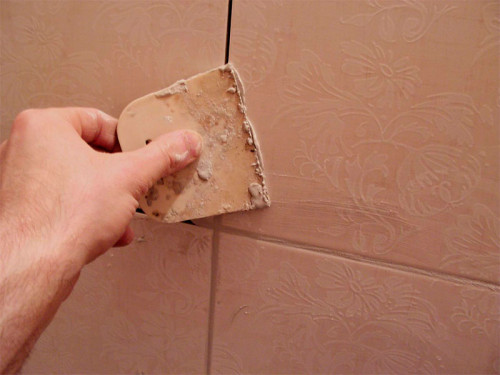
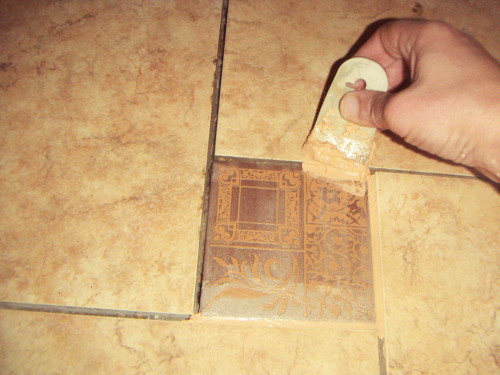
- When everything is ready, you can start the grout process. To do this, the desired amount of mass is recruited on a small rubber spatula. The tool should be kept perpendicular to the seam and try to press the mixture of dealer.
- When the seam is filled, you need to spend the same spatula by tile, removing the mass of the mass.
- With the help of a metal spatula with a rubber tool, the residues of the grouts are wondering in a common bucket.
- In the process of operation, the grout is preferably periodically rebuilt, so that dry components did not fall into the sediment.
- As soon as they are lost approximately 2 m² of the area, the seams should be executed. It is convenient to do with a small cable cut. The cable must be slightly bent, and then spend on the seams, pressing the solution inside. So the mass in the seals is stronger, the small bubbles will come out of it, and the seam will work out beautiful. From how the diameter will be the cable, the shape and depth of the furridge depends.
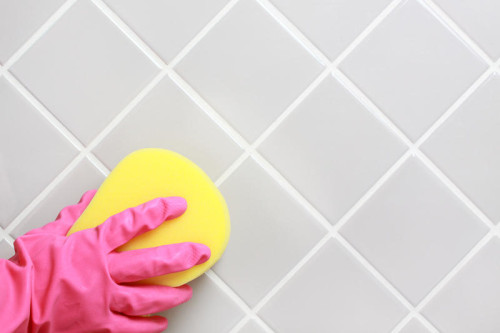
- Remove the residues of the mass can be wet or dry ways. In the first case, the tile is wiped with a sponge or cloth moistened in clean water. Wash the rag as often as possible, water should be changed as contaminated. With a dry removal, the solution spoke out of the seams is left to the drying, after which it is believed to be considered a sharp metal spatula. This method is convenient to use if the tile has a smooth glossy surface. Both methods can be combined to achieve a qualitative result.
In the process of filling the intercutor space, you can use a special bag for grouting. Such a bag will be especially relevant if the tile itself has a rough and porous structure, in connection with which, it is quite problematic to clean it from excess solutions.
Bag for grouting in appearance is similar to a confectionery bag for decorating cakes. The nozzle is attached to one of its sides, according to the diameter corresponding to the width of the seam being processed. The bag itself is filled with a clutter composition and through the tip is filled with a mass of seams. Initially, in a similar way, horizontal intercutric seams close up, and after - vertical. As in the case of a conventional spatula, the grout must be subsequently tumped by the board, and the solution to remove the solution from the tile.
Features of using silicone grout
Silicone grout is used where the tile will often contact with water. Since such composition is sold in the finished form and is located in a convenient tube with a narrow tip, the question of preparing the solution, as well as the use of certain tools, disappears by itself.
Stages of using sealant can be described as follows:
- The working surface first needs to be cleaned of dirt and dry.
- Then the seams should be deguted with alcohol or acetone and dried again.
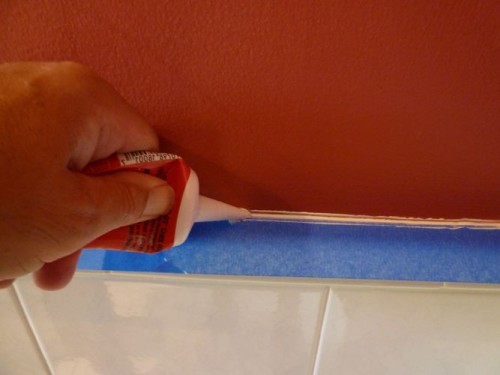
- A tip is cut off with tip nozzles. The diameter of the cut is preferably choosing such that it will be best to approach the width of the intercutric seam.
- After that, the seam is filled with silicone sealant.
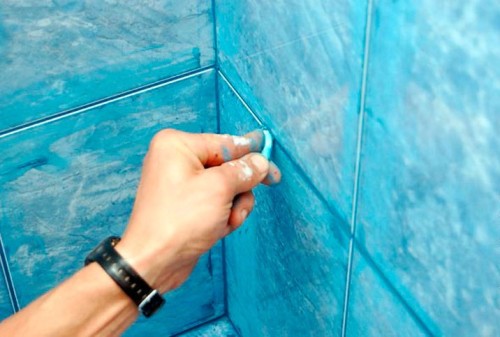
- As in the case of the rest of the races, the finished seam must be aligned. This can be done in a finger moistened in water, but it is better to use a pre-prepared tool, for example, the same cable or wooden wand.
- Before learning to equalize the seam, the tile around it, as well as the tool itself, must be wetted with soapy water. Speaking excess composition should not be wiped right away, it is better to give them to completely dry, and then you can write.
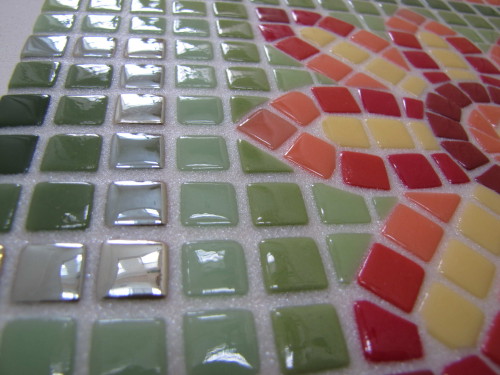
Grout for tiles, photo:


