How to align a rough wooden floor Floors
Wood floor coverings have excellent characteristics, but they also come into disrepair. To extend the life of the wooden floor, it is necessary to carry out preventive repair work from time to time. If the case is quite bad - the board begged, everywhere cracked and deformation, then you will have to resort to alignment of the coating.
Content
Why level pol
Alignment of the draft floor - the task is not out of simple, but in the presence of certain knowledge, skills and materials, you can cope with the work on your own, not attracting expensive masters. The cost of the black wooden floor depends on its characteristics and operational qualities, so today we will tell you how to make high-quality and durable, and most importantly - smooth floors do it yourself.
Often, rough floors in a wooden house are aligned to laying a laminate or other flooring. This procedure is one of the main in the process of styling work, and it is from it that the final result depends on it. And it does not matter whether you are going to lay a laminate, raise carpet or cover the floor with a tile - the surface must be smooth. So, on the crooked floor in the places of bends of the Half, even the most durable linoleum will crack over time or wipes, which is, to talk about a whimsical laminate, which will soon begin to creak and fall out.
How to align a wooden draft floor
There are several effective ways to align the rough wooden floor, the price at which professional artists can be very frightening, but if you do everything with your hands, you can save good!
So, to date, there are four ways of floor leveling:
- planing;
- putty;
- self-leveling compounds;
- laying plywood.
Selection floor leveling method depends on the initial surface condition, and the desired end result. Let us consider the characteristics of each method and the process of work.
planing
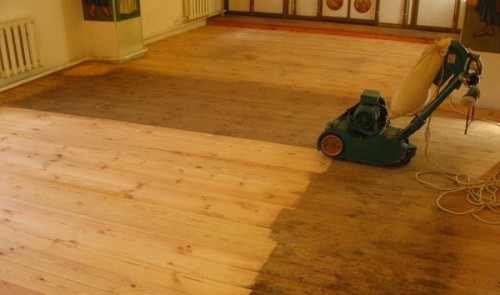
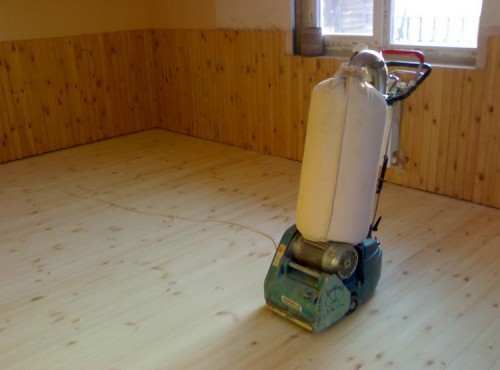
Scraping is most effective and laborious way to align rough wooden floors. This method is relevant for those cases, if you are not going to lay a new cover on top of the tree, and just want to open the floor varnish or paint color.
Scraping may be carried out both manually and using mechanics. It is clear that if you have a special technique, the manual tsiklevatel you to anything. Even if the machine does not make sense to take it out because the manual way irrevocably obsolete as consuming an enormous amount of energy and time. Below, we consider the application of a mechanical method is tsiklevaniya.
First of all, take care of the safety and obzavedites protective plastic goggles, gloves with vibration absorption (can be replaced with thick gloves) and construction headphones, because the machine for sanding very noisy. Do not forget a respirator to protect the lungs from wood dust.
Progress:
- Prepare the room before you start - Remove all the furniture, décor, flowers and appliances (chandelier is also desirable to remove, then it was not necessary to wash it from dust). If the room has shelves, then dismantle them is not necessary, can just cover them with foil or cloth. Plug the crack under the door with a cloth, and the windows open to provide ventilation.
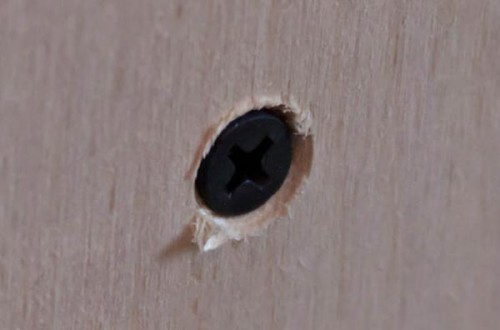
- Prepare coating. If the floor boards in fairly good condition, just enough to drown the protruding cap fasteners deep, so as not to damage the scraping machine. If you see a rotted or warped elements, they must be replaced.
- Now you can proceed to sanding. You need to start working with the corner of the room, gradually moving in a straight line "snake", so as not to miss a single site. For the first stage tsiklevaniya use coarse tape.
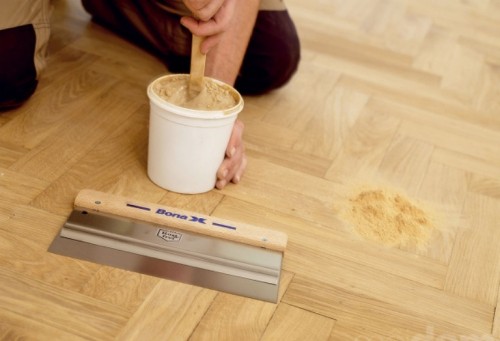
- When the first layer of wood is removed, cover all the slots and holes in the floor with a spacing of the surface. When it dries, go through the cyclical machine once again over the entire surface.
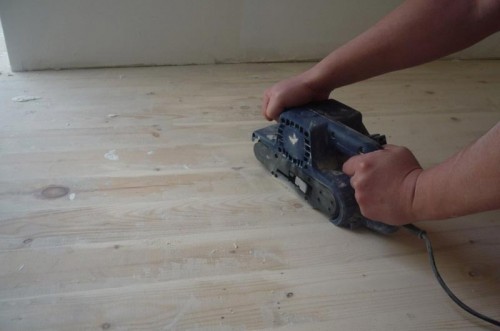
- Even if you use the machine, you still suprate the hand cyclicer to process the floor in hard-to-reach places - in the corners, joints of the walls, etc. When the work is finished, thoroughly spend the room. We need to vacuine only when all dust falls out, and not immediately after the cyclove.
- Wipe the floor with a cloth moistened in the "White Spirit" solvent to clean and degrease the surface. Now you can proceed to paintwork works.
Self-leveling mixes
Self-leveling mixtures are suitable if you are going to lay the laminate on the floor. Cyclish for this surface is meaningless, but it is possible to solve the issue with special mixtures in two bills. You should not be deceived by the title and think that it is only worth pouring the composition to the floor, and he alone alone. This time-consuming process, as a result of which, however, it turns out the perfect base for laminate or laying tiles.
Progress:
- Prepare the base for filling the self-leveling mixture. To do this, it is necessary to fix all spring parts in a static position with the help of screws or screws. Do not forget to deepen the hats in the floor, otherwise the floor will turn out uneven.
- Carefully stick the base to clean the coating from the residues of the old paint or varnish.
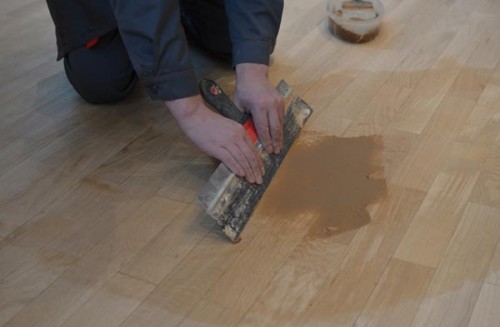
- Cracks and cracks between the boards close the acrylic putty or self-leveling mixture, collecting it to a thick consistency.
- When the spacure in the cracks dry, load the floor with a special moisture-proof primer. Ground in several layers, waiting for the complete drying of the previous coating. It is necessary to provide high-quality agsexyia of a self-leveling mixture and a wooden base.
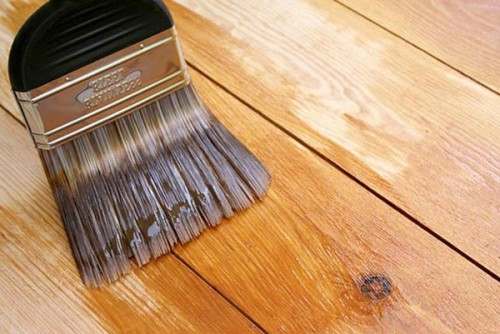
- At the bottom of the walls at the junction with the floor, make polystyrene foam seam, after which Identify the floor level.
- Secure the reinforcing mesh on the entire surface of the wooden draft floor, putting parts of the brass of about 5 cm.
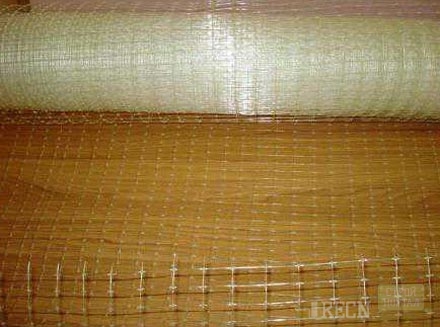
- Prepare the mixture, guided by the instructions from the manufacturer. Stir it better by a drill with a nozzle (construction mixer). Give a solution to "relax" minutes 15, and then mix again so that the components are better dissolved.
- It is recommended to pour a self-leveling mixture in parts, moving them with a wide roller on the floor surface.
- With a spatula, rules or rubber mops evenly distribute the composition over the surface.
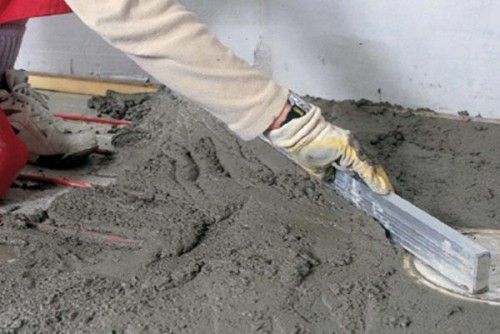
- Wait for the floor to dry, the time of which should be indicated on the package with the mixture.
Useful tips:
Carefully follow all the proportions and rules written on the package.
During drying, the recommended thermal mode must be supported until the mixture is complete.
If during the mixing of the solution, pour too much water during drying, then after drying, the floor may bundle. If adding too little liquid, then the mixture will not be uniformly distributed across the floor.
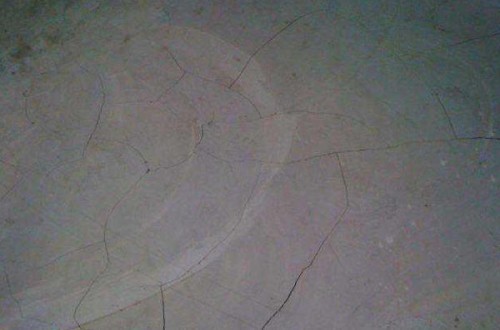
If you want to raise the wooden floor level, fill in two layers, and the first layer should not be too thick.
Putty
Now you know how to align the rough wooden floor for laying tiles and laminate. The putty is not recommended for these purposes, but perfectly suitable if you are going to put the floor to carpet.
Today in construction stores you can find a mass of spacion mixtures based on PVA and Wood sawdust adhesion. This is the optimal option - an acceptable cost, easy to use, a large area of \u200b\u200bthe coating.
Progress:
- Clean the floor from the dirt and gain beacon rails.
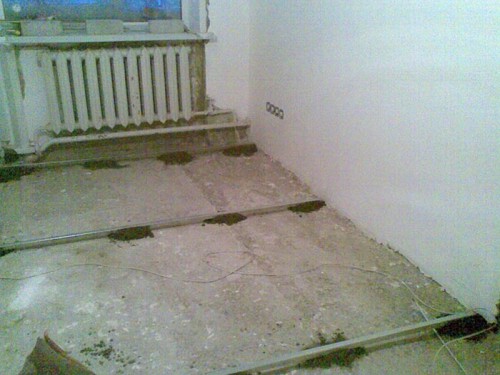
- Fill the space between the reckales with a putty mixture. The mixture must be dissolved to the consistency of thick sour cream. Moisten the sawdust in cold water, and then squeeze it slightly so that they do not stretch all the moisture from the glue and not "overpowered" it.
- If you intend to put a thick layer of putty, it is better to do it in two sites, waiting until the first layer is completely dry.
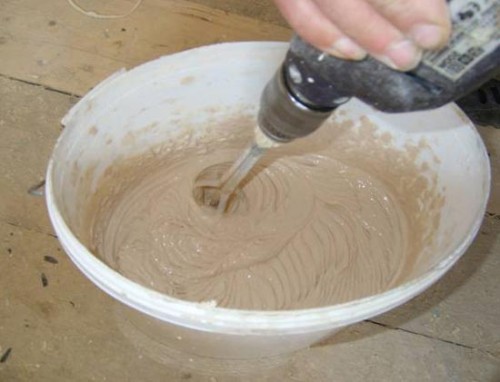
- Do not forget to check the final result by the construction level. If the result does not suit you, fill the irregularities with a spacion solution.
File alignment plywood
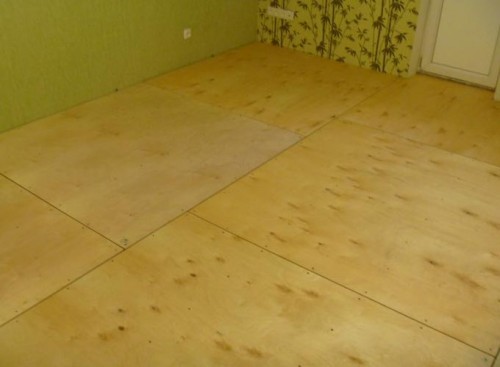
Aligning draft wooden floors with plywood is the most popular way due to its speed, simplicity and efficiency.
Progress:
- If the floor has strongly damaged or rotten flooring, replace them. The remaining elements are screwed to the lags or the base of the floor.
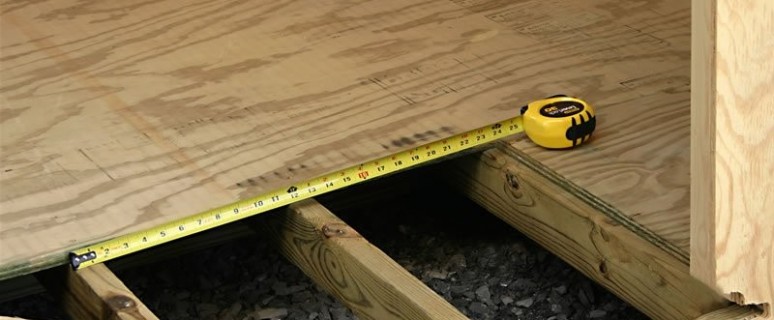
- Set the beacons in the form of screws screwed at a certain height in squares 20-30 cm. The thicker is the layer of plywood, the less the beacons should be installed.
- Put lagows with plywood strips and secure them with self-draws.
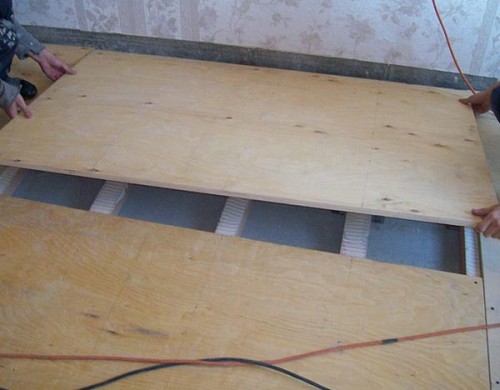
- It is recommended to pre-cut plywood sheets to squares with sides of 60 cm. Get the Phaneur without bundles on the ends of the sheets, otherwise such a floor will serve very long.
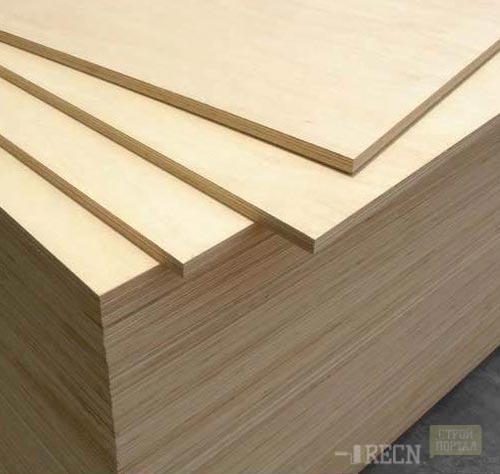
- So, the grid of the lag is already formed, it remains only to install plywood sheets on it. Take into account the location of the sheets of sheets, as they must coincide with lags, otherwise such a floor will be fed and will not withstand a strong load. If you can have a brickwork with a displacement of sheets, in order to exclude the intersection of 4-seams of plywood. Each sheet must be secured using self-tapping hats.
Helpful advice: In order to save time and force when installing plywood floor, make a chalk of the place where the joints will be.
Aligning the draft floor in a wooden house with plywood sheets perfectly suitable for any finish coating, be it laminate, tile or carpet.


