Tile on plasterboard in the bathroom: styling features Tile
Ceramic tile has not lost popularity and nowadays. Bathroom This material is the most acceptable solution. Our article we will talk about how to glue a tile on plasterboard in the bathroom.
Choosing tiles and glue
For high-quality installation, the most suitable material should be purchased. When choosing tiles on plasterboard, the following criteria are taken into account:
- degree of hardness;
- the presence of a smooth surface;
- reverse side of the material;
- pattern quality.
The hardness of the tile is difficult to determine visually. In addition to the shifted material, which is characterized by a brilliant surface of the reverse side. To accurately determine the hardness of the tile, it should be put on a light impact. Quality material will have a deaf sound.
To determine the smooth surface of the facing material, two tiles are used to be combined with the front side. Tiles must fit tightly without the presence of large gaps and uneven corners.
The quality of the material on the reverse side is determined on the basis of the presence of brand and tile names on it. The drawing should also be viewed.
The pattern quality should be noted the following. There should be no such small defects on the tile, as a blurred or lubricated pattern, inconsistency of lines or the presence of divorces.
As for glue for tile on plasterboard in the bathroom, then two types of compositions are used for these purposes:
- elastic glue;
- glue on a cement basis.
Elastic formulations are implemented both in the form of dry mixtures (stirred with water) and finished products. For the price of finished mixtures cheaper, but they need to be spent in a shorter time.
The glue that contains cement is the most optimal solution. This is due to the fact that it can be applied to the paper surface.
To mount tiles on plasterboard in the bathroom, you can use liquid nails. But this is a pretty expensive solution. Usually, liquid nails are used when gluing a small amount of tiles (for example, falling off).
Preparation of plasterboard
Before proceeding with such a process, how to put tiles on plasterboard, you should prepare the surface. This procedure consists of two stages:
- shpalian;
- printing.
All the joints of the drywall are sweep. The reinforcing tape of polypropylene is fixed over the putty layer of the putty. The tape is covered by another layer of putty. If there are large drops, the dried putty is aligned with the sandpaper.
Some experts note that drywall under the laying of the tile can not be placed. It is enough only with the help of a bracket to attach the grid for reinforcing to a thick solution of PVA, pre-applied to drywall.
The coating of the surface of the primer is a mandatory procedure, due to which:
- plasterboard is cleaned from dust and other contaminants;
- the quality of the tile glue adhesion with plasterboard is improved.
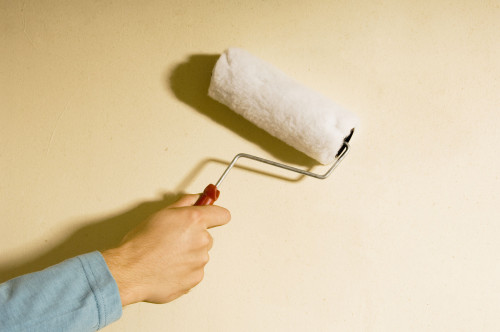
For the priming of the surface, you can use the roller or spray gun. The two layers of primer are applied. The second layer is applied after drying the first.
Preparation of tile
This process is carried out during the drying of the primer. The tile is laid out on the floor in a well-lit room. All decorative elements immediately join and the desired pattern is created.
Be sure to take into account the gap between the next underlying tiles. To do this, you can use special plastic crosses that are used when installing facing material.
The tile layout occurs even in the case when the tile does not have a specific pattern. This is explained by the fact that one batch may include tiles that differ in a color shade. Such cladding will have to be mounted in the most invisible places.
Sometimes the defective material comes across:
- uneven tiles;
- with impaired icing on the front side;
- with a slice of the extreme.
If the defective tile failed to change, then it can be used in areas where it is necessary to lay the cropped material.
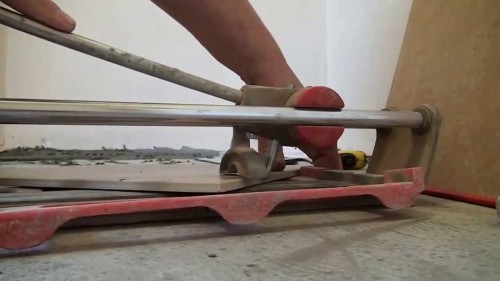
Before mounting with your own hands, tiles in the bathroom on plasterboard, it should be chopped. This work is better to implement platecores. The cropped edge edge is polished by sandpaper. Of course, the most optimal option is to create tiled blanks after mounting a row. Only this is determined by the exact size of the cutting.
Mounting work
If the dry mix is \u200b\u200bpurchased, then before laying the tile you need to prepare a glue solution:
- the dry mixture is poured into a plastic bucket;
- according to the manufacturer's instructions, the required amount of water is added to the mixture;
- with the help of a construction mixer, the components are thoroughly mixed;
- no need to make too much solution (it quickly freezes).
To facilitate glue tiles at the bottom of the wall, a wooden plank is mounted. It is located at such a height so that the first row is located under it. The correct position of the horizontal location of the plank is adjusted using a level.
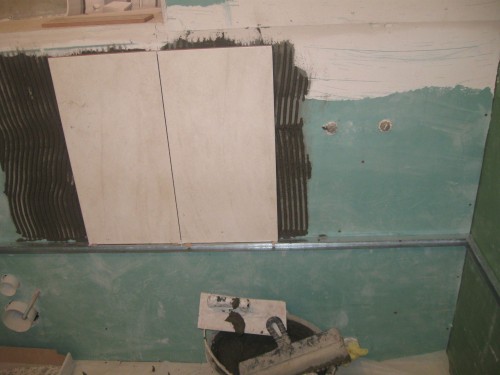
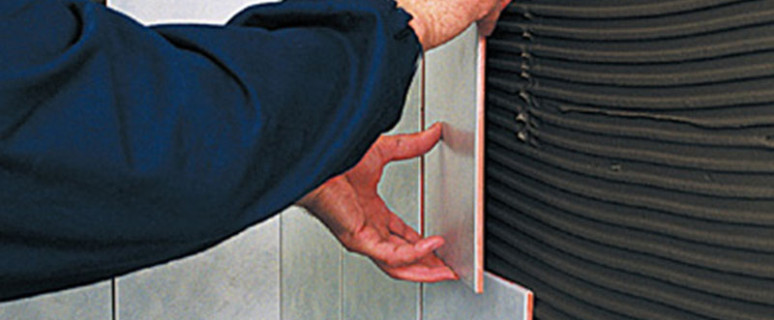
Now let's talk directly on how to put tiles on plasterboard. A small portion of the cooked glue is applied to the surface of the wall. The grooves of the spatula in the glue are created by grooves that will improve tile adhesion with plasterboard.
The tile from the back side is wetted with water and pressed to the solution. Laying tiles on plasterboard in the bathroom starts from the bottom row. Plastic crosses are inserted between adjacent tiles, which are designed to create seams of the same width.
It should be noted that the time of setting the tile glue is within 10-15 minutes. For this reason, the error when laying cladding is corrected immediately.
Naturally, the plasterboard surface will not be covered in one day. After installing 4-5 rows, take a break. Otherwise, the wall will not be able to withstand the load, and the tile is simply collapsed.
Upon completion of the work, another day must go. Then:
- crosses are removed;
- gaps between tiles are cleaned from excess glue;
- seams are wiping.
Video about laying tiles on plasterboard in the bathroom:


