
Mini bath do it yourself Baths, saunas and pools
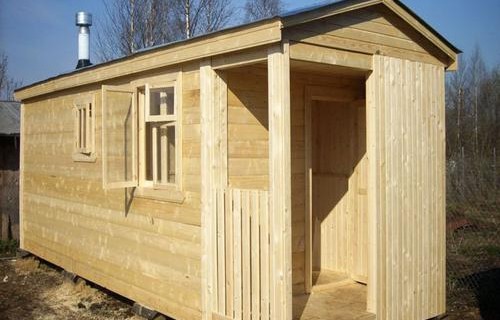
The Russian bath is an integral part of national traditions, as well as a place in which health correlates and receive a charge of cheerfulness and strength. Many owners of country sites dream of having a bath on their territory, but refuse their dreams. It is believed to buy or build it will cost a considerable amount, and will also take too much the courtyard. But it turns out that it is possible to build an inexpensive compact bath, the so-called mini version, with your own hands.
Content
Mini Bath: The better to insulate the homemade design
The mini bath is small, compared with a full-fledged bath, design, in something inferior to it by opportunities, but quite acceptable for home use in one or two people.
As thermal insulation, the foam will be inexpensive and high-quality solutions. Today, many underestimate its properties, but after all, the layer of this material having a thickness of 12 cm performs its function with the same success as the mineral wool laid out by an eighteenisantimeter layer or a tree, 45 cm thick.
The temperature range with which the foam copies perfectly, ranges from -100 to +80 degrees, while such a temperature does not even allow a slightly touching the surface.
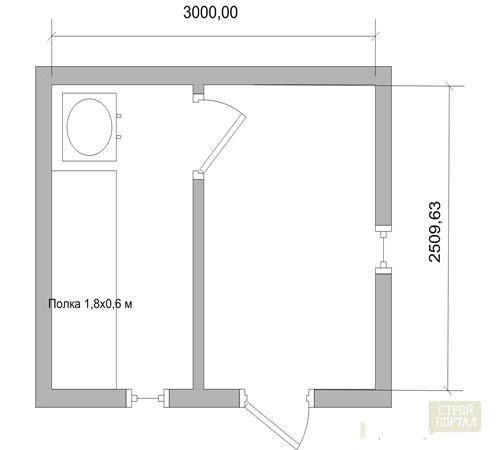
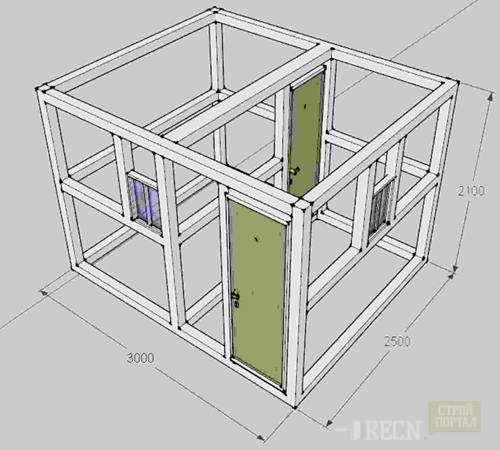
Consider the option of building a mini bath for giving on an example of a structure having a length of 3 meters, in a width of 2.5 meters, a height of 2.1 meters. It will consist of two identical premises - premises and steam room.
Materials necessary for the construction of homemade mini bath
Before building a mini bath should prepare all the necessary materials:
- bars with a cross section of 10x10 cm, 3 m in length - 25 pcs.;
- edged boards 2 cm thick - 1.5 meters of cubic;
- edged plates for floor 4 cm thick - 0.3 meters of cubic;
- construction foam 10 cm thick - 33 square meters;
- bars for rafted 10x5 cm, 2 m in length - 8 pcs.;
- 2 cylinders of mounting foam;
- cement on the foundation - 4 bags of 50 kg;
- the material for the roof, such as slate or rubberoid, or tile - 15 square meters;
- lining - 0.37 cubic meters;
- aluminum foil for vapor insulation - 20 square meters;
- siding - 23 meters square;
- bricks for the furnace - 250 pcs. either tan;
- door, which will close the oven - 1 pc.;
- two tanks whose dimensions are 37x32x12 cm.
Independent building mini bath
The construction process of the bath structure consists of the following steps:
- on the household territory, select a place for the future bath. It should be as far as possible from residential buildings;
- make a mini bath project. It should include a detailed scheme applied to paper, all the parts of the frame with the populated sizes;
- take the Beach and with it to mark the perimeter of the future foundation and take small stakes at its corners. In our case, the perimeter will be 3x2.5 meters;
- next, mark the place that the Foundation of the furnace will take, we have 75x60 cm;
- in four angles marked by stalks, dig a pits about one and a half meters deep. Their diameter will depend on the width of your shovel;
- in the same way, dig out the deposits under the foundation for the furnace, the depth must be the same;
- in four dumped pits, install the formwork for the foundation, the size of 30x30 cm. To rise above the surface, it should be 20-25 cm;
- fill the concrete in the formwork of both foundations;
- after two weeks, remove the formwork, and pumped up the empties formed. The foundation should be placed in the rubberoid, it is necessary for waterproofing;
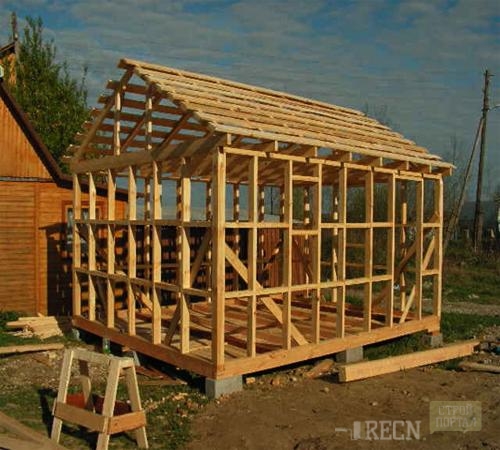
- next, make an assembly of a frame mini bath, guided by the previously compiled by the project: Speak rafters, then the boards, the roofing material is sent;
- next, make the installation window and doors;
- frame from the inside, cover the board;
- laying the floor covering, do not forget to leave the hole under the oven;
- cut out the parts of the required size from the foam and cover all the surfaces of the walls and the ceiling. The resulting emptiness between joints fill in the mounting foam;
- cut the board building outside;
- walls and ceiling steamings Cover with vapor insulation, in our case - it is a foil;
- after that walls and ceilings of both rooms, we carry out the clapboard;
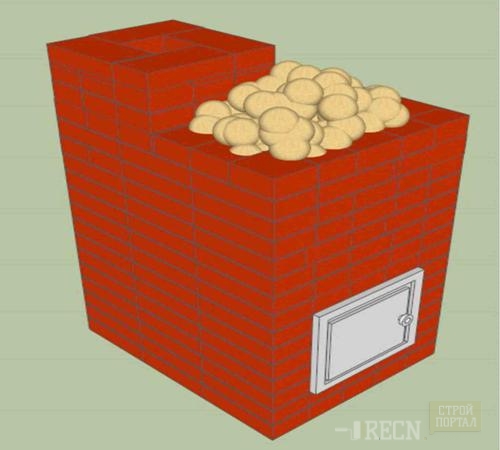
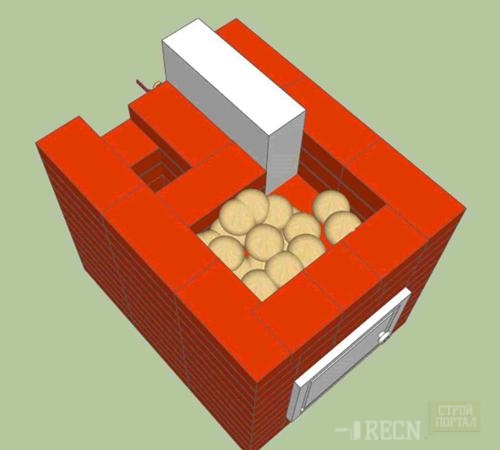
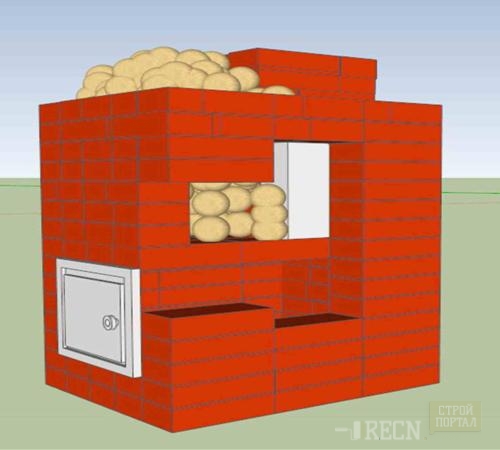
- next follows the furnace laying either installing the Tan. If you perform a masonry, then focus on the scheme:
- at the last stage, the entire surface of the structure is outside by siding.
Arrangement of communications
If there is no water supply in your country household, then the flow of water in the homemade bath is made in samoton. To implement this, you should stock hoses, mixers and two tanks of 50 liters.
"Hot" and "cold" tanks are placed with a difference of half the height, "hot" - above, "cold" - below. The hose is attached to both tanks: one end to the bottom of the "cold", and the other end to the top of the "hot".
Different temperatures in both tanks will give the opportunity to circulate in the pipeline itself. In order to summarize water to the shower from one to another tank, stretch a separate tube equipped with a crane.
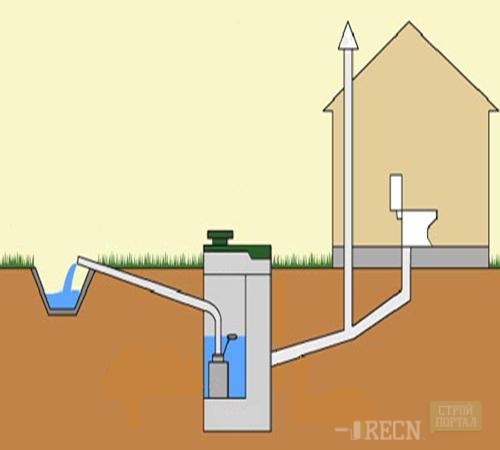
To improve the drain of water, you need to dig a drain deepening and get drainage pipes. If they are installed at an angle, the sewage waters themselves will run into the pit.
The drain system is equipped as follows:
- not far from the bath construction, dig up the deepening of the magnitude into the square meter. It is necessary to find out the distance in advance to which the soil freezes in your area. If it is from 60 cm and higher, then the pit needs to be digged in a depth of about 1.5 meters;
- put this hole with either small pieces of bricks or rubble or clay. The level of the selected material must approximately 50 cm exceed the distance to which the Earth freezes;
- the distance remaining to the top will fall asleep the earth and thoroughly confuse.
It is necessary to carry out all the work, relentlessly observing technological norms, otherwise the drainage system will fuse, water will be accumulated in the pipeline and underground. It will be impossible to use the bathroom, and the floors will start to rotate.
If the soil does not absorb water very well, you should not dig up the yat for the sewerage. It is better to equip the forward flow so that the water in the pipeline is outward. To do this, you need a pit, the manufacture of which is possible from any materials, the main condition is complete tightness, otherwise the smells inherent in the sewage drain will be poisoned to you stay in the bath. Water from the pit will flow along the slope. The duty station with a pit is usually equipped with a water shutter:
- having retreated 90-120 mm from the bottom, enter the pipe to drain the water. By three parties, install the plate without attaching it;
- the plate should not reach the bottom of 50-60 mm. Due to this, a water shutter appears that does not transmit odors to the bath.
Equipping communication, do not forget about such an important moment as ventilation. The riser is made of a metal pipe, a diameter of 100 mm. Top on it is put on a cap or a deflector.
Most often, dense polyethylene pipes are used for these purposes, PVC is not suitable in this case. To sewer from such pipes, it is possible to connect not only the steam room and the washing, but also the toilet if it is provided for by the project.
The floor in the bathhouses two types:
- proceedable
- unintended.
In the first version of the board, leaving the gaps into the floor centimeter, and do not attach too much, they must lie freely. This option laying allows them to dry if necessary. Also boards of the flowable floors are located at an angle. This allows water to drain into the pallet, which is under them, and from there - in the pit.
Bath sewer systems are three species:
- sophisticated;
- non-pat;
- connected to sewage.
All these systems can be equipped, without resorting to the help of specialists. To do this, we use thin-walled pipes from plastic and shaped, 5-10 cm thick. They are connected to each other seals, which to ensure complete tightness of the compounds must have high quality. The discharge system needs to be done in such a way that it has a minimum of branches. The sewer tube is out of construction outside, into the pipe for the release in the ground, at a greater distance from the surface than the depth of the frosting of the soil.
Heating mini bath
Water can be heated in two ways:
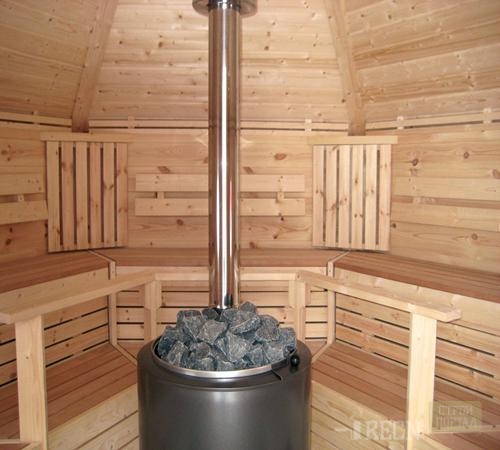
- through a mini stove for a bath , installed in the steam room;
- through a Tan acquired in the store.
In case you decide to install the furnace, you will need to purchase a U-shaped pipe and, by going through the foundation of the chimney, put in the most hot spot of the furnace. In this case, the end of the pipe from which the water is supplied must be on the housing, and the emerging end must be arranged above it by 50 mm.
A simpler decision is a TEN. It is installed under the tank, in which cold water is located, and attach to the system with the help of hoses and stainless steel pipes.
Emailing ventilation and light in the mini bath
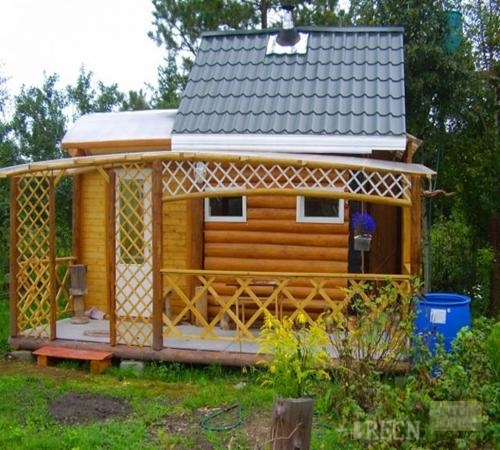
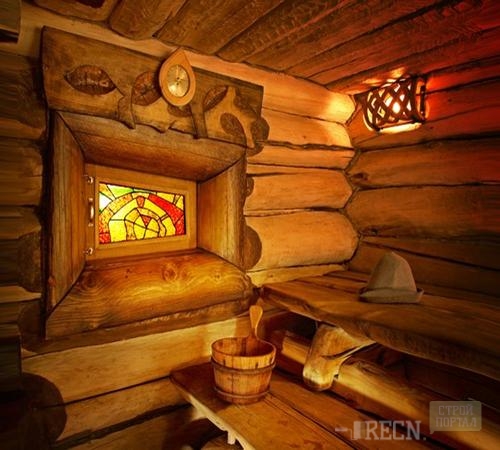
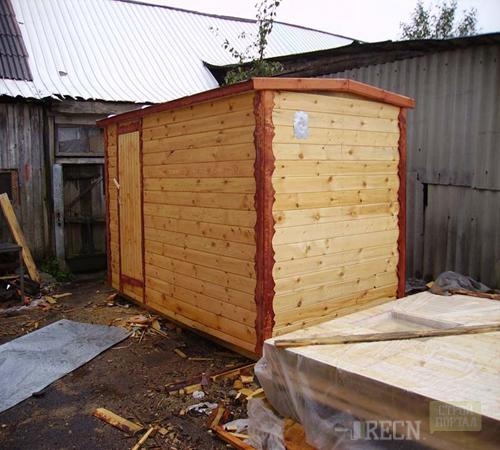
Mini Bani, photos of which are represented on the page, may have different sizes and appearance. Often, to ensure good ventilation in them, you do not have to spend money on various devices. You just need to cut a small window into the door and fasten the door or shutting to it.
Halogen lamps should be installed to illuminate the mini bath room. Only purchasing needed those that have a heat-resistant case. Attaching the lighting system to a small transformer, you can lower the voltage up to 12V.
The dimensions of the mini bath, as well as the number of rooms in it can vary depending on your requirements, preferences and size of the site that you can allocate for construction.
New comments
Add a comment
To send a comment you need authorize.




polyfoam like after 60-70 degrees to highlight crap so that it also needs to be protected.