Paul on the balcony do it yourself Floors
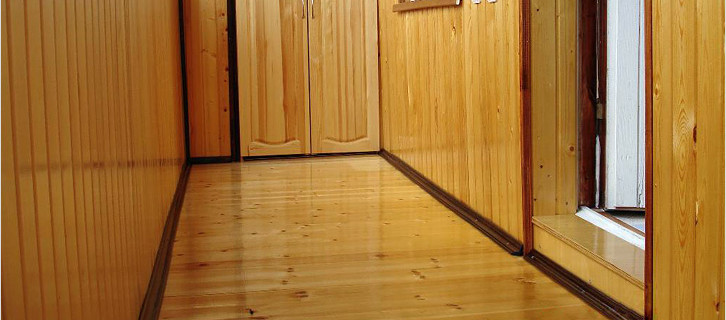
The insulation of any zone in the apartment has an impact on the microclimate as a whole. It is important that the floor on the balcony is warm, comfortable and aesthetically attractive. There are several ways to achieve the desired result. To do this, you can use various materials and technologies. The choice depends on the design features of the balcony and personal preferences. Tell me how to make the floor on the balcony with your own hands.
Paul device on an open balcony
The floor on the open balcony should be not only warm, but also resistant to temperature changes and atmospheric precipitation. But, before laying clean material, it is necessary to prepare the surface of the concrete slab overlapping, serving beyond the limits of the main area of \u200b\u200bthe apartment.
How to fill the floor on the balcony and align it: preparatory work
The sequence of actions at this stage is as follows:
- old finishing materials are dismantled, garbage and dust are cleaned;
- the surface of the concrete is processed by primer deep penetration and dried;
- the composition of "concrete contact" is applied on the stove: it contributes to a better adhesion with an aligning solution;
- the joints of the slab with side and front partitions are sealed to prevent leakage;
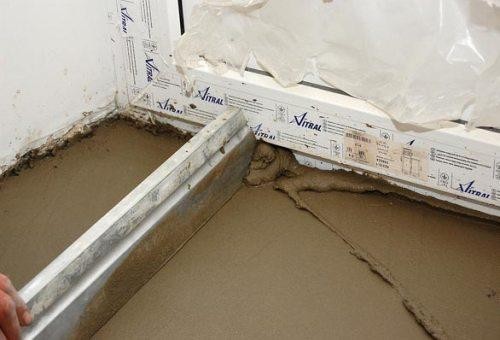
- formwork is built along the perimeter of the fill (the plywood, sheet metal or board with a thickness of 20 mm is used);
- the large-scale glass table is stacked, preventing the cracking of the screed;
- lapered profiles are installed (with a cement solution) at a minimum level forming a horizontal plane;
- pouring and alignment of the screed with a wide spatula;
- a few days ago, light air profiles are removed, and the seams after them are filled with a solution.
IMPORTANT: so that the screed will dry evenly and not crack, it should be covered with a polyethylene film. The drying process should last at least 14 days.
The screed solution is prepared by mixing one part of the cement of the brand 400 and three parts of the sand. Water is added in the amount of 1/5 of the mixture mass.
Device of bulk gender
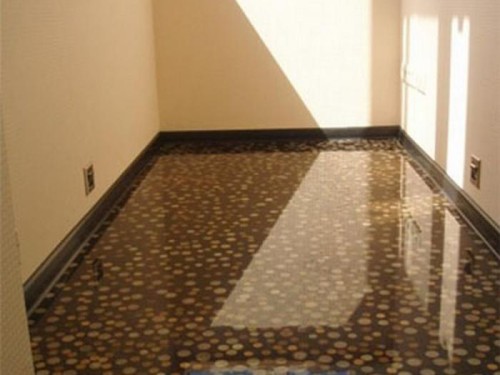
Paul on the balcony with your own hands can be created using a self-leveling mixture. The advantages of such a coating:
- high resistance to abrasion;
- the ability to withstand high humidity and critical temperatures for other materials;
- perfectly smooth surface.
Pouring is performed using the technology used for the screed. The exception is the thickness of the layer: it is equal to several millimeters (indicated on the package for each mixture, depending on the manufacturer).
It must be considered: such a coating may be slippery in conditions of high humidity. For safety on top of the bulk sex, it is recommended to lay a rubber rug or carpet.
Flooring on the balcony
In order for the paint well to lay on the open balcony floor, you must do the following:
- Paul on the balcony is treated with soil and leveled with a screed.
- The dried completely surface of the screed "point" by cement.
- With the help of a soft brush evenly distribute dry cement.
- A gladelled or a spatula with a smooth working surface with a small force is rubbed dry cement in the screed until moisture - the process is called "iron").
- Give a challenging screed to dry about two days.
- Paint for outdoor work is applied with brush or roller. You can combine various shades, use stencils to create patterns.
Floor laying on the balcony: clamping ceramic tiles
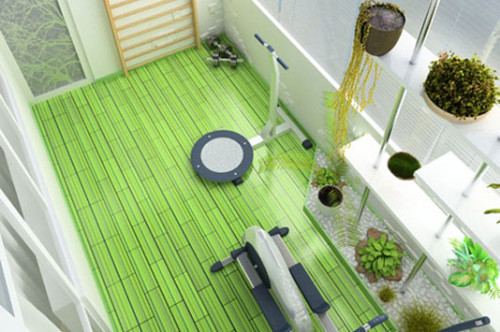
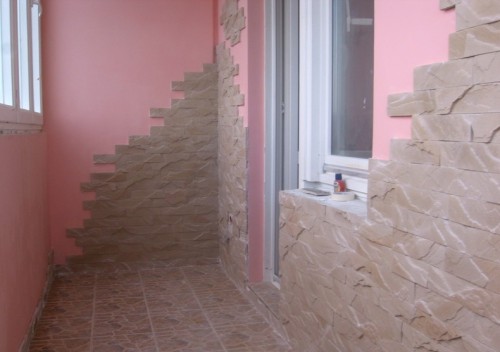
Paul on the balcony (photos of some designer solutions - to your attention), lined with a cafeter, combined with any finishing materials. You can put the tile both on a concrete surface and on the Faneur or OSB plates.
The color of the tile should be combined with other elements of the finish.
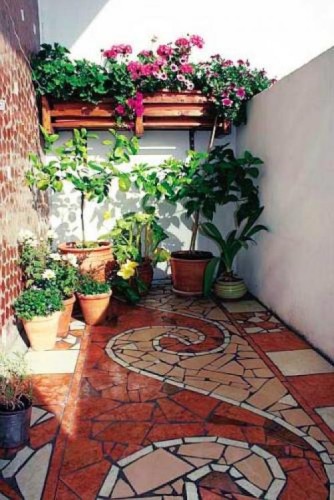
Tile on the balcony can be laid mosaic pattern
Successfully selected materials are combined by texture.
Laying ceramic tiles on concrete is performed as follows.
- Prepared surface. It must be as smooth as possible: it will reduce the consumption of tile glue and will speed up the work (no need to pull the cord, control the horizontality of each element). Strength is also important: there will be no tile on the loose base. To make the basis more durable, it is processed by primer deep penetration. It also improves adhesion glue with concrete.
- Marking is performed for the first row of tiles. It is better to start laying the first row from the corner near the front partition opposite the entrance.
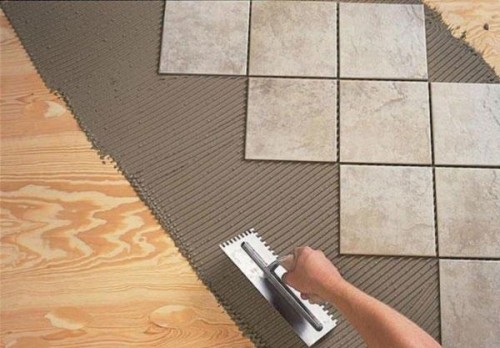
- Cement-based glue is applied with a toothed spatula, a small portion of 3 - 4 tiles are covered.
- The tile is laid on the base and tightly pressed. The glue should fill all the cavities.
- Between the tiles insert special plastic remote crossings so that the seam width is everywhere else.
- A day after drying, the glue crosses are removed. The seams are filled with "grout", selected in color.
- The remnants of glue and grouts are written, wet cleaning is performed.
- At the perimeter of the balcony attached plinth.
Important: Tile for the floor should not have a glossy facial surface. Such a tile will be slippery.
Terraced balcony board: Main stages of mounting
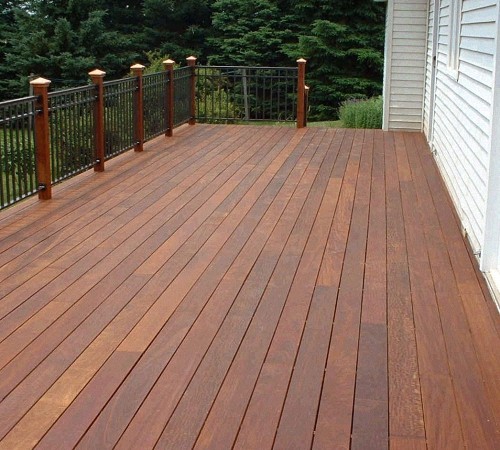
An alternative to ceramic tiles and other coatings for an open balcony can be a terrace board. Manufacturers offer a wooden, thermally processed and composite board. This material is not afraid of moisture and temperature drops. Installation technology is quite simple for self-execution. Phased it can be represented as follows.
- On the aligned concrete base with a step of 0.4-0.5 m put lags and fasten them with anchor bolts. It is necessary to leave the gap between the lags and partitions (about 10 mm) to compensate for the expansion due to changes in humidity and temperature.
- Metallic clips are attached to the lags.
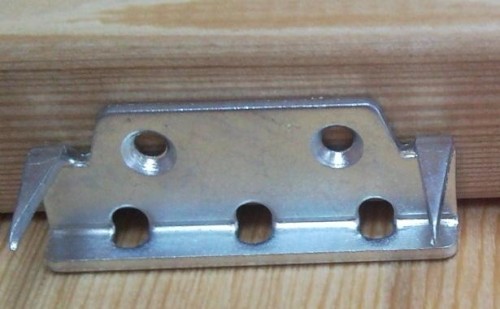
- In the groove clips insert a terraced board. At the same time, the boards should not go for extreme lags more than 5 cm.
In the event that the partitions are made in the form of an adhesive grid, the edge of the terraced board is drawn up with end plugs.
How to make the floor on a balcony of closed design
The glazing of the balcony is used to insulate the apartment, as well as in the case of accession to its main area. In this case, there must be a warm floor on the balcony, which can be arranged with the help of heating electrical cables (mats) or infrared film. Another option is the use of natural wood. The finishing material can use:
- ceramic tile;
- linoleum;
- parquet board or laminate;
- carpet.
How to lay a tile on a wooden surface
If you wish you to have a wooden floor on the balcony, lined with tiles, you must follow the following technology.
- On the even concrete base laid lags from BRUSEV. They are placed along the front partition at a distance of 0.5 m from each other. At the same time, there must be lags near the wall and partition (about 50 mm).
- A level check is performed using a stretched cord and waterpaste. If necessary, under lags are put on pieces of plywood or cardboard.
- Between the lags, foamed polyethylene foil surface upstairs is stacked, and then extruded polystyrene foam, mineral wool or dense foam.
- Dry boards with a thickness of 40 mm are cut across the width of the balcony and are attached to the lags by self-drawing. Along the walls and partitions there should be a gap of about 5-7 mm: this is necessary to compensate for the temperature expansion.
- The moisture-resistant plywood or a chipboard (OSB) plate with a thickness of 10 mm is stacked on top of the boards and is also fastened with self-tapping screws.
- After marking, ceramic floor tiles are stacked. The glue is used on the basis of mastic (cement formulations can not be applied): it is also applied and distributed to the toothed spatula.
- The tile is placed and slightly pressed. The seams fill the "grout", fasten the plinth.
Important: bars lag and boards before installing floor should be processed by antiseptic composition.
How to roll linoleum
What is the flooring on the balcony, how to choose the right linoleum? It is best to purchase semi-commercial, thickness of at least three millimeters. It is important that it is solid and overlapped the entire balcony area.
Before rolling the linoleum, it is necessary to withstand it in operating conditions for a couple of days in the deployed form. It is necessary that the material is leveled and adapted to a certain temperature and humidity. After that come as follows.
- Wooden base is created by the same technology as for ceramic tiles. It is important that the screws of the self-tapping screws are recessed in the OSB slab or Paneur flush.
- In accordance with the size of the balcony, linoleum trimming is performed using a building knife and a long metal line (rules). It is recommended to leave a small margin (about 10 mm).
- Linoleum must be folded twice by freaking out half the balcony area.
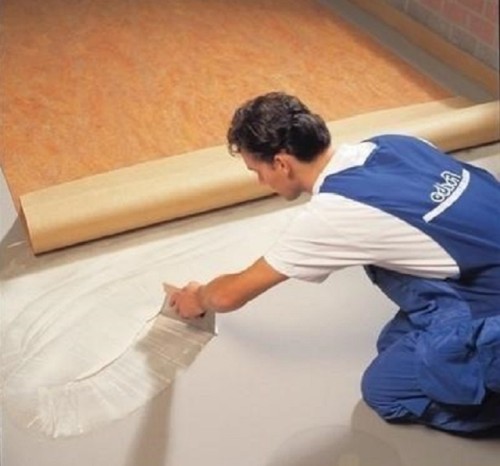
- The brush on the free part of the base is applied and the glue composition is evenly distributed.
- After 10 minutes, the wrapped part of the linoleum is placed on the floor and aligned with roller. Initially, we should roll the coating in the center, and then in the edge - the "Christmas tree". Efforts must be moderate. Excess glue is immediately removed by pure rag.
- Similarly, they come with another part of the linoleum.
- After 24 hours, when glue dries, plinth is installed on the perimeter of the balcony.
Similarly, the carpeted coating is similar to the balcony. If its area is not big - you can not apply glue. After fixing the edges by plinth, carpet or linoleum will be lying motionless. Instead of glue, you can use bilateral scotch.
Laying of laminate or parquet board
For the balcony, it is recommended to choose a laminate of at least 32th grade, moisture resistant. A parquet board may be any. The technology of laying both coatings is practically no different. After the device of the wooden base, the work on the laying of the piston material is performed in several steps.
- Building garbage and dust is cleaned: small particles should not get into the compounds of the elements of the first floor. A cork substrate or from foamed polyethylene is sprinkled. Separate parts of it are connected by scotch.
- Starting from the left far corner, the first board is stuck in the side of the partition. Fully assembled first row. Boards are connected using a special castle of the type "spike-groove". It is impossible to mount nails or screws. For connecting the board, a wooden bar is bought.
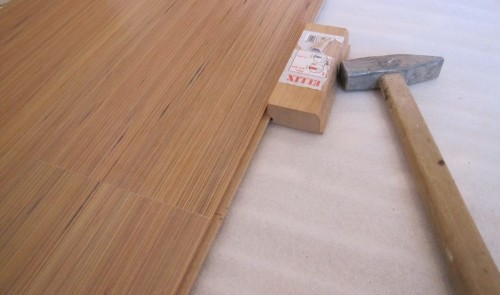
- Between the walls of the balcony and boards set the struts to create a compensation clearance. Laminate trimming can be used as a strut (parquet board).
- The second row (and all subsequent) is mounted with a displacement relative to the previous one at half the board length (but not less than 20 cm). Boards are cut with an electrobilla with a fine-grained saw. Their front side must be drawn down (in order to prevent chips on the front side).
- The plaques of the last row are installed in place using a special lever (clamps), the role of which can perform a nail.
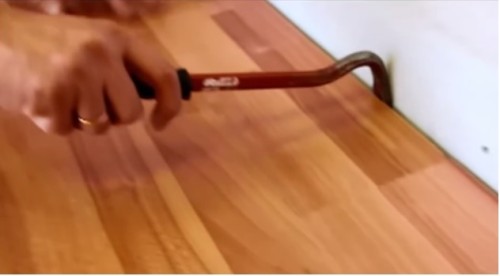
- Compensation gaps are closed by a plinth, which is fixed only to the walls.
You can exploit the floor immediately after the end of the laminate or parquet board is completed.
In conclusion, we suggest familiarizing yourself with how to make the floor on the balcony: video with comments
specialist will help avoid mistakes.


