
Hypzart Shelves: Photo, Manufacturing Instructions Interior items
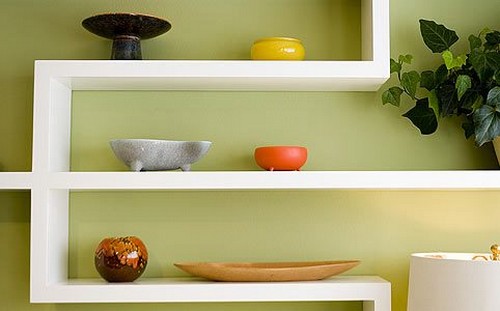
Most people, facing the need for the construction of a shelf or rack, immediately think of wood. Naturally, this is the most common building material in the furniture industry, but the wooden shelves are pretty heavy, and their manufacture requires turning skills, albeit minimal. Why not make shelves from drywall? This material is great for this purpose - it is easy to work with it, you can create the designs of the original geometry, and it costs it cheaper than wood. Thinking, we decided to dedicate today's article the topic of construction shelves from plasterboard shelves with their own hands.
Content
Choice of plasterboard
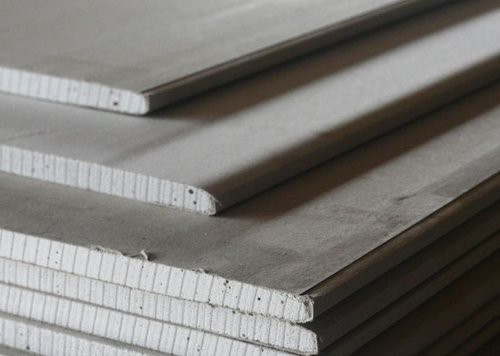
Recently, in everyday construction without plasterboard, there is almost no event. From it build walls, partitions, decorative interior items, suspended ceilings, etc. And which of it are wonderful built-in niches, racks and shelves! Plasterboard sheets by themselves have an ideally smooth surface that only need to decorate and enjoy the result.
With the construction of the shelf on the wall of plasterboard, anyone who knows how to keep the screwdriver in their hands and use the stationery knife. The sheets of the material are extremely easy to be machined, and for installation you do not need to have professional construction skills. Speaking about drywall as a material for creating shelves, it is impossible not to note its low weight compared to the classic version - wood. This allows you to use inexpensive and light fasteners, thereby saving on construction work.
Another pleasant moment is that for drywall, you can use a completely any decorative finish, so if there are creative personalities in the family, it will be an excellent opportunity to give the will to talents. The shelves from drywall can be painted, plane wallpaper, covered with mosaic, artistic painting, etc.
But before proceeding to construction, it is worth understanding that the material consists of plaster and cardboard, and they are known to do not like moisture. Accordingly, the shelf of plasterboard in the bath, bath or in the kitchen will live for long. Also, it is not necessary to install it in a workshop or garage, where there is a risk to hook with something heavy - the mechanical strength of the drywall is quite modest.
In addition, it should be remembered about its fragility and not to put heavy objects or techniques on top. If you need to make a shepherd from drywall under the TV, it is necessary to provide additional build-up and use metal corners instead of the usual GCL profile. If you need a decorative shelf for statuettes, vases with flowers and other trifles, the frame can not be enhanced, but to build from a conventional rack profile.
Manufacturing shelves
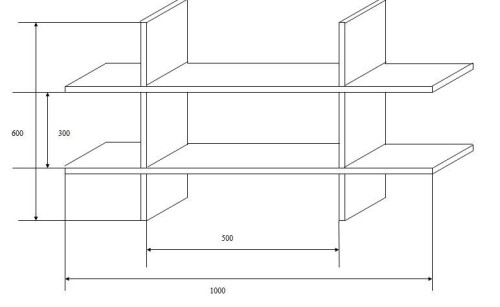
Any construction should be started with creating a detailed drawing on paper or on a computer. Special programs for the development of 3D interior models can help with the latter. But if you like to work in the old way, sketch the main sizes and approximate location of the future shelf or rack.
What instruments for building a shelf are needed:
- screwdriver;
- drill with nozzles;
- scissors for metal;
- stationery knife;
- corolnic;
- building level;
- simple pencil.
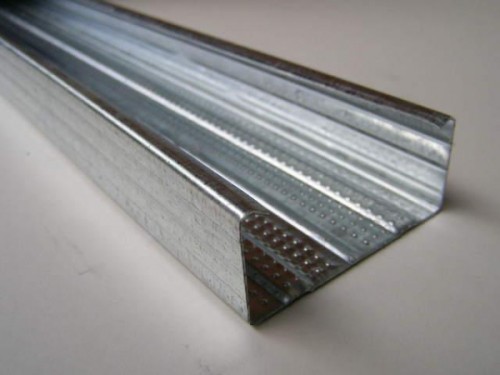
After approval of the drawing, you can buy the required number of building materials. It is better to immediately buy with a small margin just in case, and if there is a little plasterboard, then a small extra shelf will never be superfluous. In addition to plasterboard, you will need rack profiles or metal corners. Remember that the choice of material for the manufacture of the frame depends on the functionality of the shelf and its final destination. Bashed sheets to profiles better by self-drawing, and for fixing the frame, use a dowel-nail.
Frame for shelves
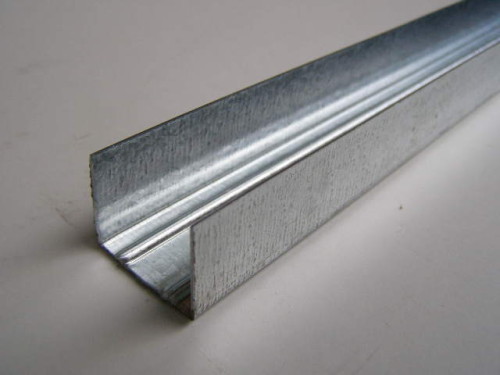
Drawing for shelves from drywall should be displayed in all details the location of each framework. As a rule, for installation, experts use UD profile. This is a universal material that has a lot of advantages. First, it is quite narrow, but even durable. As a result, the design is quite stable and looks very careful. Secondly, I will like its cost even the most economical owners, and transportation from the store will not deliver problems.
Mounting the frame can be made in two scenarios:
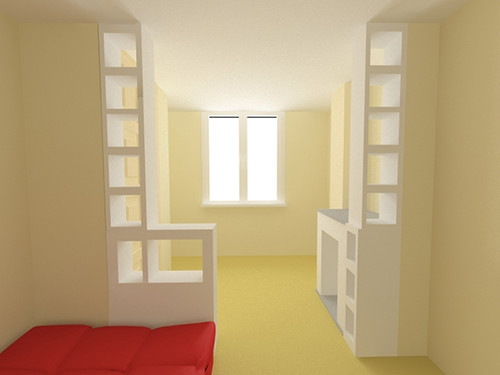
- In the process of assembling the partition of plasterboard - then it is reasonable to make internal "recessed" shelves.
- Installation of shelves on the ready-made wall of concrete, brick or drywall. Since often everything is happening this way, we will consider the features of the installation of external attached shelves.
How to make a shelf of plasterboard:
- Before you take for the profile, make a marking with a simple pencil on the wall, referring to the width of the future shelf and the height of each level, if there are several of them.
- Be sure to adjust the horizontal and verticality of the markup with the help level.
- To fix the profile to the wall, use a dowel-nail 6x40 mm. It is suitable for both metal and nylon products. The latter are designed for small loads. First, mark the point where the fasteners will be screwed, and then drill the hole there.
- It remains only to drive the dowel and consolidate the profile. Mark the points of fasteners is necessary, applying the profile to the wall, that the holes in it coincided with the markup. Install the fasteners every 15-25 cm, but not less often, otherwise the design will get a slop.
- After securing profiles, proceed to the installation of the guide elements - transverse and longitudinal plates. Their task is to give the volume design. So that the frame does not lose stiffness, secure the guides to the floor and the ceiling, as well as connect the profile-jumper. Alternatively, you can set two guides instead of one.
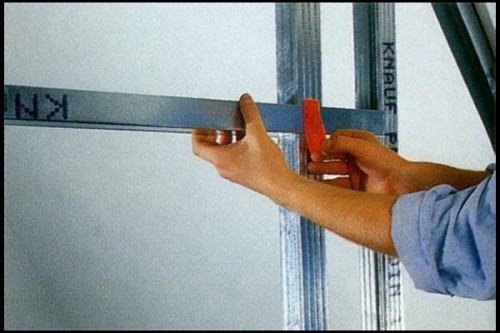
Useful Tip: To strengthen the frame, install several jumpers in it - horizontal planks between vertical racks.
If you need a durable shelf for heavy items or equipment, instead of standard plasterboard sheets with a thickness of 9.5-12.5 mm, use thicker products from 18 mm. The same rule applies to fasteners - if you attach a reinforced shelf on the tapping screw, it will fall off from the wall with them. For this reason, choose the fasten of the "butterfly" type and install them with a frequent step. When installing, it is recommended to use special traverses and frames to enhance the stiffness of the structure. Corner shelves made of drywall are manufactured by a similar principle.
Plasterton covering
When the frame is ready and fixed, you can start the cutting sheet of plasterboard sheets according to the drawing. First transfer all measurements to sheets. To cut blanks, you do not need to make a lot of effort. To do this, it is enough with a confident pressure to carry out the designated line, then bend the plasterboard, having donated it directly on the markup. Gypsum will crack in the right place, and you will only have to cut the second layer of cardboard sheat.
The ends of the cut-out material will be quite sharp and rude, and they need to be processed so that the shelf looked neatly. To do this, take advantage of small grain paper, for example, No. 2 or №1. After that, you can attach sheets to the frame.
Securing all the parts of the shelves, follow these steps:
- All junctions between plasterboard surfaces and wall wrap with a putty on a plaster basis. So you make the shelf with a homogeneous and harmoniously approve it into the wall plane.
- All interrupted joints after drying are corded with a special reinforcing grid - sickle. It is necessary to enhance the stiffness of the structure.
- On top of the plastic grid, apply another layer of putty so that the crucible is not at all noticeable on the surface. For this you will have to sharpen the entire plane of the shelf.
- After drying the composition, cover the surface with a layer of finishing putty on plasterboard.
- To create smooth and neat corners and ends of the design, you need to use special angular profiles. Put them on the primer and cover. Profiles can be used as plastic, so aluminum or galvanized.
Important moment: If you build a powerful shelf for heavy items and use steel corners to enhance the frame, it is better to cover them with an anti-corrosion agent. Otherwise, with time, the metal will begin to corrosive, and the rust manifests itself through the finish.
How to attach the shelf to the plasterboard wall
The problem of the curvature of the walls is familiar to each third (if not the second) owner of the apartments, and in most cases this issue is solved with the help of plasterboard. Made the crate, she chose the walls and you can install the wooden panels, even though the wallpaper is glued, even though the mosaic lay out - the surface is perfectly smooth. But how in this case, attach the shelves on such fragile walls, because the plasterboard will be crumbling and crumble and can not withstand the strong load?
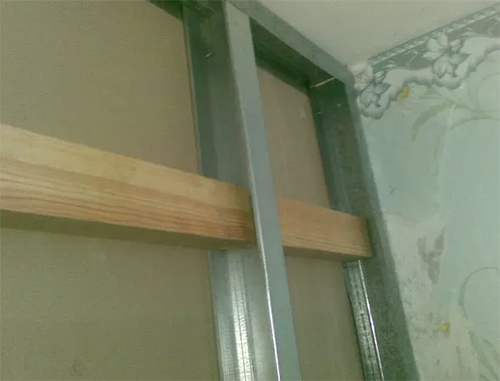
In the image below, you can see the answer to this question - setting a mortgage bar between metal guide profiles. It is to him and can be mounted shelf. Wood perfectly cope with the load, and metal rack profiles distribute it along the wall surface. Finish mortgage bars to the wall with a dowel screw. Holes for them are better drilled in advance.
It is worth noting that it should be done in the process of the trim, otherwise you will have to disassemble the wall and insert bars, or secure shelves through drywall. This method is possible only if the sheets were glued to a fairly smooth wall.
To fix the shelf on the bearing wall, you will need a perforator or a shock drill, a hammer, a concrete burned with a 6 mm nozzle, plastic dowels 6x80, anchor 75 mm and a screwdriver.
How to hang the shelf on plasterboard:
- Determine in which places you need to make holes. To do this, lean the shelf to the wall in the position in which it is planned to install and mark the markup by a simple pencil.
- In the marked points, drill holes with a depth of 85 mm and how to develop them so that the dowel could quietly enter. If the dowel is difficult to score, it breaks down or snacks, use the drill is thickening or even stronger to develop a hole. It is important that the dowel goes to the whole depth, otherwise it will not hold on.
- Insert the dowel into the holes and score them with the hammer so that they are completely drowned in the wall.
- Tighten the first screw to the extreme dowel and set the shelf by level. When the horizontal is perfectly observed, you can screw the rest of the screws.
On video - shelves made of drywall and methods for fastening to the bearing wall:
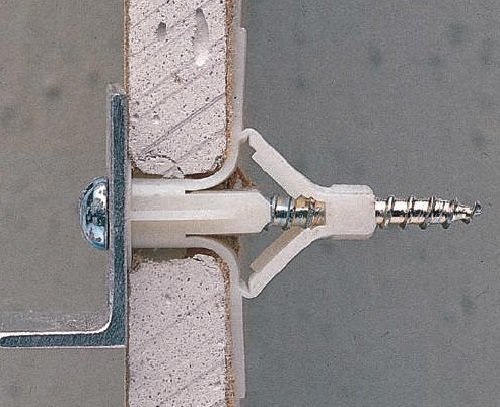
Finally, I would like to mention all sorts of fastenings of the "butterflies" type, "umbrellas" "Molly", etc. There are a lot of them, and they are all different, but the principle of action is pretty similar - fasteners are inserted into a narrow hole, where it "blossoms" and is fixed reliably inside. However, all such fasteners are designed for light items and cannot be used to build powerful shelves under TV, books, clothing and other things.
If you need to attach a powerful shelf to a plasterboard wall, use anchor fittings. The principle of fastening is similar to the above-described - in the right place the brown make a hole, then drive the anchor there. The length of the reinforcement should exceed the depth of the opening by 2-3 cm. The thickness of the fastener should be at least 6 mm. It remains only to put the shelf on the driven anchor and fasten it with a nut to the wall.
Shelves made of drywall: photo
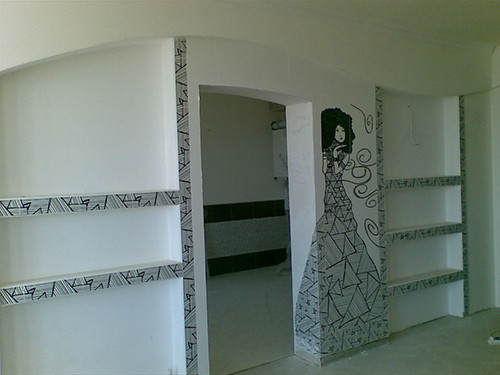
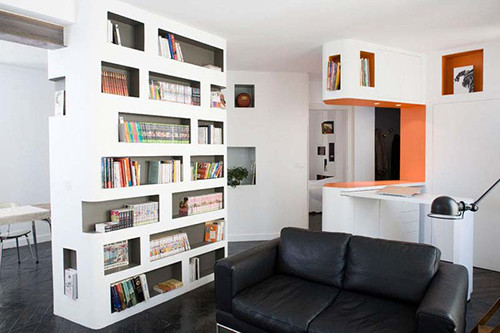
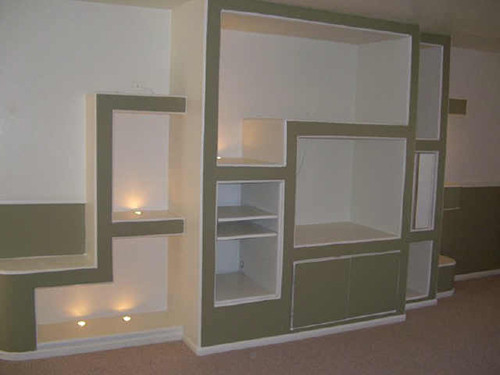
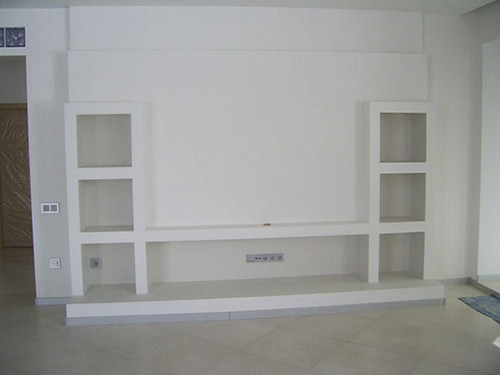
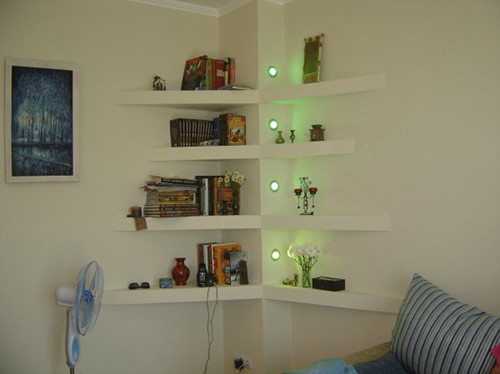
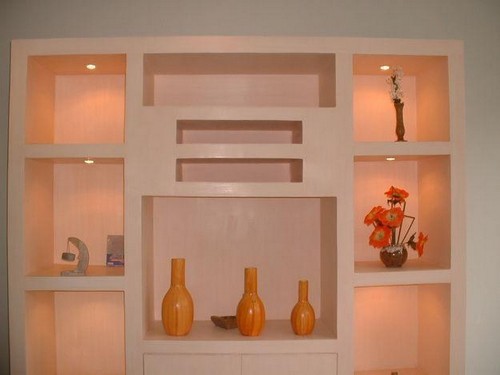
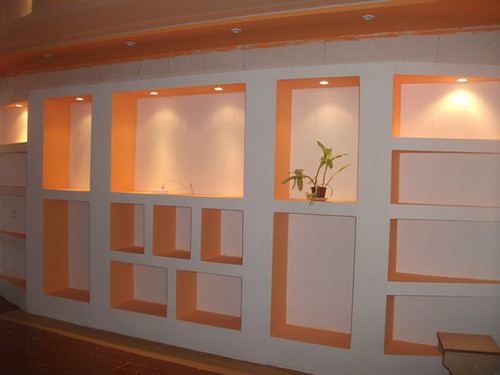
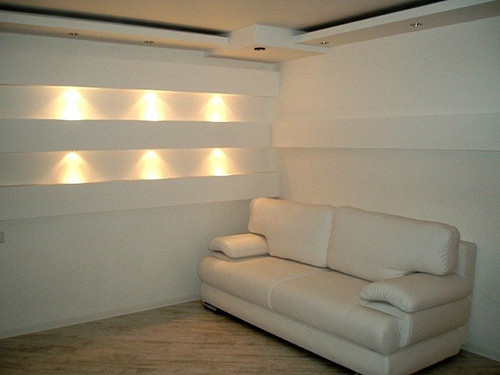
When you were convinced that to build a shelf or even a rack from a drywall is not difficult, we suggest you to draw inspiration from the photodification below, and then create your own unique design of furniture.
This material is also good because it allows you to equip the backlight, successfully emphasizing all the advantages of the interior. LED backlighting in shelves-niches from drywall looks very nice.
New comments
Add a comment
To send a comment you need authorize.




Thanks for the article, I learned a lot of useful for myself. 🙂