Ceiling on the balcony: Installation Instructions Ceilings
For residents of apartment buildings balcony or loggia, as a rule, are an important part of the apartment. To make a more comfortable stay on the balcony will help the ceiling decoration - it is easy to increase the heat and sound insulation of this room, as well as give it a more aesthetic appearance. The method of finishing the ceiling on the balcony is chosen based on the desired result, as well as the availability of money. After installing and finishing works on their own, you can minimize costs and get a great result of decorating.
Content
Benefits of the ceiling finish on the balcony
Currently, the balcony premises is easy to issue in the form of an additional room. A gray ceiling concrete plate in it will look pretty gloomy. However, with the help of the skin, you can decorate the ceiling and make the balcony room much more cozy. In addition, the modern selection of high-quality and inexpensive finishing materials allows you to fulfill such finishing works without special costs of labor, time and cash resources.
When choosing than to separate the ceiling on the balcony, you will need to be repeated from the method of exploitation of this room, the material of the walls, as well as financial capabilities and personal tastes. It is also worth taking into account what type of lighting devices and in what quantities you plan to place on the ceiling.
Varieties of ceiling cover on the balcony
To finish the ceiling on the balcony, you can use the following methods and materials:
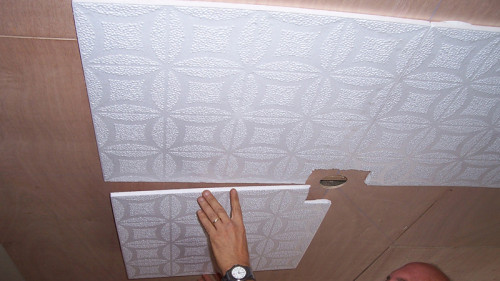
- hide small irregularities of the ceiling concrete slab will help the ceiling polystyrene foam. This cladding looks quite aesthetically, besides, it will act as a heat insulating layer, and at the same time it will be cheap. Perform the ceiling tile finish is easy - with such work you can cope even without preliminary skills. It should be noted that glue this tile is recommended only in a warmed balcony room. The disadvantages of using this finishing material include its short service life, over time, such a finish may yellow or darken;
- a single-level suspended ceiling of plasterboard will help to hide significant irregularities and the drops of the level of the base surface under the finishing, it is easy to create a perfectly smooth surface with it. Plasterboard is not toxic, differs by high noise and thermal insulation properties, as well as low cost, durability and practicality. Thanks to the ease and convenience of processing, it is easy with it with their own hands to embody different ideas. However, this finishing material is distinguished by the ability to absorb moisture and swell under its impact - therefore only moisture-resistant plasterboard will be used to finish the ceiling on the balcony, and it can be used only in a glazed and insulated dry room. It is also worth considering that drywall is characterized by lower durability compared to other finishing materials. Plasterboard ceilings can be used under any finish finish - from painting to tile facing;
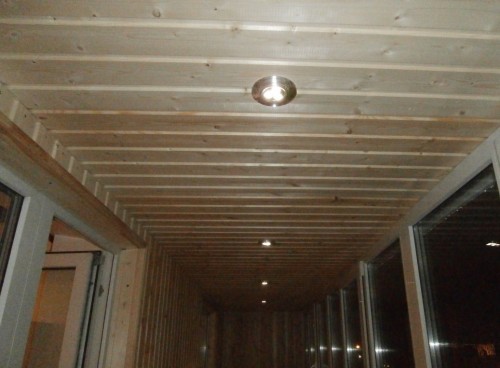
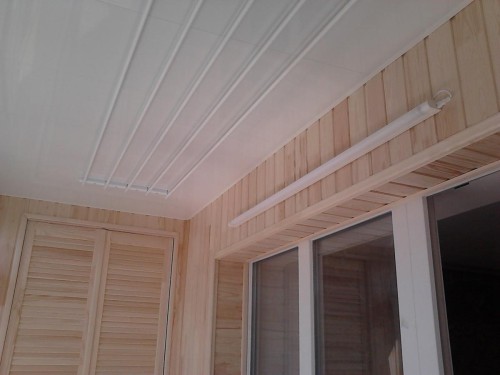
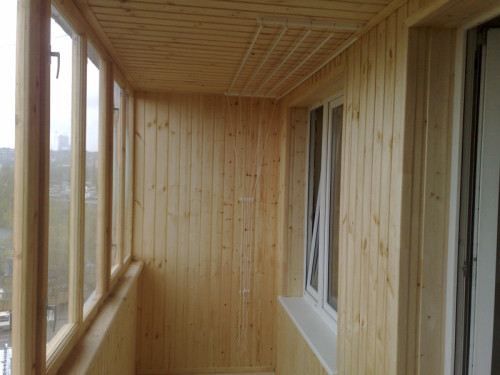
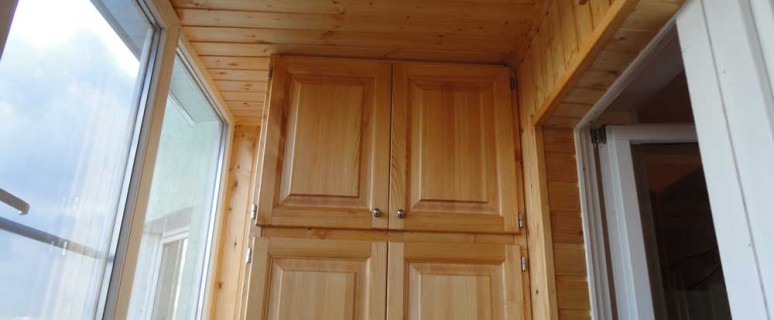
- traditionally, wooden lining is used to cover the ceiling of balconies. The benefits of such a finish should include its naturalness and environmental friendliness, as well as a very aesthetic appearance. In addition, wooden lining does not contain in its composition harmful to health substances, characterized by excellent thermal insulation properties and resistance to weather effects, is easily mounted and differs in durability of operation. To make the originality of the finish from this finishing material, you can equip a multi-level ceiling, as well as lay out the lining on it in different directions. It is worth considering that the wood will need to be treated with a special impregnation to protect against moisture and to avoid the appearance of fungus or mold;
- with the help of metal rails, it is possible to persuade, including not a warmed balcony. The suspended pattern of the ceiling on the balcony is easy to assemble, creating structures of various complexity. This finish is distinguished by stability to various weather conditions (temperature drops and exposure to high humidity) is functional and durable;
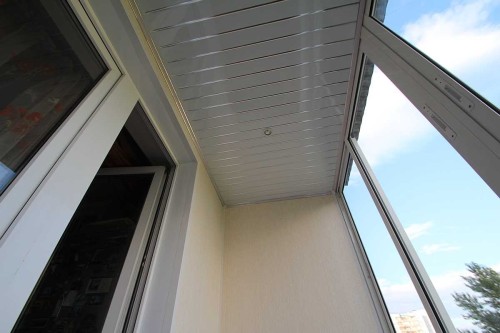
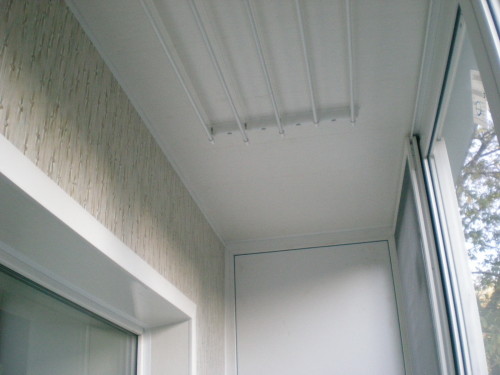
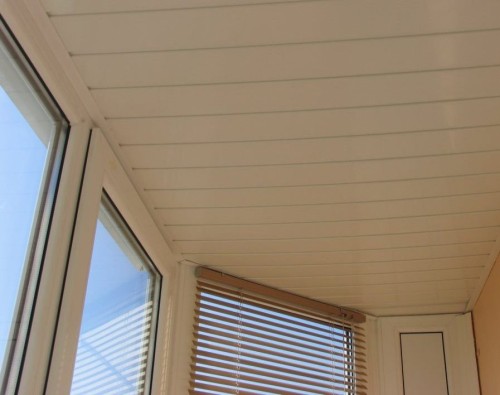
- plastic panels are fixed on a pre-mounted wooden crate or a frame of a metal profile. The plastic ceiling on the balcony is hygroscopic, is easy to clean, it is not afraid of exposure to high humidity and temperature drops. Under the ceiling of such panels on the balcony, if necessary, it will conveniently be located in a layer of heat insulating material. Plastic panels are distinguished by a slight weight, ease of processing and convenience of mounting - thus, the PVC ceiling on the balcony is quite realistic to install with their own hands;
- waterproof MDF panels as a balcony ceiling finish difficult to distinguish with natural wood facing. These panels are attached to a wooden or metal crate. Such decoration is very functional and durable, it has a low cost and is suitable for interiors in various styles;
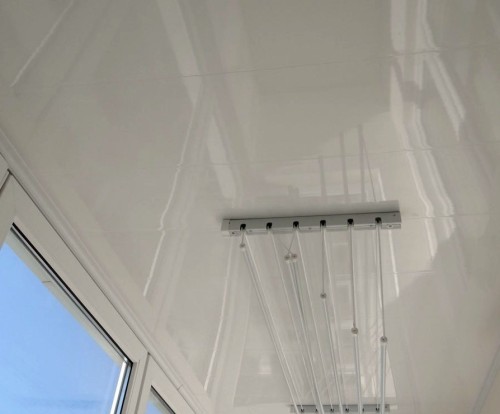
- suspended (stitched) ceiling systems - this ceiling finish is easy to install and affordable price, after installation it is easy to mount the lighting devices with your own hands. On the stretch ceiling, you can order any like drawing or coloring to the tone of the interior. It should be noted that it is necessary to use structures from moisture-resistant and frost-resistant materials to finish the balcony ceiling and the condensate. The stretch ceiling on the balcony will allow you to disguise any irregularities and defects of the base surface, the communication pipes will reliably hide. To install the stretch ceiling on the balcony or loggia, it is not necessary to contact the help of specialists - the area of \u200b\u200bthe treated surface on the balcony is small, this installation will not take too much time.
To visually expand the balcony space, it is recommended to give preference to the designs of glossy material of light shades. As a rule, the balcony is well covered throughout the year, therefore it will be necessary to choose a stagnant material for finishing the ceiling of this room.
How to mount the ceiling on the balcony with your own hands
Before starting finishing works, it is necessary to preliminary training. This requires to close the existing seams around the perimeter of the balcony room, as well as insulate it. If you plan to connect the lighting devices, you need to perform wiring wiring on the surface of the ceiling.
If we make the ceiling on the balcony, which is not yet glazed, it is recommended to insulate this room with airtal glazed windows (otherwise there may be a significant heat leak, rising up through the concrete slab). Before mounting the trim, it may be necessary to insulate the ceiling - the modern selection of heat-insulating materials that can be used for the purposes is quite extensive. For the insulation of the ceiling, it is convenient to use foam or polystyrene foam, foil polyethylene foam, and mineral wool (ordinary or foil). Consider in more detail how to sew the ceiling on the balcony.
Finishing ceiling tiles
Under the finishing of polystyrene tiles, it is required to prepare the base of the ceiling, aligning it. If the facing material is glued to the insulation, then alignment, respectively, will not need. It is worth considering that when sticking, you need to close the windows and doors to eliminate drafts.
Stages of work:
- signing the rope at the corners, it is necessary to pull their cross-crosswise to determine the ceiling center at the point of their intersection. Next, you will need to mark the markup through the central point in the form of lines carried out perpendicular to the walls. In the future, this marking will need to navigate when cladding the surface with tiles;
- the salary starts from the place of intersection of the lines marked. From the pasted originally four tiles will need to build the ranks of the finish. It is necessary to moisten with the back side with a special glue of the tile angles, as well as the central part, and then press it to the base surface of the ceiling and fix in such a position, holds by hand for 1-2 minutes - for more reliable fixation;
- next, you will need to cut plinths and finish the tiled ceiling, sticking them with the same glue.
Posted by the individuality of such a finish is easy, cutting the tile and plinth into any hue.
Ceiling decoration with plastic panels
Facing the ceiling PVC panels must begin with mounting a frame of wooden rivers or a metal profile. First, it is necessary to identify the lower point of the surface, it should be retreated by approximately 5 cm to determine the future level of the facing plane. If you plan to embed luminaires into the ceiling, it should be noted that it will take at least 4 cm of height from the panels to the surface of the concrete slab to place their bases. In addition, when planning, how to make a ceiling on the balcony, it is necessary to trace so that in the future the design does not prevent the windows and doors opening.
The sequence of action on installing a cerebral frame will look like this:
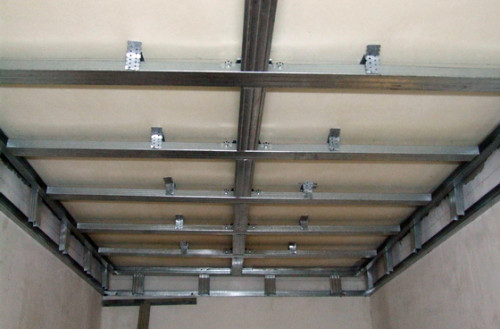
- first, you will need to mark the markup at the desired height for the installation of the box, and then in accordance with it, fasten the guide UD profile on the walls using a dowel, perforator and screws for quick installation. On the window frame, the profile is fastened with small self-tapping screws;
- in the installed profile you need to insert the carrying longitudinal CD profile along the ceiling. After that, it is necessary to fix it with the help of P-shaped suspensions recorded by screws. This requires to align the frame horizontally.
Before mounting in plastic panels, it is necessary to drill the openings of the appropriate size to install the lamps. In addition, the space between the concrete slab and the box is desirable to lay a layer of thermal insulation material. Each finish segment should be measured according to the length of its length on the half astimeter less distance between the walls of the balcony. Next, it will be necessary to fix the panels, docking them with locks on the ends, on the frame with the help of screws. It is recommended to start the facing from the door, as it may later be needed to cut the panel - it is better to place such fragments of the finish.
Ceiling trimming plasterboard
To finish the ceiling by plasterboard, it will be necessary to pre-mount a wooden or metal frame (it is installed in the same way as for plastic panels). Next, you will need to cut drywall according to the size of the ceiling. To securely fix the sheets of finishing, they need to be fixed along the edges and in the center of special self-draws - with a step of 25-30 cm. This mount will even fix the dryer subsequently on the ceiling. The seams between the sheets are sealed with reinforcing ribbon. The surface of the ceiling of the plasterboard should be covered - while special attention should be paid to the wiping of the seams and recesses from the self-tapping screws. After finalizing the drywall, you can start the final finish of the ceiling - based on the specifics of the balcony room, the paint for the facades is optimally suitable for these purposes.
Ceiling on the balcony - Photo


