Wiring pipes in the bathroom do it yourself Plumbing
Repair in the bathroom requires significant material and physical costs, conjugate with many difficulties.
It is important that the proper pipe layout in the bathroom: the normal operation of the water supply, sewage, plumbing and household appliances depends on this. The following equipment is installed in the bathroom:
- bath;
- toilet bowl;
- sink;
- bidet;
- electric water heater;
- washer.
For the correct layout of all equipment, you must comply with a number of conditions that will be described further.
Content
Choose bathroom pipes
Wiring pipes in the bathroom should be made in such a way as not to translate it or change it. It is necessary to adhere to the following principles.
- In such premises, like a bath and a toilet, the wiring of the pipes of sewage and water supply is performed by polyethylene, polypropylene, cast iron and PVC.
- For hot water and for those places where hot drains (drained from boiler), PVC pipes and polypropylene are not recommended to be applied. It must be borne in account, the material is calculated for what temperature. As a rule, it is indicated directly on the pipe itself.
- Stainless steel heated towel rails will serve longer than brass.
- To drain the bathroom preferably use plastic.
Advantages of polypropylene pipes:
- do not be corrosion and, in contrast to cast iron, are not covered with growths;
- comply with sanitation requirements according to regulatory documents;
- have a long service life;
- possess good noise absorption;
- minimize pressure reduction due to the smooth inner surface;
- resistant to chemically active substances.
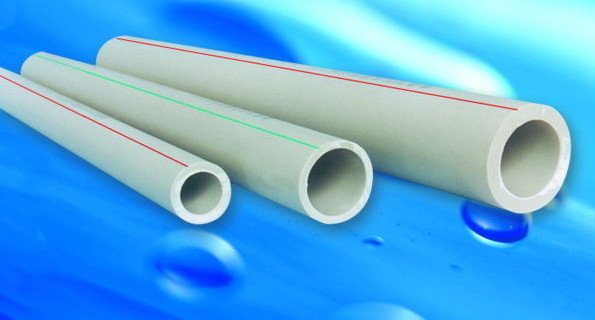
Classification of polypropylene pipes.
- PN 10 label pipes are used to mount a cold water supply.
- PN 20 label pipes are suitable for cold and hot water. Their tendency to linear elongation should be taken at 60 ° C and higher.
- Reinforced pipes are used to mount heating (linear elongation of such pipes is minimal).
How to make pipe wiring in the bathroom: a little theory
This work does not require special training and special skills. Due to the wide distribution of new materials and technologies, complex tools and devices will not be needed. Wiring pipes in the bathroom with their own hands is available to everyone, but before the start of installation should be familiar with some rules.
Basic rules for mounting pipes
- Wiring pipes in a polypropylene bath, preferably other types of installation. Such communications can be meditated in the wall (more attractive appearance) or lay open.
- From the collector to the plumbing device, it is recommended to lay a solid tube (without compounds).
- For the installation of hot water pipes, pipes intended for operation at high temperature are used.
- Be sure to keep the slope of the drain sewage pipes at least 3 degrees to ensure the flow.
- To reduce pressure drops in such facilities as a bath, the laying of pipes of increased diameter is more preferable (at least 3/4 inches). The correct pipe layout in the bathroom, the diagram of which provides for the laying of a separate pipe to each plumbing device.
- To adjust the water pressure after a coarse filter, a pressure reducer is installed. This device is intended to eliminate pressure drops in trunk pipelines. It is controlled by a pressure gauge (must be within 3-4 atm.).
- To block the water supply to eliminate the accident or to replace the plumbing device using the shut-off reinforcement (usually a ball valve). It is necessarily installed after the riser.
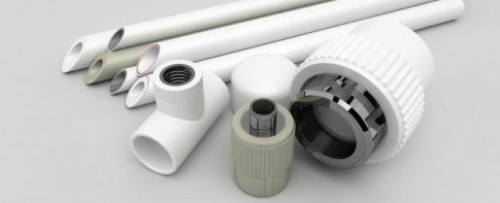
Wiring pipes in the bathroom (photo of the main parts see below) begins with the attachment of the main ball valve to the riser.
Requirements for ball crane are as follows:
- it should be made of high-quality materials;
- working pressure must be at least 60 atm.;
- operating temperature - up to 1500 ° C.
There are the following ways of pipe gasket:
- open: pipes are fixed to the wall over the finishing material, which makes it possible to timely detect damage and quickly eliminate them;
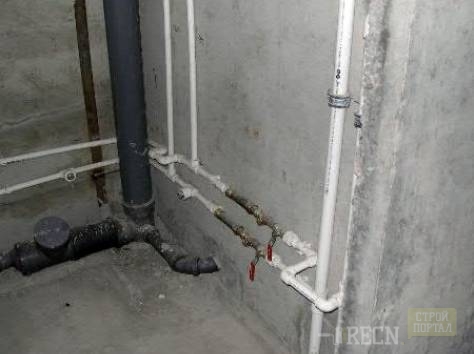
- closed: Pipes hide in the box are either littered into the wall (for which the wall is strobalized), thanks to which the bathroom room looks aesthetically attractive.
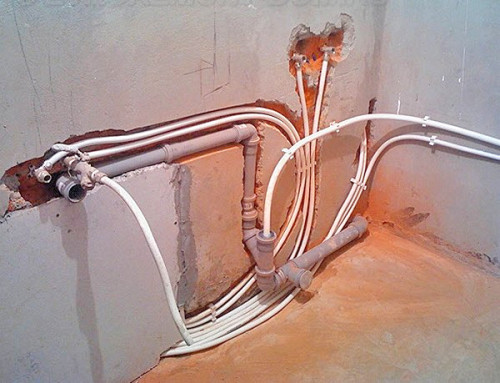
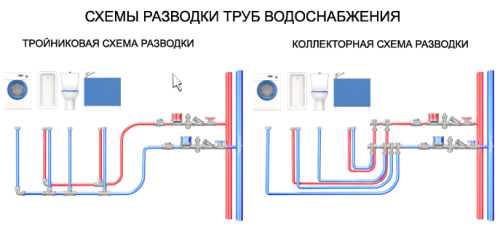
Distinguish collector and tee (serial) installation methods.
- The tee method involves a sequential connection of plumbing devices, for which the main pipes make taps connected with tees. This scheme is beneficial from the point of view of material savings, but has a disadvantage: the pressure dependence at the dot points from each other. To safely disconnect any of the branches, you must install additional locking valves.
- Collector (parallel) The system is based on connecting pipelines to a collector having one input and several outputs. The number of pipelines is equal to the number of connected devices. Before the collector, and after each exit it is installed, a ball crane is installed. Such a system requires more materials for installation, significant labor, but devoid of shortcomings of the tee method.
Replacing the riser: where to start?
At this stage, it is necessary to coordinate work with the neighbors on the riser, as well as with the service organization. It is important to enlist the consent of the owners of the apartments from above and below, where the new pipe is being connected to the old.
After agreement, it is necessary to overlap the flow of water in the basement and drag it with the help of a service organization and drag it: the pipe must be empty. After that, the grinder needs to trim the old pipes and cut the thread for attaching a tee with an adapter. Further installation is performed by pipes of the corresponding diameter of polystroplate.
PEDICAL INSTRUCTIONS FOR INSTALLATION OF WATER POLYPROPENEAL PUB TO BATHBAN
Before proceeding with the work, you should prepare a detailed layout scheme with an exact indication of all the lengths of direct sites and the plumbing sites. It is necessary to minimize the number of intersections and bends, reduce (if possible) the total length of the pipeline. In accordance with the scheme, the necessary materials are purchased with some margin of installation.
After all the calculations are made, the materials and tools are purchased, installed in such a sequence (consider on the example of the serial system).
- Old pipes are dismantled.
- According to the circuit, the segments of polypropylene pipes are cut into compliance with the calculated dimensions.
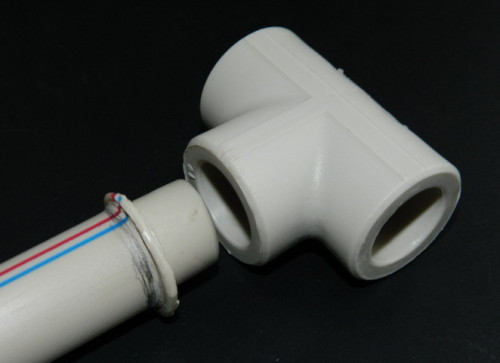
- Pipe sections are connected in a certain order using couplings and tees, welded with a polyfusal manner. Before soldering, the details are degreased, installed in the welding machine and heated to a temperature of 270 ° C. Pipes of different diameters are connected using adapter fittings.
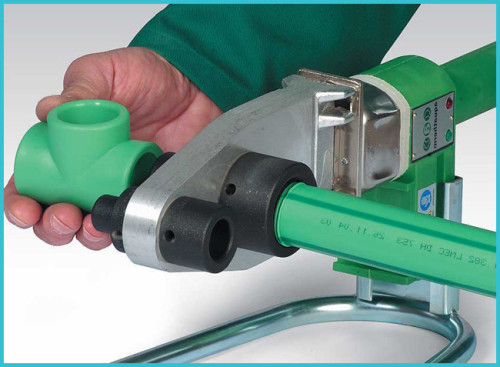
- Installed shut-off valves.
- In the walls, the channels are stroke or the holes for fastening the pipeline. For an open installation method apply fixing clips. Near the corners are installed additional fasteners.
- After installation, a test water supply is performed in order to detect and eliminate the leakage of the system.
To your attention the bathroom wiring in the bathroom: video with specialist comments.
Installation of the drain sewage system in the bathroom
Modern mounting methods imply the use of plastic (PVC) pipes and parts are hermetically combined with plastic seals. The system assembly is performed easily, but it should be observed a certain order.
- From the drain hole of the riser to the most remote consumer of water, a highway (sunbed) is paved, to which all plumbing devices are connected with the help of tees.
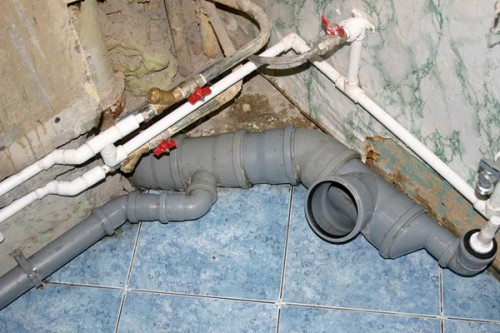
- Rims and sunbed fixed to the wall or semi with the help of special clamps.
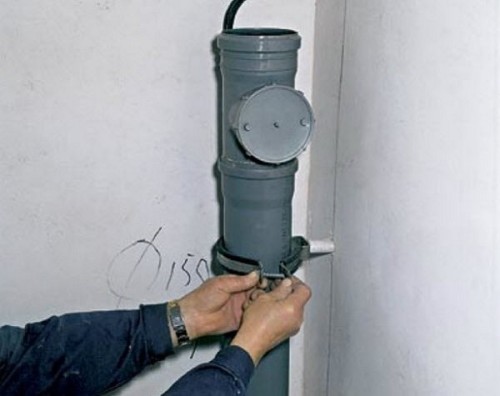
- Installation of the system is performed with the slope of the pipes toward the drain (1 cm per 1 m sunbed). Compliance with the slope is controlled by a laser level.
- It is important to observe diameters: to the toilet bowl with a pipe with a diameter of 100 mm, after which the adapter is installed and the further installation of the sun bed is carried out with a pipe of 50 mm.
- Before connecting parts, it is important to verify the correct position of the sealing gum. To facilitate the docking, it must be lubricated with soap solution or vaseline.
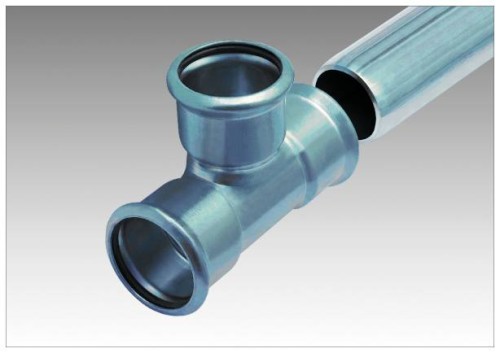
- Adjusts are recommended for kneeing under 45 °. The connection at a smaller angle will be clogged.
- It is necessary to provide revisions to clean pipes in case of clogging.
Finally, we suggest familiarize yourself with the video tutorial of the sewer system using PVC pipes.


