Cement-based putty: Material features and application Building materials
All finishing repairs, whether the walls of walls wallpaper or painting, should be carried out on completely even and purified bases (walls, ceilings). You can achieve this with a putty. As a spacchal material, a cement-based putty is most often used.
Content
The main characteristics of cement putty
Cement putty is considered one of the best stuffing materials of cracks, surface drops and various irregularities. The use of putty is suitable both in dry and in raw rooms, and for facade works - it is precisely in this advantage over other finishing materials. The mixture is not afraid of moisture, frosts, sharp temperature differences. For external work, only cement facade putty applies.
Puttack cement, which can be purchased today in any construction store, depending on the application area, it happens:
- thermal insulation;
- facade;
- base;
- decorative.
Depending on the binding materials, there is a putty cement-known, gypsum and other species.
Recommended for use:
- In any rooms with normal and high humidity - bathrooms, shower, pools, rooms that are not heated (garages, summer cottages).
- On brick, stone, concrete and other surfaces.
Depending on the types of work, the cement putty happens:
- starting cement putty - applied at the initial stages of finishing work in cases where large cracks and holes should be embedded. The thickness of the putty can reach 1.5 cm. The grain of the part of the quartz sand is from 0.5 to 0.8 mm. The surface covered with starting putty, looks perfectly even, but rough because of the coarse component;
- cement finishing putty - applied at the final stages of work. The grain of quartz sand is not more than 0.2 mm, which makes the surface smooth. Does not mask defective irregularities and does not hide large slots and cracks.
The tint of putty depends on which cement was used in the manufacture. Puttail cement white is obtained as a result of the use of white cement, and the gray color gives the material the usual cement.
Cement putty is available two types:
- dry putty - the advantage is that it is possible to independently control the process of breeding with water to the necessary consistency. Dry putty has excellent adhesion and does not crack after drying, but only if it is properly breeding and applied;
- liquid putty - produced in plastic buckets and is already ready for use. It has a number of disadvantages - the shelf life is less than that dry and pour faster, which is not always convenient for work. In addition, ready-made putty give some shrinkage - after drying, decrease in volume. If you apply it with a thick layer, then crashes will be necessary after drying on the surface. Yes, and the price of liquid putty is much higher. Most often, the finished putty is used for small and shallow cracks.
When choosing a putty, consider on which surfaces you will use it, which layer you plan to plan. Be sure to find out which cement was used in the manufacture of this putty.
Advantages and disadvantages of cement putty
Putty on a cement basis possesses the following advantages and advantages:
- Easy and easy to use. It will be easy to work with the mixture, even those who have no special training and experience of construction work, and all the tools needed for shtlock are free.
- Each package has an instruction for the preparation of the mixture and its use.
- Cement guarantees the highest rates of reliability of the treated surface - not afraid of precipitation, frosts, air temperature drops.
- Eliminates the irregularities of walls with differentials from 5 to 15 mm.
- Cement putty is in great demand not only because of reliability, but also accessibility is its price much lower than that of other similar finishing materials.
With all its advantages, the cement putty has a number of minor flaws:
- Unfortunately, even the finish putty has a more grainy structure than latex and acrylic putty. But if you consider that it is 2-3 times cheaper than its analogues, then this deficiency cannot be considered significant.
- Even a white putty has a small yellowish tint that does not like some users. But, if we consider that the walls and ceilings on top of the putty are painted or covered with wallpaper, then this deficiency is also insignificant.
Important: Cement putty is not recommended to mix with paints, varnishes, glue and other construction materials so that it does not lose its quality. If something accidentally falls into the mixture, then it can be considered unsuitable for use.
Work with putty
To achieve an ideally smooth surface, putting on a putty to perform in a strict sequence. The whole process consists of several stages.
For work, you will need such tools:
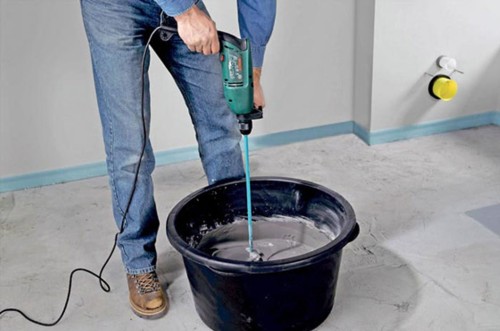
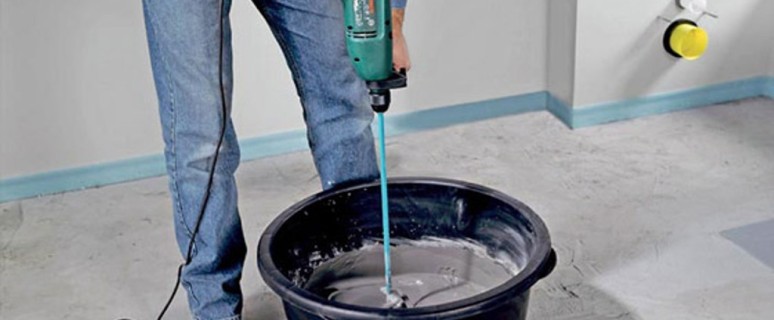
- Drill with a nozzle-mixer, with which you will notice a solution. To knead the solution with his hands so that it turns out to be homogeneous and without lumps, it will be difficult.
- Several spatulas are wide (40-50 cm) and narrower (20-10 cm). Wide spatulas will be needed on large areas, and narrow to put hard-to-reach plots for putty.
- Special rollers and brushes that you will grind the work surface.
- The level you need in order to check the smooth surface.
- Natural paper or metal grater will need to stripping the sharp surface. Most often for finishing putty, paper №240 is used, it will help to get a perfectly smooth and smooth surface. Metal grater is more suitable for starting putty.
- The rule may be needed to put very uneven walls with large and deep depressions. The most convenient will be the metal rule, it is used on thick layers of putty.
- Capacity for mixing putty. Most of all the plastic bucket is suitable for this.
Preparation of the surface to work
Before proceeding with putty, it is necessary to properly prepare a working basis:
- The surface that is planned for putty should be clean, it should not be large irregularities. All stains of paint, chalk, varnish, any fat and soot necessarily need to be removed. It is also not allowed to apply putty on old wallpaper and dropping pieces of plaster.
- Mold spots are removed by a special antifungal agent.
- If the base has sections with destruction, they must be cleaned and extended to a special solution and only after complete drying to begin to the next step.
- After that, the finished surface should be processed by a special deep penetrating primer. Such processing reduces the absorption of porous sections and increases the adhesion of the finishing materials. Such work is recommended to carry out in dry weather to speed up the drying time.
Putty work
After surface preparation, you can proceed directly to putty work.
Dry cement putty is prepared as follows:
- Pour into plastic container a small amount of water.
- Pour dry putty into the water.
- Mix the mass of any convenient object (you can spatula).
- Now take the mixture with a mixer or drill with a special nozzle.
- Check the consistency of the putty with a spatula - if it does not flow from it, but sticks to the touch elastic, it means that it is cooked correctly.
- If the mixture is liquid, then add a bit dry putty. If lumps were formed in the putty, then lay it with water.
Starting spacure surfaces:
- At the first stage of the work, the starting putty is carried out. After kneading, the composition does not dry within 1-2 hours - it is so much time you have on its use. If the surface being processed is volumetric, then not a large amount of solution immediately.
- Write down, in what proportion you divide the putty so that the consistency of the next portion was the same as the first.
- If you plan to apply more than one layer of putty, then you will need a special painting mesh. With its use, the surface will be more durable and smooth. The grid is smaller and less. What it is rougher, the smaller the surface is obtained.
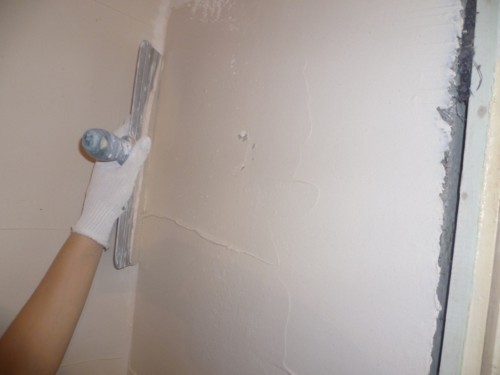
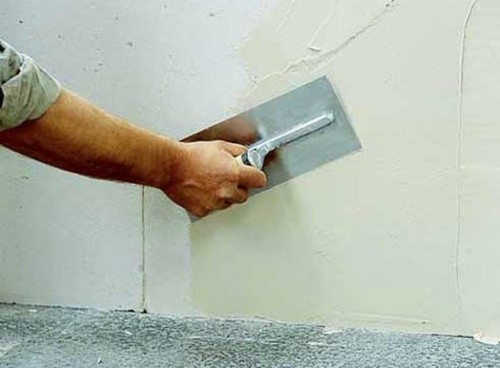
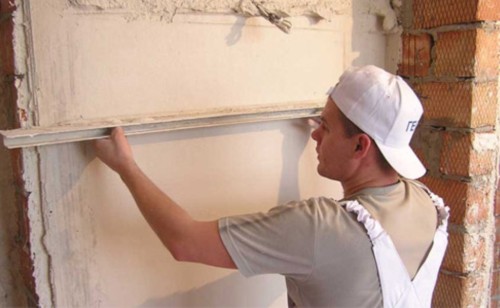
- The putty is applied diagonally with a large spatula, which is smoothed at an angle of 30 degrees. The next layer is applied as if the pectorist of the previous one. This is done in order not to appear irregularities and tubercles.
- If you have traces from a spatula, do not worry, they will definitely hide the finish putty.
- Corners are sweeping with the help of an angular spatula. The putty mass is applied by the usual spatula on the joints, then smoothed the corner.
- For a complete drying of the starting putty, you will need about a day.
Finish spacing of surfaces:
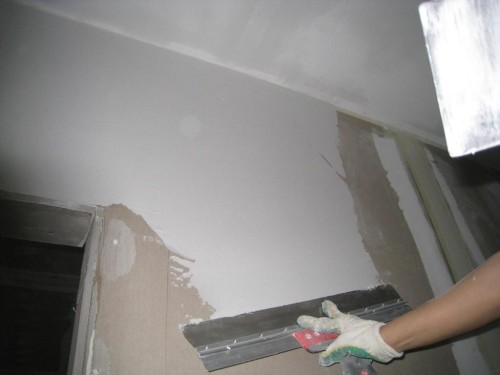
- The next step after the complete drying of the starting putty is the finish putty. Works are also carried out using metal spatulas. The finish putty is applied more scrupulously so that the surface turns out to be smooth.
- After putty, the surface is checked by the level. If necessary, apply additional alignment.
- If you plan to apply two layers of finishing putty, then you will definitely wait for a complete drying of the first layer. It will take about 12 hours.
- Before re-applying the finish putty, the surface is recommended to be primed.
- After the putty is completely dry, it can be cleaned with a metal grater or sandpaper with circular motions.
- After work, all tools are easily wedged with flowing cold water.
- Craised surface can be painted, damage with wallpaper or carry out any other decorative work.
IMPORTANT: While the screaming surface is not dried, it must be protected from humidity. This is especially true for outdoor work. With an unexpected fallout of precipitation, the surface should be covered with a film.
Little spacure surfaces
For this type of work, the same materials and tools are used as for the usual starting putty, but additionally use lighthouses. Lighthouses are railings from wood, plaster or metal. With their help check the vertical level of flatness surfaces. First, the beacons are attached with any adhesive mass to walls or ceiling, and then you can already begin to putty. In the same way, the walls are aligned horizontally, but used for this rule. If you do everything right, then the walls after putty will be smooth and smooth, and you can check it in the level.
IMPORTANT: Under painting, the surface requires more thorough alignment than the wallpaper, since the paint reveals any even the finest irregularities. Sometimes you have to apply 3-4 layers of putty to complete alignment.
Safety when working with putty
Since the patch includes cement, and when connected to water, an alkaline response occurs, try not to allow the solution to the open parts of the body. In case of contact with eyes, it is necessary to rinse them immediately, then turn to an ophthalmologist. Do not try the putty to taste.
The shelf life of dry mixes is 1 year. It is necessary to store in dry rooms and prevent moisture from entering bags. Open packaging must be additionally wasolate to secure moisture.


