LED tapes for backlighting: types, types, connection with your own hands Lighting,Useful advice,Ceilings
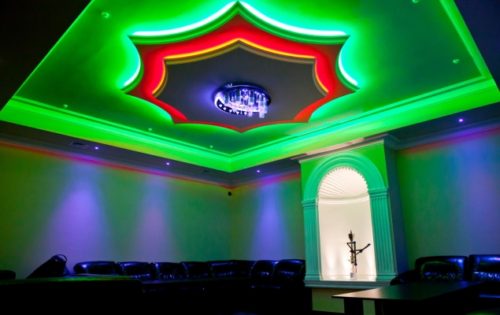
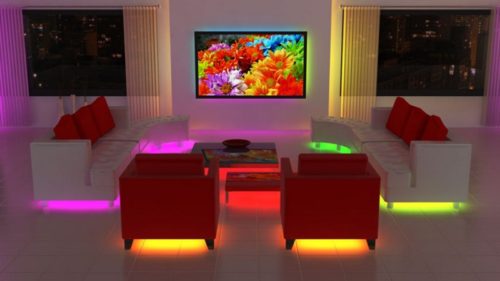
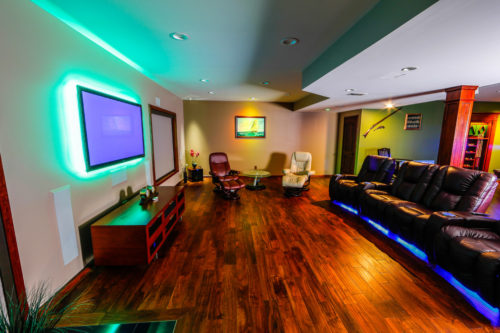
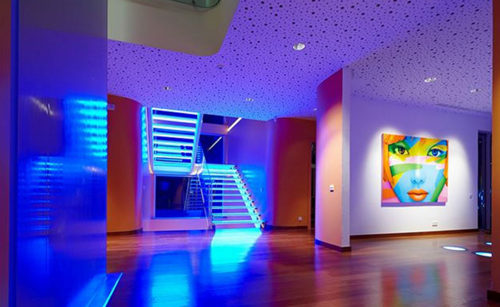
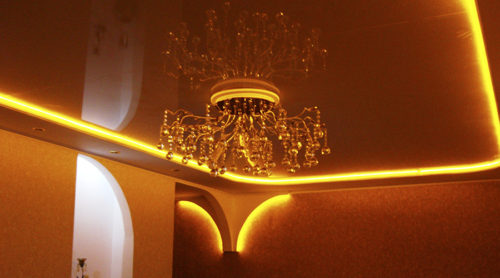
Modern interior design does not work out without lighting elements, which are designed to emphasize this or that feature of the room. A replacement chandeliers, sconce and lamps come new lighting devices, differing not only to compactness, but also a brighter spectrum of glow. Such devices include LED ribbons that can increasingly be found in the arrangement of modern apartments. They are used as the ceiling backlight and decorative elements of the wall surface.
Content
The assembly and installation of the backlight, using the LED tape, may seem at first glance with a fairly simple process, but it is worth considering that it keeps some features in himself. If you do everything yourself, you can safely save, without resorting to the services of expensive electrical brigades. In this article, we will try to fully disclose the issue associated with independent arrangement of lighting at home, apartments, office space or entertainment.
Select LED tape for highlighting
To begin with, it is worth considering the LED ribbon, not just as a device, but as an element of the interior. Manufacturers at production are used expensive equipment and raw materials, while applying new and new technologies, while using a spectrum of using such a backlight element only expands. As can be seen from the name - the necessary brightness of the illumination is achieved using diodes located on the surface of a flexible tape, which is attached to the wall with special clamps, latches, as well as self-adhesive method.
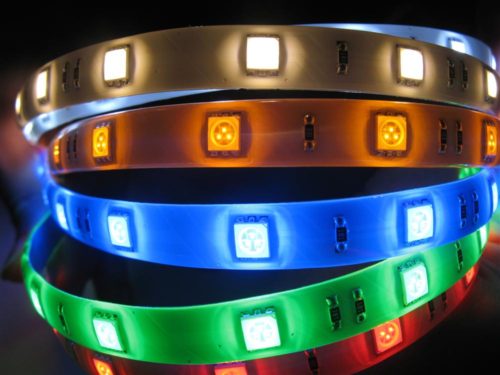
You can often find a variant in which the diodes are placed in a special insulating silicone, which gives them additional protection against the influence of humidity, the sun and other negative factors that can reduce the service life of all elements of the LED block. In addition, the tape has a wide size range, on average from 5 to 50 mm, and is produced in bays of various lengths - from 0.5 m to 200 m. An interesting feature is that the tape refers to both electrical appliances and cutting material. It is this quality that modern electricians and interior designers appreciate it.
Advantages of LED tapes
Choosing a LED tape as an element for its apartment, you will receive not only the stylish backlight, but also save significantly, since this device has the highest class of energy consumption. By paying attention to the pros and cons in the use of such a backlight, you will understand what this product has won the leading positions among the elements of lighting.
Next, we give you the main advantages of this type of decorative illumination, among which the following can be distinguished:
- acceptable cost. The modern market for finishing materials is not required without the presence of LED tapes as a lighting element for decorative decoration. A wide consumer range allows tape to enter the list of available electrical goods. Due to this, almost anyone who has an average wealth can afford to buy such a decorative device;
- cost savings. When creating a tape, modern mechanisms and computers are used, thanks to which it is possible to achieve the highest quality of the product at the final stage. Thanks to such equipment, the tape can consume a minimum amount of energy, taking care of the thickness of your wallet. The payback of it is about 1 year, but the savings you will feel instantly;
- available installation. The uncomplicated diagram of the device, as well as the simplicity of the assembly of the LED block, allows you to install even someone who has had experience in this area. After reading the instructions several times, you will understand that the assembly and installation is not so difficult, as it seems at first glance;
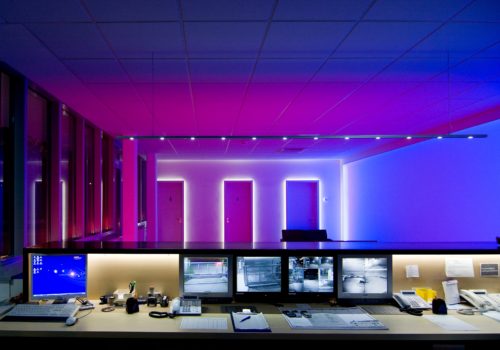
- color variety. Any modern store of electrical supplies or lighting devices is represented by a huge selection of ribbons of various skill and color gamut. There are also ribbons that can change the color of the glow due to combinations of several diodes;
- long operation. Modern LED ribbons are able to serve over 10 years. Such indicators are achieved through the use of high-quality raw materials in the creation of a diode, increasing the life of the product, as well as protecting the tape from overheating.
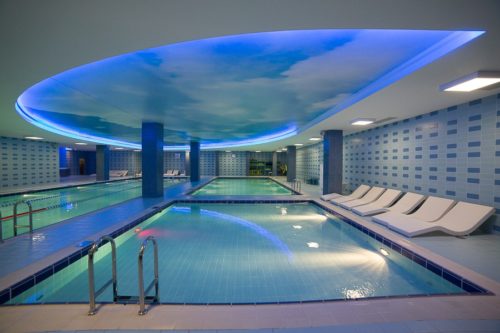
As you can see, the choice of such a decorative lighting device as an element of the interior is obvious. This is due not only by high performance of such a backlight, but also its high classification among instruments, with the smallest level of energy consumption. The instruction on the installation of ribbons is quite simple and uncomplicated, which will allow good to save not only on the installation work, but also for paying utilities.
Types of LEDs
If you choose a LED tape to highlight the ceiling or a decorative niche, then it is important to allocate some features that will help achieve the desired effect. In addition to such indicators, as the length, width and estimated load, the tapes differ from the type of diodes. It is they who give the tape the necessary spectrum and the brightness of the glow.
In this case, the LEDs can be divided into the following two subspecies:
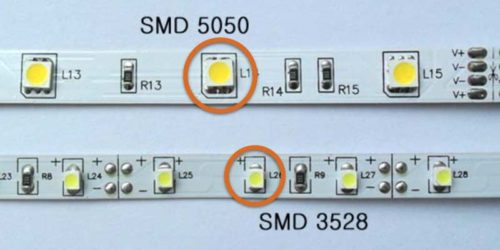
- SMD (Surface Mounted Device). This type of diodes is soldered into the surface of the tape using several legs, which are securely fixed. One of the most popular labels of such tapes is SMD 5050. The numbers located after the abbreviation are simply deciphered. In this case, this means that the size of the diode is 5x5 mm. The larger the diode, the more this value. In addition, each diode consists of one or more crystals, thanks to which they achieve the necessary brightness and contrast. The measurement of the intensity of the luminosity of the LED is calculated in lumens that determine the brightness of the light flux.
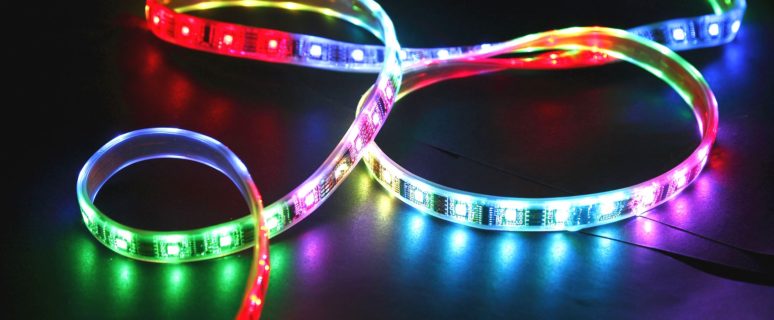
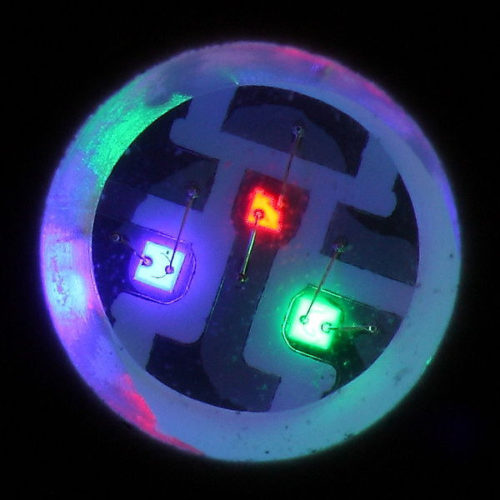
- RGB (Red Green Blue). In such a variation, the tapes use three different crystals placed on the surface of the diode. If you transfer the name, it will immediately become clear that the crystals are represented in 3 colors: red, green and blue. The required shade of the glow is achieved by changing the brightness of those or other crystals. Often RGB LEDs are equipped with special controllers that allow you to change the color gamut using the remote control. There are also controllers with a pre-recorded program that determines the sequence of brightness changes and color variations.
Determining with the choice of the necessary backlight, pay attention to all the details and features of the design you want to issue in this way. From how correctly you will pick up the LED ribbon, the quality and efficiency of the backlight will depend. It is not always possible to achieve the desired effect from the first time, so it is better to start to go to the electricautical instrument store so that on the example of the presented instances to estimate the degree of brightness of the glow.
Types of LED Ribbons for Backlight
Tapes are distinguished not only in size and color of the diode. The desired effect can also be achieved by increasing the number of lighting elements and diodes. Thus, the device will issue a glow of different brightness.
Depending on the frequency of placement of diodes on the surface of the LED tape, the following variations can be distinguished:
- SMD 3028 (diode 3x2,8 mm, placement density (pr) equal to 60 pcs / m);
- SMD 3028 (PR \u003d 120 pcs / m);
- SMD 3028 in a two-row embodiment (PR \u003d 240 pcs / m);
- SMD 5050 (diode 5x5 mm, pr \u003d 30 pcs / m);
- SMD 5050 (PR \u003d 60 pcs / m);
- SMD 5050 in a two-row embodiment (PR \u003d 120 pcs / m).
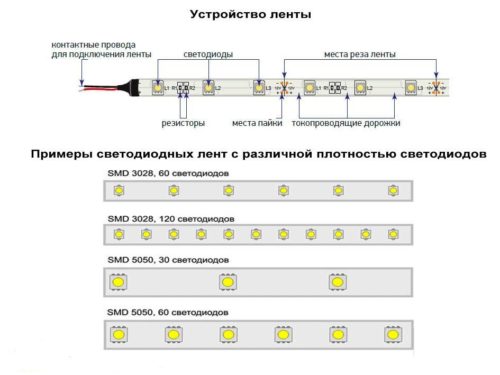
Council of the specialist: If you are going to highlight the subject of the interior, located on the ceiling, use the SMD 5050 tape with an accommodation density of at least 30 diodes per 1 meter running. We also recommend purchasing a ribbon of a warm white spectrum of glow.
Installation of LED tape for backlight
When we finally dealt with all the features of such a device like a LED tape, it's time to decide on the place and installation method. Most often, the tape is placed in niches and places where the tape body will not be visible. In addition, the design must necessarily contain the power supply unit of the desired nominal, which will evenly distribute the load, depending on the parameters of the illumination element.
In order to carefully understand all the nuances of assembly and installation of LED backlight, we advise you to see the following video:
Option of LED Ribbons for Illumination
Before proceeding with the workflow, decide in advance with the installation site. It all depends on your preferences and features of the room where the installation will be carried out.
It is best to highlight, or highlight the desired element will help the following placement rules:
- remove the protective film on the tape immediately before installation. In case the tape is not flexing, you can purchase a special aluminum profile with a plastic diffuser. It will help the best way to distribute the light on the surface;
- be sure to make sure that the tape will be hidden from the view so that only the glow can give it;
- a good option when the tape is mounted on the cornice, which is located around the perimeter of the room. Hanging decorative curtains on the cornice, you will get the original option;
- lED design should be located near the power supply. Take care of it if necessary;
- before collecting the scheme, make sure that the power supply has the appropriate size. It happens that in the already assembled plasterboard niche it is impossible to place the power supply. A variant is possible when the power blocks of the same nominal have different sizes.
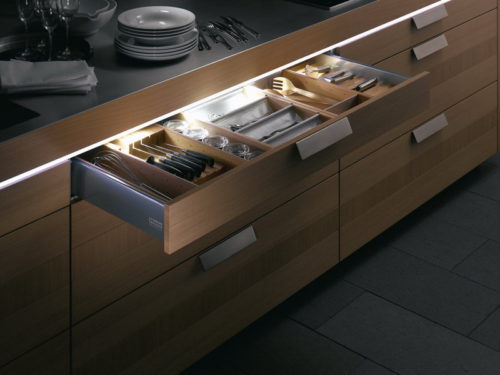
In any case, the location of the future illumination entirely depends on your desire and goals. Choose the desired option for yourself, then the glow will need to select the decorative element to select the decorative element, whether it is a ceiling niche, an arch in the wall or edging of the cornice.
Complete set of LED block
The standard set that can be purchased at any electrical appliance store includes the following components:
- lED tape of the required length and width;
- power supply that converts current into a constant voltage required to power diodes;
- the controller that is pre-programmed. Usually goes paired with a sensor that allows you to control the illumination at a distance;
- remote control.
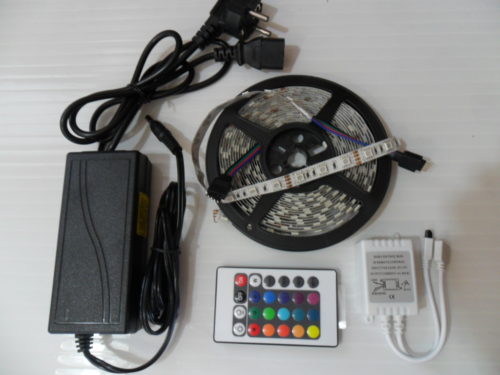
By purchasing all components of the LED block, pay attention to their parameters. Sometimes it is quite difficult to choose the elements to each other, for example, due to the lack of power supply of the necessary power. You can always find a ready-made kit, which, although it will cost more, but will last longer.
Assembly and installation of the LED block
To make yourself assemble and install the LED tape, it is necessary to adhere to the mandatory scheme, which will be the key to a long life of such a backlight. Further, we will try to figure out in more detail in the mounting process, on the example of the RGB LED tape, which will be adjusted using the remote control.
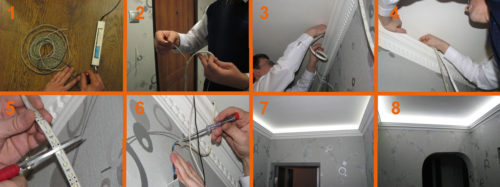
Usually, the standard scheme is collected in the following order:
- Connect the contacts N and L to the power unit. Thus, it will power to power the system using a cable with a fork.
- Both controller contacts connect to the power supply by fixing on special clamps.
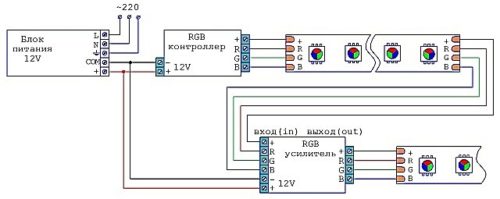
- Now you need to connect the ribbon to the controller. Contact cables protruding the binder.
- Since the controller can "cope" with a certain segment of the LED tape, and sometimes it is necessary to lengthen the entire circuit, then they are applied as follows. Additionally, install a special amplifier, which is mounted between the end of the ribbon and the power supply. After that, you can mount the next piece of tape to the amplifier.
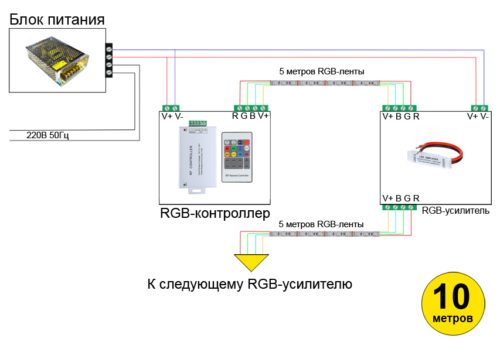
- Insert the plug into the outlet to power the system - this will help to make sure the design of the prefabricated design.
Important information: During the assembly of the circuit, always observe the polarity of the compounds. In case you need to reduce the length of the ribbon, cut it off strictly by places.
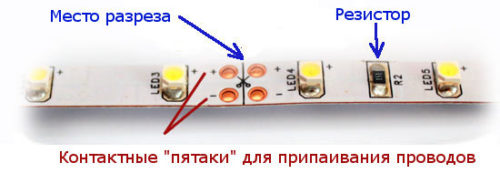
If you have purchased a good set, then, most likely, there will be no problems with the assembly scheme. In this case, the color of the wires will correspond to the color of the compounds. The yellow wire will perform the function of the "plus" of the power scheme. LED tapes can also be used as the highlighting of the ceiling plinth, paintings, or to highlight the stretch ceiling areas. Often such devices are used to illuminate the bottom of the car, as well as the arrangement of overall lights.
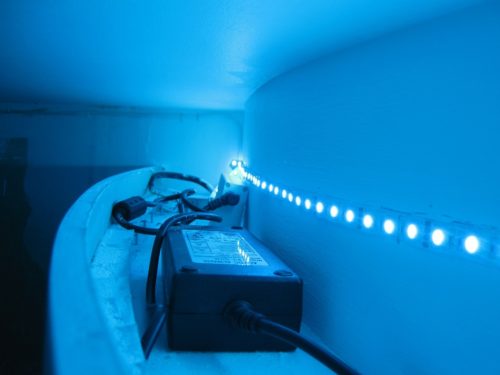
As we see, the installation of the backlight using the LED tape is a fairly simple process, but it requires the implementation of special rules. Do not forget that you are working with an electrical appliance. Be sure to use protective remedies that will help avoid direct contact with electricity.
Ceiling backlight LED ribbon: photo
