Technology finishing input slopes Doors
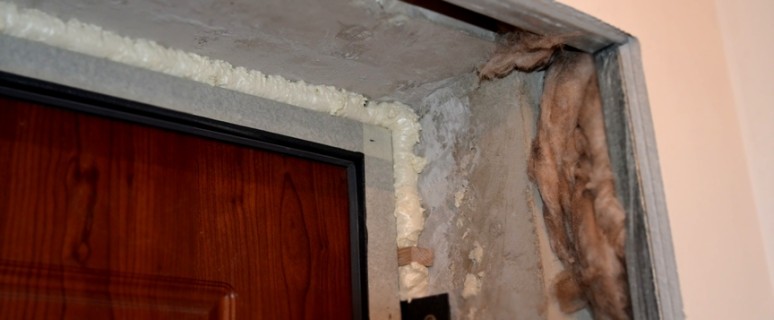
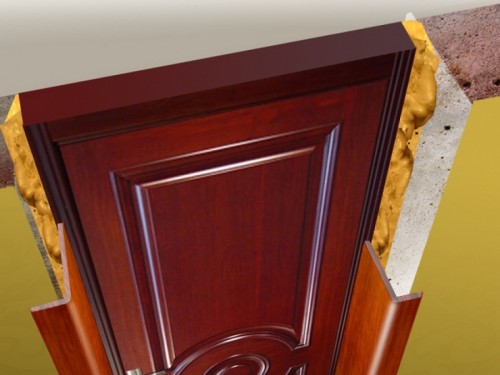
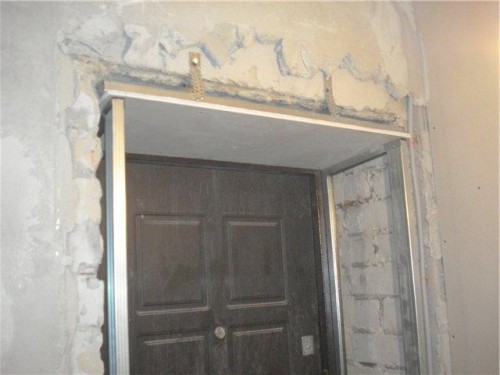
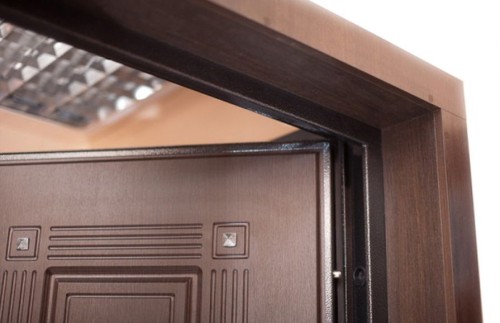
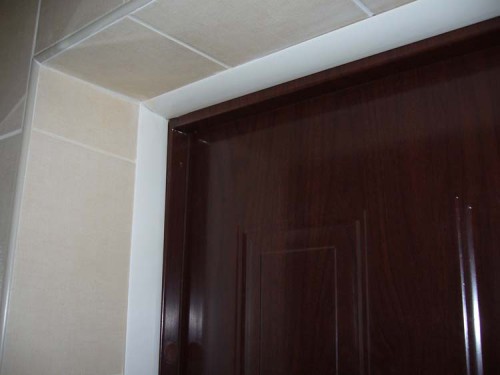
After installing the entrance door, it is often faced with the problem of decorated slopes. As a rule, the door canvas is installed in the same plane with an outer wall, and the slots near the box are closed by navigate. It remains to decide how finishing the input slopes at the door from the room. Consider several options.
Content
- Materials for finishing door slopes
- Finishing of slopes input door plates MDF
- Finishing of slopes input door laminate
- Finishing of slopes input door stone
- Finishing of door slopes with the help of chipboard
- Finishing of slopes input door with plastic panels
- Finishing of door slopes with ceramic tiles
Materials for finishing door slopes
For decorative design of door sluts, the following materials can be used:
- natural wood planks;
- plastic panels;
- natural or artificial stone;
- ceramic tile;
- decorative plaster;
- metal strips;
- laminate, siding, MDF panel.
The choice depends on personal preferences, on the operating conditions (the presence of the temperature difference, dampness) and on the overall concept of the hallway design. The material should be combined according to style, color and texture with other elements of the room finishing.
Finishing of slopes input door plates MDF
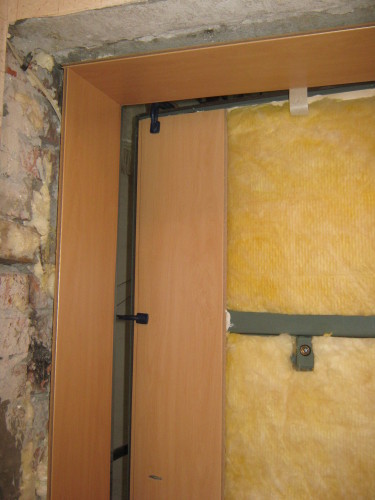
The MDF panels are two types: designed to finish slopes (special M-shaped) and wall panels. To install special panels, it is necessary to accurately customize the depth of installation of the door frame and the web itself in the opening, since the width of the decorative element is strictly set. At this stage, difficulties often arise and therefore, the door slings are designed by the MDF wall panels.
Technology finishing input slopes MDF panels involves the following.
- Using a plumbing and level, the base surface is estimated.
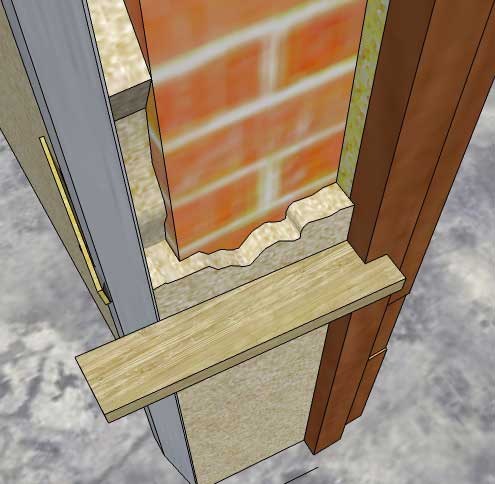
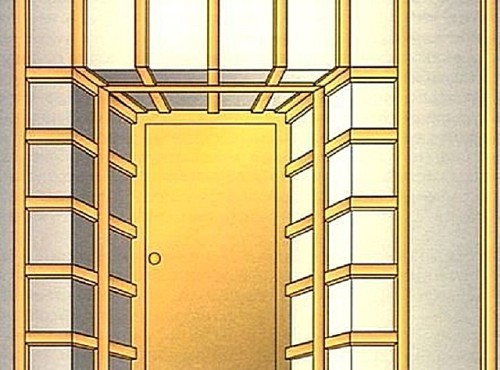
- From wooden rails with a cross section of 20 × 40 mm, we build a crate: Reiki to brick or concrete Breppy with a dowel-nail.
- Cut the MDF panels on the segments of the required length (using the electrolovka) and freame them to a wooden crate, closing unsightly sites. Molding methods: using self-tapping screws using curvatures or brackets using a building stapler. The segments of the MDF panels are connected to each other according to the principle of "spike-groove".
- Corner joints, places to adjoin the MDF panels to the door frame or to the inner surface of the wall we decorate the universal element. Depending on the surface, it can serve as an internal, outer angle or direct bar.
- Universal elements are attached with liquid nails.
Tip: If the depth of the opening does not exceed the width of the MDF panel, it can be installed vertically, without sawing to pieces. In this case, the slopes will look more attractive.
Similarly, you can make the door slopes with wooden lining. Natural wood can be painted in any color of the special paint, emphasizing the texture of the material.
Finishing of slopes input door laminate
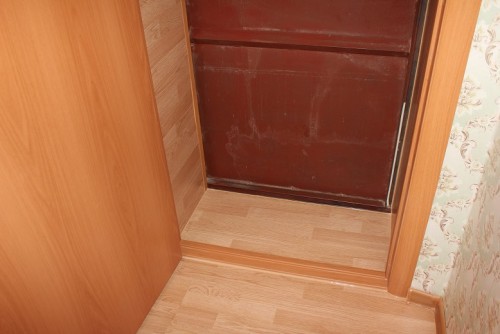
This method has an advantage over the rest: the floor material will smoothly go to the slope. As a result, a single style of interior decoration will be created. The technology of finishing the door slopes is similar to that applied when installing the MDF panels, but there are some features, namely:
- it is recommended to use moisture-proof panels (differ in green edge);
- at the bottom of the slopes (from the floor) there should be a gap of 5 mm wide - to compensate for expansion when the humidity changes (closed by the plinth);
- the chopped plates of laminate are fixed between predetermined by plastic starting profiles.
Finishing of slopes input door stone
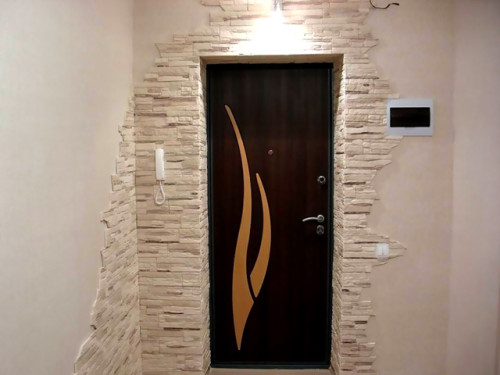
Facing door slopes with natural or artificial stone (made of plaster mixture) gives the interior original appearance. In addition, the stone is a practical material with a long service life. Laying stone on top of slopes implies preliminary surface preparation. This can be performed in two ways.
Facing the slopes of the stone on top of the foundation of drywall
The phased description of the method consists of the following items.
- Conducting a doomlet of wooden plates or metal profiles of the UD-27 type.
- Moisture-resistant plasterboard is attached to the crate. Such material will not be deformed under the influence of moisture, which contains tile glue.
- Natural or artificial stone passes on the base of plasterboard. This uses mastic or tile glue. The tooth is applied by a toothed spatula on plasterboard, after which the stone is tight for a few seconds pressed against the base surface of the slope.
- If necessary, the stone cut the grinder.
Tip: If the texture of the stone allows the docking of the neighboring elements to be seamlessly. In this case, the surface will look solid and there will be no difficulties in filling the seams.
Installation of plasterboard on the surface of the opening is possible and without installation of the crate. To do this, use glue glue: it is applied with large cakes in a chess order and pressed to a pre-treated primer surface.
Facing the slopes with a stone on top of plaster
The technology provides for performance in the following order.
- The base surface is cleaned from weak plaster and processed by primer deep penetration.
- Install "beacons" - special profiles from metal. They are fixed with a thick cement-sandy solution, exhibiting pre-vertical and horizontally.
- The cement-sand mixture is mixed.
- The leveling layer is applied with a spatula. In the event that it is necessary to apply a thick layer, the solution is applied to several methods. At the same time, a plaster grid is stacked between the layers.
- The latter thin aligning layer is applied with a solution of more liquid consistency.
- After the complete drying of the cement-sandy solution (after 2-3 days), you can begin to stick the stone described above.
Tip: A thick plastering layer will stay better if the entire surface of the sloping in a checker manner can drip down a dowel-nails into the wall so that they are shorter than the thickness of the plaster. Nails are randomly emolred with a wire with a thickness of 1.8 - 2.0 mm. On such a "skeleton" the plaster will hold better.
In the event that the sticking of the stone is not assumed, the plastered surface of the slope is additionally aligned with the finish gypsum or decorative plaster. The angles are decorated with an appropriate metal profile.
Finishing of door slopes with the help of chipboard
For decorates, you can use laminated chipboard plates. At the same time, the work is performed in the following order.
- Constructs a doomlet of wooden plates.
- Measurements are performed to order details from chipboard plates.
- In accordance with the sizes on a specialized enterprise, sawing the chipboard plate and pasting of the visible edges of the PVC tape.
- Fastening parts from chipboard to the crate using confirmates. The holes in the stove are performed by a special drill as it is shown in the video below.
- Confirmate caps are closed with special plugs.
Finishing of slopes input door with plastic panels
This method is the most budget of the listed. The slopes are made by plastic, as a rule, at the entrance to non-residential premises. For this, plastic panels are used, the surface of which mimics natural wood or natural stone.
Technology finishing of slopes plastic: phased description.
- Installation of wood cutting crates.
- Fastening starting profiles.
- Fastening the sliced \u200b\u200bplastic panels.
- Registration of external corners with relevant profile elements.
Important: In order for the plastic to be not fed, and the whole design was more rigid, it is recommended to fix horizontal details more often.
Finishing of door slopes with ceramic tiles
The decoration of the slopes of the entrance door (see the photo below) with ceramic tiles creates a solid surface that can be easily powered by conventional household chemicals.
Preparation of slopes before cladding ceramic tiles can be performed in two ways:
- alignment with cement-sand plaster;
- alignment with moisture resistant plaster.
For cutting ceramic tiles, depending on the type of material, used:
- glass cutter (for wall tiles);
- bulgarian with cutting stone abrasive circle;
- platekorez.
After sticking, the tiles of the seams are filled with a special tump of mass selected in color of the main material.
At the end of your attention, the finishing of the slopes of the entrance door - video with a specialist comments on the rules for working with plasterboard.


