Plastic Door Installation Technology Doors
Installation of plastic doors, in fact, does not have significant differences from the sequence of the main steps of installing other types of products of this type. But, undoubtedly, the skills of working with power tools and adherence to all technology nuances are required.
Content
What affects the cost of plastic door?
Purchase a plastic door today is quite simple, the market is a shot by offers of manufacturers. Often, the complex of services is not only the manufacture of the selected design, but also the installation of plastic doors with the subsequent service. Given this fact, it should be noted that the cost of buying directly depends not only on the quality of the materials of the product and the complexity of its design, but also of all associated components of the purchase process. There is nothing easier than to entrust the fulfillment of all works by professional workers, and only with joy meticulously taking the result submitted. But, justice, we note that it is when performing the installation of plastic doors, the price of the product rises at least by 30%. There is a completely reasonable question: "Why overpay, if you can fully install yourself, even without any special skills?"
Set of tools for mounting
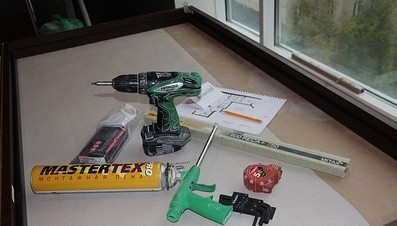
After making the decision to equip your home yourself and, preparing the previously necessary for the installation of the door, first of all, make sure that all the tools and materials are available. You can verify with the following list:
- details of the product item
- pencil
- roulette
- building level
- flat and semicircular chisel
- hammer with a round brick
- rubber white kiyanka
- cross and slotted screwdriver
- nail-holder
- mounting knife with retractable blade
- screws and dowels, nails
- sealant and mounting foam
- wooden wedges
- pistol for foam and sealant
- polymer glue
In addition to all of the above, electrical equipment will be needed:
- screwdriver
- perforator or drill
- corner shlifmashinka
- a circular saw.
What to draw attention to preliminary preparation?
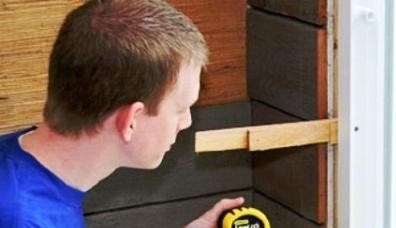
Preparatory work on the installation of the inlet door plastic or interior includes not only the preparation of all equipment, but also the pre-processing of the doorway. Its parameters must be slightly wider than the size of the design itself. The standard gap between the wall and the box is 15-20 mm. Most often, the door is manufactured in accordance with the preliminary measurements, respectively, all preparatory work on expanding the opening or adjusting parameters is performed in advance. Immediately before installing, make sure that the wall surface is clean and dry. It is worth noting another nuance - the presence or absence of a threshold. Basically, the package of plastic doors involves the presence of a box with a finished threshold. But, if it is not provided, the installation is performed in advance. The main goal in this case is to increase the protective function of the door. Pre-assembling boxes and canvas occurs without fixing elements. Make sure when installing the interior door, that it will open inside, if other direction is not provided for by the features of the interior design.
Plastic Door Installation Technology
It is desirable that two people participate in the installation process. This will help reduce the time spent and ensures the accuracy of all parameters, as well as the convenience of the process. Direct installation has the following sequence of actions:
Installation of the door box
This process can be carried out in two ways:
a) the first - insert the box in the opening and fix with the help of wedges, putting them on all sides of the perimeter and aligning as needed. This approach will help to avoid excessive strain walls.
b) When installing on the second method, we take into the base of the end several nails in such a way that several millimeters of the end remained on the surface. Next, the box is adjusted in the opening and use wooden wedges as an additional attachment. 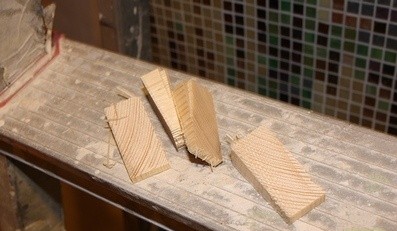
Important! Regardless of technology, you should drive the wedges very carefully, so as not to damage the surface of the material and do not deform the shape of the box.
Fastening
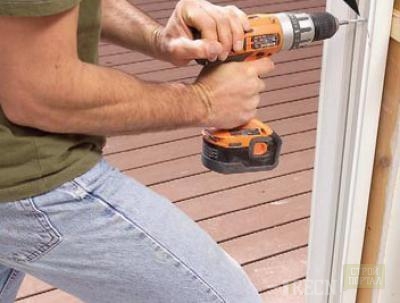
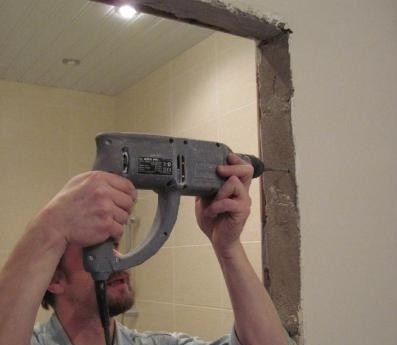
Initially, drill a drill with a drill of 11 mm test holes through the profile in the wall laying. The distance of the holes is often regulated by the following parameters: 150 mm from the corners and 300 mm at the rest of the side.
Next, using a 10 mm drill, a hole in the wall apply the necessary depth. At the place of the future attachment, install additional support pads for reliable fixation of the vertical position of the product.
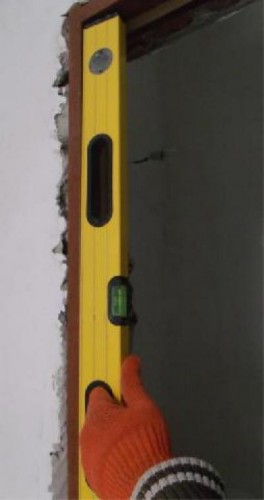
Important! After each action using the level, check the accuracy of matching the distance parameters to ensure the tight fit of the door and its vertical position. This will exclude in the future possible distortion and will ensure the normal functioning of the door.
With the help of a hammer, drive a dowel and screw the methyza screwdriver, pre-apply a little sealant under the hat. If parts of the wedges protrudes, carefully cut the circular saw to compare with the surface of the box.
Clearance design
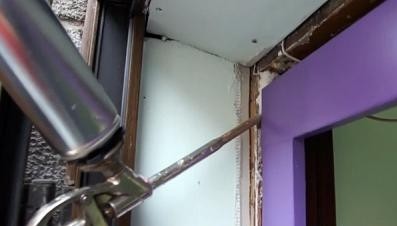
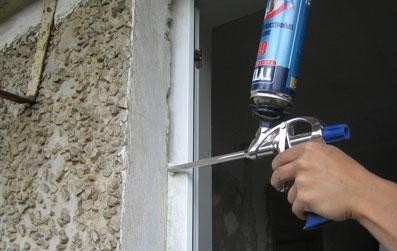
All gaps between the wall and the box, as prescribes the installation instructions for plastic doors, are filled with construction foam. It must fully cover the pads. If the clearance is too big - make an additional basis for foam from the wire. Next, we will wait for the time required for complete drying (it usually is 24 hours), after which we cut everything over the interchangeable knife.
Installing slopes
A distinctive feature of the installation of slopes of plastic doors is the use of a dry method. Attach the frame elements for slopes from metal or wood to the wall with self-drawers with dowels. The internal space is filled with insulation, for example, mineral wool. Securely secure the material by construction scotch, after which, with the help of starting slats and nails, focus decorative profile discharge panels. Universal plastic corners, which are used when installing interroom doors, secure the polymer glue to the finishing panels.
Important! According to the SNIVA standards, immediately before installing the framework for slopes, check the sealing level of gaps.
Checking the functioning of the door, adjustment
Upon completion of the installation of the plastic door, it remains with their own hands to wear it on the loop and check the smoothness of the course and the density of the fitness of the product. Also pay attention to the function of the handle and the lock. If the cloth saves, it opens poorly, the shivered either fits well to any part of the box, adjust the position using a screwdriver. From the bottom, on the side and on top of the fastener loop are special bolts. 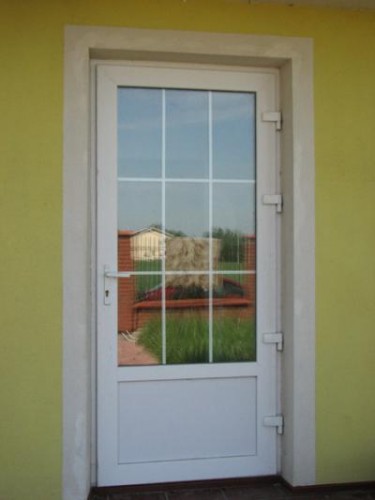
Installing a closer
Installation of the closer can be performed solely on the personal initiative, as it relates more to the additional equipment of the door, and not to the mandatory. As a rule, the closers are used to regulate the speed of opening and closing, depreciation of the opening and the possibility of fixing the door in the open state without additional devices. The location of the closer is chosen purely individually in accordance with preferences. They can become like an outer and the inner side of the door, both the canvas itself, and the box, the degree of proximity to the attachments is also not fundamental. Installation Perform with a clear consequence of the scheme attached to the product, after drilling holes on the door for the housing and lever of the closer, observing the distance between them.
Plastic door mounting video
The video installation of a plastic door applied below will help to clearly make sure easily the installation process.


