Install the mixer with the hose with your own hands Plumbing
The kitchen mixer must be convenient for use. It is important to choose a plumbing device correctly and set to properly. For this, it is not necessary to seek help to the experienced master. The information set forth in the article will help to deal with all the nuances of this case.
Content
What to pay attention to when choosing a mixer
The design of the kitchen mixer differs from those devices that are used in the bathroom. In order to choose a high-quality and convenient mixer, it is recommended to consider the following.
- Weight and Material Mixer: Brassy Product will be much heavier than the silicone instrument. The latter should not be acquired due to their small service life.
- The height of the crane is: for washing dishes (especially high saucepan) it is more convenient if the opening of the spout is not lower than 40 cm from the bottom of the washing.
- The method of switching cold and hot water: one lever came to replace the two valves, which can be moved with one hand, which is convenient. But the design of the mixer should be combined with the style of the kitchen interior.
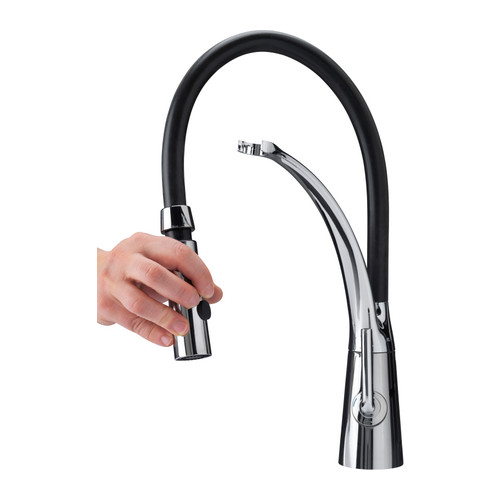
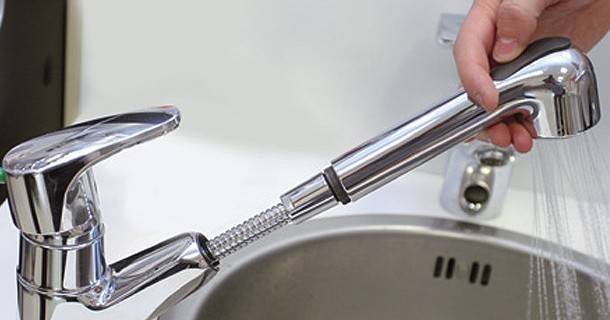
- Hose: The mixer with a hose of the soul will be convenient for use with double sink. Washing a large saucepan with its help will be easier. There are also mixers for the hose bidet.
- Seals must be rubber, not plastic. Otherwise, the tightness of the connection will not be achieved.
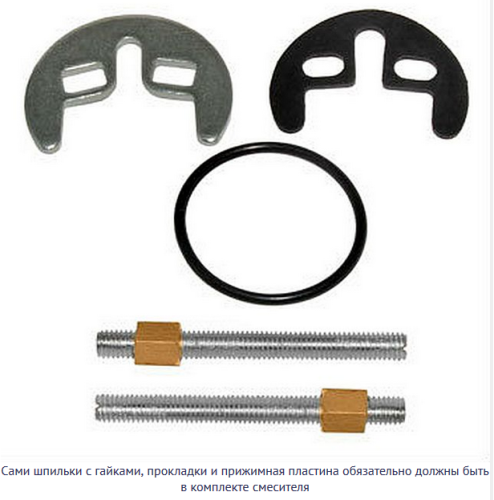
- The lever mixer must be equipped with a spacer ring. It is necessary for reliable fastening the spout.
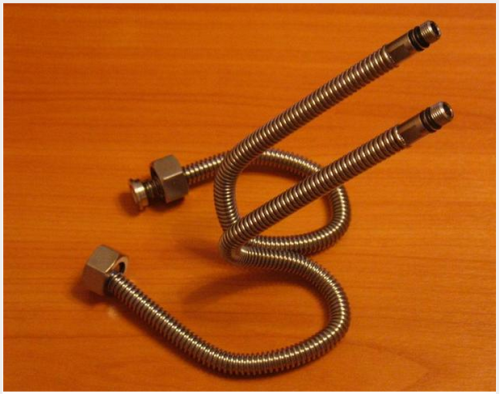
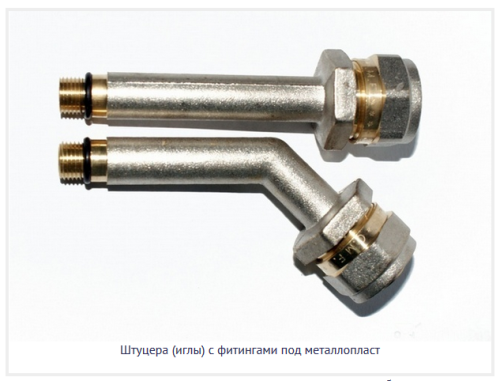
- Length and type of flexible hoses for connection with water supply. The best option is the flexible hoses with a length of about 30 cm made of stainless steel with fittings of different lengths (nuts of such fittings do not interfere with twist). Hoses can be replaced by fittings with fittings designed to connect with a metal-plastic pipe.
Tools required for work
The kitchen mixer with a hose is installed using the next set of tools and devices:
- set of wrench keys at 24, 22, 13, 10 mm or a pair of adjustable keys;
- screwdriver figure (crucible) and straight;
- pliers;
- gas key;
- electric drill with crowns for metal.
Materials will be required:
- fUM tape (choose greater thickness) to seal the threaded connections;
- silicone transparent sealant for installing washing at the table top;
- means for cleaning old rusted compounds (type WD-40);
Tip: Fuma tape can be replaced by palauls with oil paint. This connection is no less reliable, but after installation until the water starts, it is necessary to wait the time required for drying paint.
We dismantle the old mixer
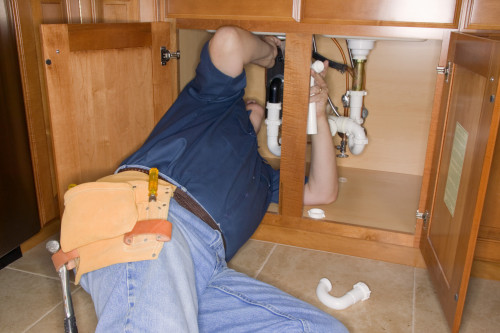
Before installing a mixer with a kitchen hose, you need to dismantle the old one. The sequence of actions is the following.
- Disconnect hot and cold water at the entrance. If the valves are provided under the sink - overlapping water with their help.
- Opening the cranes of the dismantled mixer. This is necessary to relieve excess air and leveling pressure.
- Under the mixer, we place a container for collecting the flowing water. Nearby should be dry rag.
- Hoses twist.
- WD-40 means process threaded connections. It is necessary to wait a few minutes to start the reaction.
- The nuts of the old mixer are twisted. If wrenches are not placed in a narrow space - temporarily remove the sink, disconnecting the corrugated pipe of the sewage siphon.
- We dismantle the mixer, filming the stud or lock nut (depending on the design of the device). Do not forget to remove the hose from the mixer: it can still come in handy.
Tip: If you cannot remove the old mixer using wrench, you should smoothly cut metal pipes with a grinder. After that, you need to cut the thread on the plumbing pipe with layer or the clus. If there was no shock fittings before washing (ball valves) - it is recommended to install it on a new thread.
Install the mixer with a hose: some nuances
No hurry to return to place: a new mixer will be easier to mount. This takes into account the following nuances.
- If necessary, the installation hole is increased using an electric crown with a special crown. The diameter of the opening depends on the device modification: the mixer with a sink hose with pin mount is installed in the jack with a diameter of 32 or 28 mm. If at the base of the nut - it is necessary to use a crown with a diameter of 35 mm.
- Hole in ceramics (as well as if you want to install a mixer for a bottle with a hose), a diamond crown is drilled. For drilling, we choose a plot with a flat platform, otherwise in the field of fitting the base of the plumbing device, the tightness will not be provided.
- In the event that the mixer is fixed using studs, a rubber seal should be under the clamping bracket. Models with two studs are preferable to mixtures with one fastener.
- It is important that the soul hose is fluent in the mixer housing. It is necessary to check whether the details of the siphon or water pipes do not interfere.
Mixer fastening technology for washing: phased description
There are two ways of fastening: on the nut and with spills. Installing the mixer in connection with this has its own characteristics.
Installation on the nut: Phased description
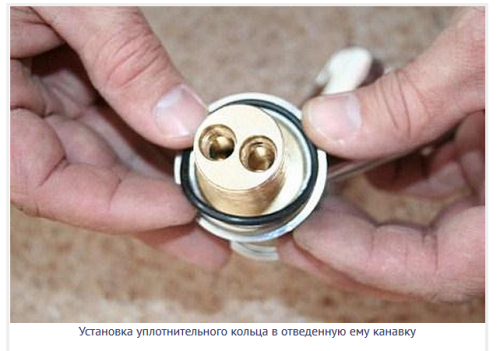
- First, fasten the mixer. We put the rubber gasket into the groove located on the basis of the product.
- Insert the threaded part into the special hole of the washing so that the gasket does not fall out of the groove.
- From the side of the shells, we establish a rubber gasket and then a nut. During a tightening, you need to fix the mixer on the spot, for which the assistant will need.
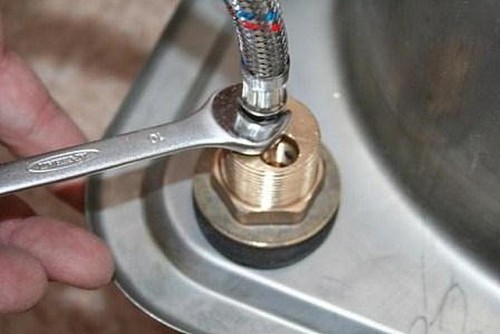
- Screw the connecting hoses. Initially, the one whose adapter from the mixer on the hose is short. The tightening is performed by the key number 10. FUM tape in this case is not needed: tightness is provided with a rubber ring.
- Screw the nuts of the hoses on the threads of the plumbing pipes. If the rubber gasket of the nut will fit tightly to the end of the threaded part of the pipe - additional sealing will not need.
ATTENTION: If the mixer is attached to the pipes of water supply from metal plastic, use special fittings. The first set the fitting with the bend. So install not only kitchen, but also toilet faucets with a hose.
Fresh Mixer on Stiletto
In this case, the sequence of actions is slightly different.
- In the case, the hoses still not installed on the mixer is screwed. If the studs interfere - they can be temporarily unscrewed with a screwdriver (for this purpose, the spurists have slots).
- If the studs were dismantled - put them in place.
- Install the mixer into the hole of the washing.
- On the side of the bottom of the washing on top of the studs and hoses, we laid the sealing curly washer made of rubber and then the metal washer of the same configuration.
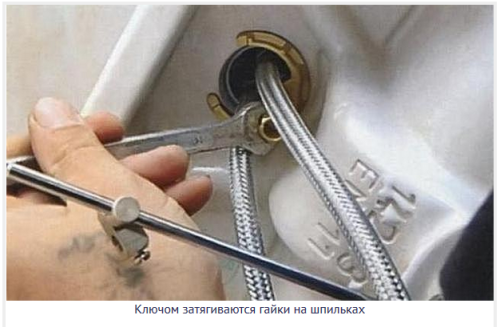
- Having twisted brass nuts on the studs and tighten them well 10 or 11 by the horned key.
- We attach the mixer hoses to the water supply and open the shut-off cranes. After the air is released from the system, it is necessary to inspect all the locations of the details. When the leaks are detected, the nut will need to tighten.
Tip: Before connecting the sink to the sewage system, you need to clean the hole to which the siphon is adjacent. This will ensure the tightness of the connection.
Finally, we suggest familiarizing yourself with the video tutorial showing the installation process of the kitchen mixer. Specialist comments will be useful.


