Aligning corners of walls Walls
Quality repair requires alignment of all surfaces - walls, gender, ceilings. Aligning the corners with your own hands for many it seems an unbearable task. Make it is not as difficult, as it seems, if you want to set the necessary set of tools and choose the following materials.
Content
Align the walls and angles with plaster mixtures or dry plaster - plasterboard. If there is no desire and means to align all the walls, do at least angles. In this case, the angle is visually to be visually so that it does not go waves all over.
Alignment of walls and corners with plasterboard
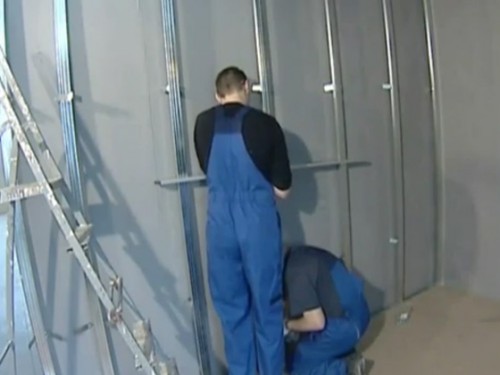
Plasterboard is a dry gypsum plaster. Sheets are attached to the frame or directly on the wall using a gypsum adhesive mixture and dowels. This method of alignment has the advantages over the "wet" way:
- installation of HCL on the frame does not require the removal of old wallpaper or bliss;
- no mixing of plaster solutions is required, the process is relatively clean;
- canopy Glk can immediately after installation, while the plaster layer needs drying.
Disadvantages:
- fragile material, not resistant to mechanical damage;
- not used in premises with high humidity.
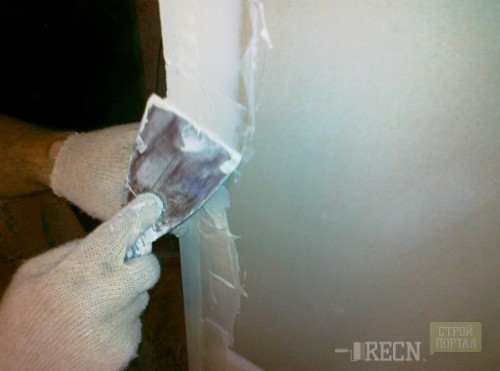
Correctly executed facing the walls of plasterboard Does not need to adjust the corners. The internal angles are putting off using the reinforcing tape.
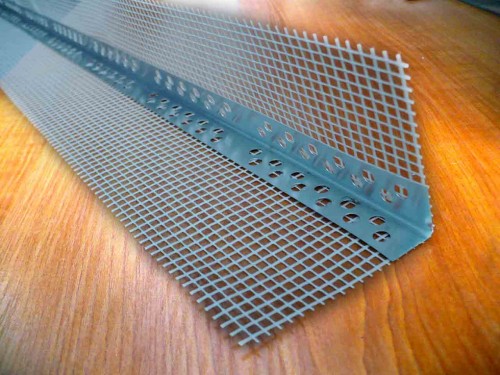
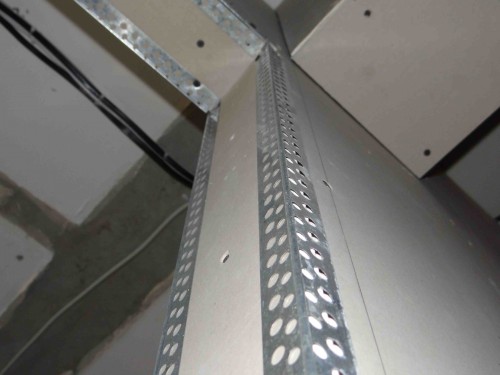
To override the outer angles, install perforated aluminum corners, then put off.
If the wall is very littered and a thick layer of plaster will be required to align the angle, it is convenient to use a combined method. On the part of the wall, which is strongly deviated from the vertical, glitteron is glued. After the glue is grabbed, the wall and corners are aligned with a layer of putty.
Aligning corners plaster
Aligning the corners will not cause you difficulties if you can twist the walls in terms of level and in the same plane. The main stages of the work:
- surface cleaning;
- plaster;
- putty.
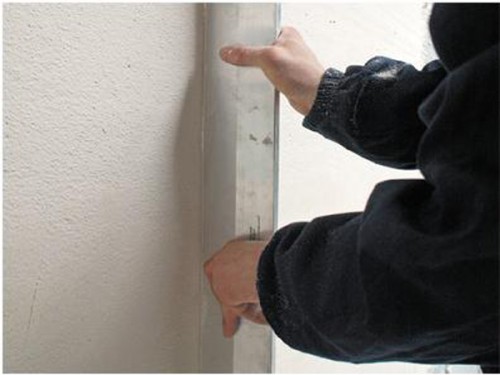
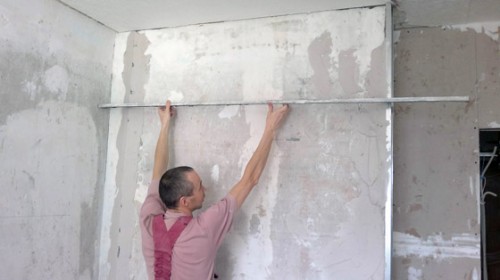
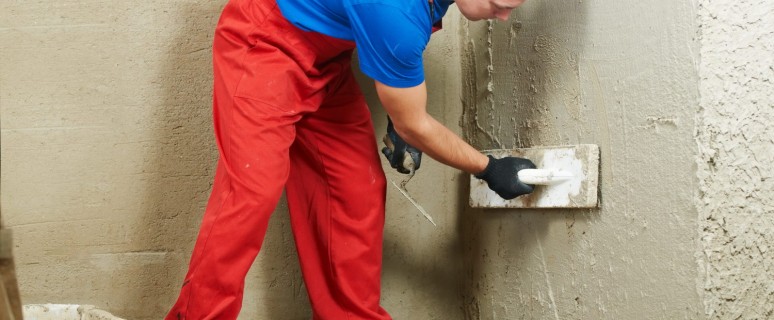
To align the walls, use plaster beam. So that the angle turns out to be smooth, you should twist one wall and wait for a complete drying of the plaster layer. Then the beams on the second wall are installed and the layer of plaster is applied. Minor errors will hob the putty.
After the two walls forming the angle, launched, you will be left slightly adjusting to the spacure area.
It is more difficult to level the corners if you do not plan to plaster completely the whole wall. Alignment of internal angles - more painting work than outdoor. This is due to the fact that when working with outer corners you can plaster at once both walls. Aligning the inner corner you must wait for the complete drying of one wall, then start the second.
Tools and materials
- brush and brush for primer;
- level - laser or water, plumb;
- capacity for mixing the plaster mixture;
- drill with a mixer;
- rule;
- spatula - a wide 45 cm and a narrow - 20 cm;
- primer;
- dry plaster mix;
- perforated corners;
- putty.
It is more convenient to work with a plaster mixture - it grasps faster, does not fizz. This allows you to reduce the time of work. Rotband company Knauff will suit.
Internal angles are aligned in two ways. The method of surface preparation is the same.
- Cleaning from old coatings - removal of old wallpaper and bliss, dismantling ceramic tiles.
- Similar to the surface.
- When working with cement plaster solutions, the corners should be cleaned of dust. Before applying plaster moisturize.
Alignment using countercouchers - perforated aluminum corner
Corner for aligning angles is used for work with internal and outer corners. Such a corner is needed for external corners in order to protect against mechanical damage. In addition, it facilitates work. Even if you do not install the corner strictly vertically - the angle will turn out to be smooth, without bends.
- Cut the length of the corner.
- Prepare a plaster mix.
- Apply an angle. The inner corner is filled with a mixture completely. On the outer angle, apply a mixture with slap.
- Install the corner by checking it vertically level.
- Carefully remove the surplus of the plastering mixture and leave for graze.
After the corners are installed, you will remain to compriment to the edges with the wall. This was not formed a sharp transition, apply a plaster mixture from an angle by 50-80 cm. Scroll through a wide spatula, gradually reducing "to no".
After drying the plaster layer, treat the surface of the primer.
Further alignment is performed using a putty. Putclone is able to hide small shortcomings and irregularities.
Leveling by a mark applied with a plumb or level
This method is suitable for leveling internal angles.
- Apply a mark on or plunder on one wall.
- Prepare a mixture.
- Fill the angle with a plastering mixture.
- Rush the mixture with a wide spatula.
- After drying the plaster on the first wall, proceed to the second one along the same scheme.
It is not always possible to make a straight straight angle. The opposite walls are sometimes different in length by 5-10 cm. A large number of plaster will be required to make a strictly rectangular room. Such accuracy is needed only in the preparation of the corners and walls under the cladding tiles. The main requirement is to achieve vertical angles.


