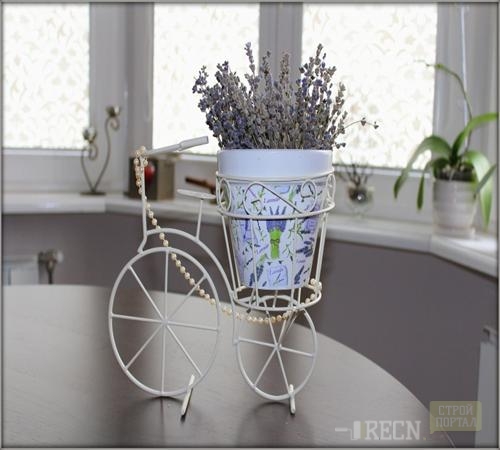
Stand for flowers with their own hands Useful advice,Interior items
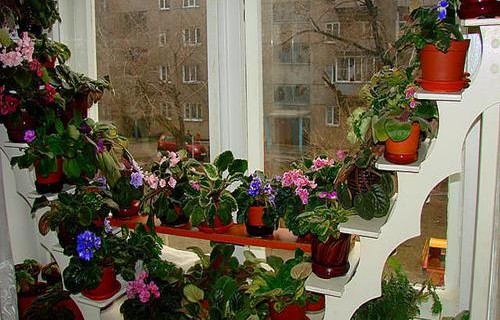
To date, almost all houses and country courts are decorated with alive flowers. They revive the room, make the air cleaner, raise the mood. To save free space or create a composition of the pots usually use colors coasters. But shopping copies are fairly expensive and do not please the design variety. Therefore, people are creative, who want to create interior items with their own hands, can quite make a stand for flowers themselves.
Content
What materials are made of colors
The main types of flower stands:
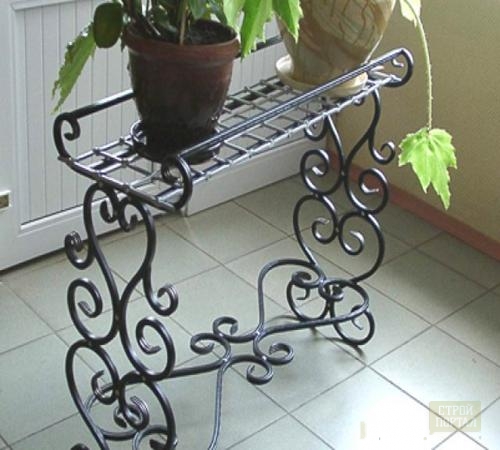
- forged coasters. Flowers look very elegant in them. They are durable, reliable and have an elegant look, but to make them independently at home, most likely it will not work if you, of course, is not a master professional;
- wood coasters. This option is most often found. They are more economical and are suitable for any interior. It is easiest to make a stand under flowers with your own hands from the tree. Materials can serve as boards, chipboard, natural material, for example, a piece of branches sticking in different directions, etc. So that the wooden stand looked even better, it is usually covered with varnish;
- stands for colors made of metal. Such coasters, as well as forged, are not subject to independent manufacture. The exception is the combined products, in which the bases under the pot are made of wood, and for supports are used ready metal pipes with a cross section of 25 mm. But if you still tuned to the colors for metallic colors, due to their reliability and resistance to external influences, you will have to buy ready-made;
- color stands, which are a composition of several different items. There are no longer any rules and features. It all depends on the fantasy and the amount of free space. Below is a master class for the manufacture of one of the options of such supports for flowers, and the photo is as illustrations.
Master Class No. 1: Flower Stand + Decorative Batti Bath
This stand is more suitable for decorating the yard or an open veranda. For her, you can use pots of different shapes, and you can - the same. The color in which they will be painted depends on your idea and taste preferences. In our case, the pots are monochrome, but you can paint them into different colors.
To work, we will need:
- one large and high pot, which will serve as a basis;
- four smaller flower pots;
- one pot that will be at the very top. In size it is less base, but more intermediate pots. The decorative bath will be attached to it;
- metal rod as a support for the entire design. If you do not have the size you need in the store, you can buy longer and cut it with a hacksaw for metal;
- paint spray;
- primer spray;
- a small figurine of birds from ceramics;
- water-repellent glue.
The sequence of work is as follows:
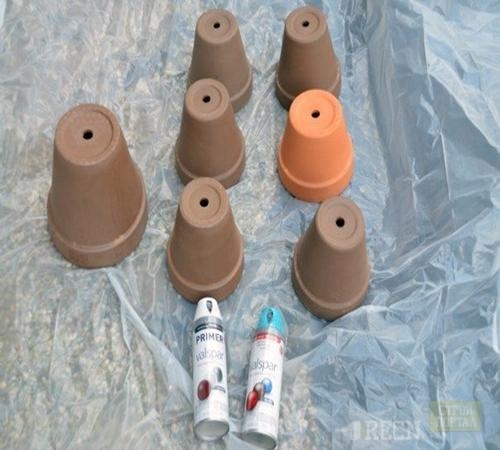
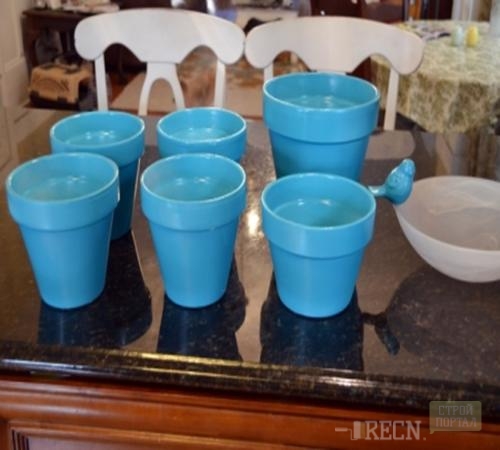
- ground the surface of the pots and after drying, cover paint. Color may be one or more, in your taste;
- we measure and fold the height of all pots, add 600 mm to them and thus calculate the height of the rod-support. Using the cutting of the metal cut off the piece and drive the hammer to the ground by 600 mm. This action will provide a stable construct;
- through the hole in the bottom we put the pot on the rod, we install it directly and fill the earth;
- further, all the subsequent pots wear, each other on the rod, filling the earth and tilted alternately, then to the right;
- the topmost pot is installed directly, as well as the base, to it attach a plastic or ceramic bath, harvested in advance. To her edge glue the bird figurine and withstand the day until complete drying;
- after all the work is over, planted flowers and enjoy the result.
Master Class # 2: Outboard Stand for Flowers
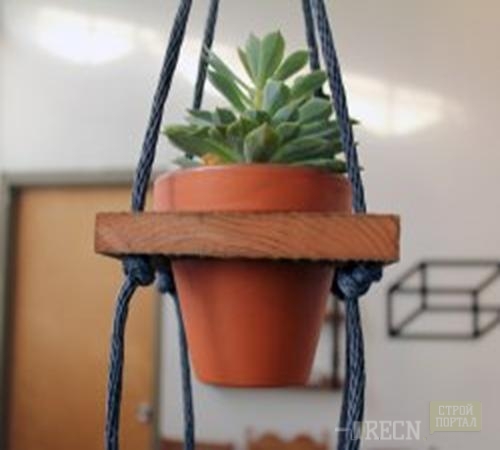
For accommodation on the veranda or indoors, the suspension stand for flowers is most suitable. Tree and rope - these are the basic materials necessary for its manufacture. It can be placed on the flowers that you do not want to hide on the windowsill behind the curtains.
To make it you will need:
- wooden board or shelf from old furniture;
- rope, not fat, but not thin;
- flower pots, in our case four pieces, and you can take at will;
- lobzik;
- drill;
- paint and brushes;
- ring made of metal.
Production sequence:
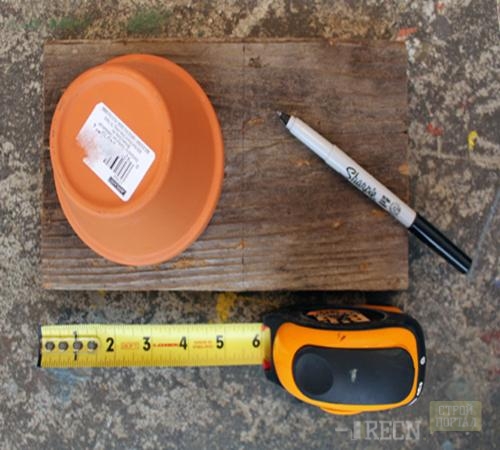
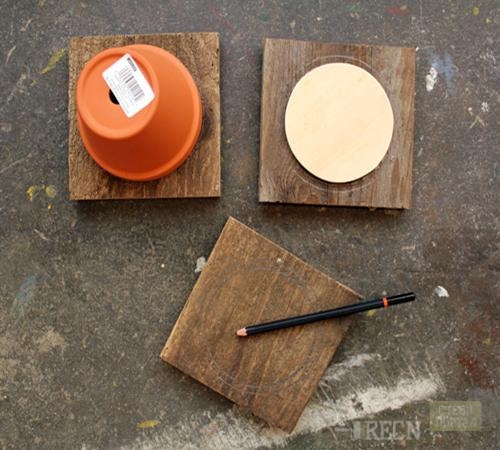
- in order to provide the product with the necessary strength, the wooden bases in which the pots will be inserted, you should make a couple of centimeters wider than the pot. To achieve this, attach a pot to the blackboard with a wide party, circle it with a pencil, and after, measuring 2 cm in each direction, draw the square. This will be the size of the base. Such squares are focused on the number of pots;
- to outline the inner feed line, cut a round shape pattern from cardboard paper. Its diameter should be less circled pot 15-20 mm. After the template is made, circle it within each of the squares of the base;
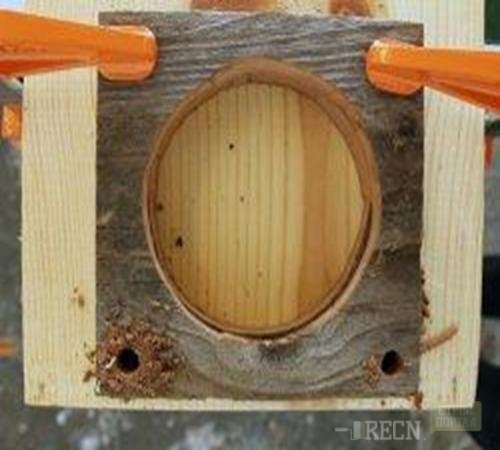
- now you need to cut the hole in which the pot will be inserted. To do this, attach the square of the clamp to the desktop, make a drill hole in its middle, insert the jigsaw through this hole and cut the inner circle. During the work, be careful and do not rush to not spoil the product;
- after the feet under the pots are cut in all squares, over all corners of each of them drill holes for the rope. It is necessary to closely monitor the holes on all squares in the same places;
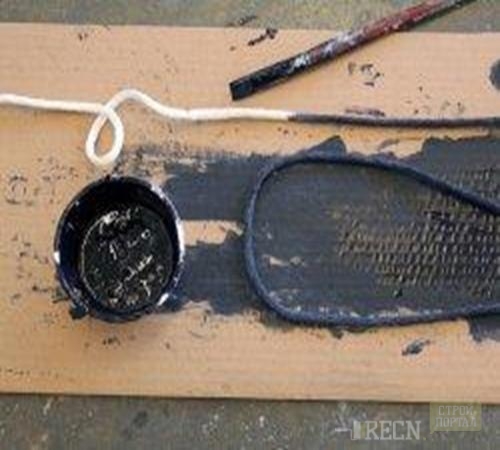
- now you can think about the design. Wooden pieces paint paint different colors or verses, depending on the style and interior of the room. The rope is also needed to paint, we chose a black color, but you can take any other at your discretion. To do this, use acrylic paint;
- after that, the construction assembly follows. It is necessary to produce it, taking into account the height of the plants, which will be installed in the base. Build the assembly from above: I have traveled to the ring four end of the rope, stretch them into the angular holes of the first square and tie under it to the node to lock;
- in the same way, fix on the rope all squares-base for pots, and the remaining ends cut under the last of them;
- after that, insert the pots and hang the stand in the desired place.
Master Class # 3: Flower Stand Outdoor
This stand with elegant curved legs will decorate any room. It consists of a triangular base with rounded parties on which the pot will stand, the shelves are slightly smaller and the same shape, and three curved metal legs.
To make curved legs, you will have to bend metal tubes yourself. This will help us a special template for bending.
We will need materials:
1. For Stand:
- 2 pieces of waterproof plywood 24 mm in thickness - one 37x37 cm, and the second - 22x22 cm;
- 3 Copper pipes with a diameter of 1.5 cm and 68 cm long;
- 3 bars with balls at the ends for the legs;
- polyurethane glue.
2. For template:
- a piece of fiberboard or MDF 40x80 cm;
- 5 bars 2x4x10 cm;
- clamps, screws.
Production sequence:
- on pieces designed under the shelves, we make markup using a circulation;
- cut the parts with the support of the jigsaw, the edges are grinding sandpaper;
- based on the flower pot, do you draw medians so that even even the rounded parties appear. Exactly in the center we have a shelf, tightly press and drill three holes at its corners. The drill must pass both details through;
- the edges of the shelves with sandpaper;
- wooden balls used for legs fix with vice and drill holes in them;
- wooden parts open the layer of varnish, dried, slightly grind the sandpaper and apply another layer;
- metal legs are also grinding, applied varnish or paint;
- insert the legs into the holes on the upper shelf, and at the level of finding a small shelf, rewind them with double-sided scotch and glue;
- the bar having a ball in the form of a ball insert into the hole of the pipe legs and for greater reliability fix glue.
Production of a template and giving the legs curved shape:
- plate Mark around the circumference and attaching bars to it with screws;
- the pipes themselves neatly pressed to the bars through clamps;
- after relaxing clamps, the pipes are played out.


