Installation of ceiling polyurethane plinths Ceilings
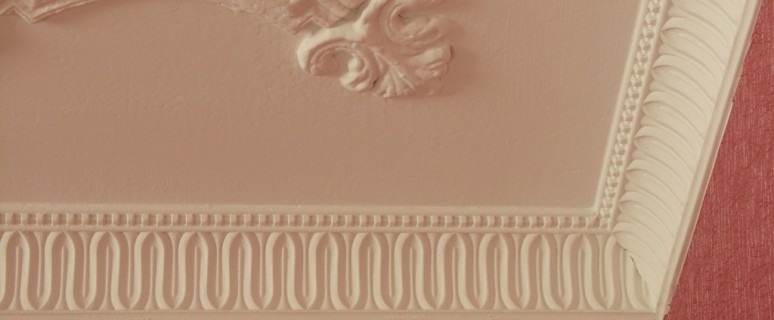
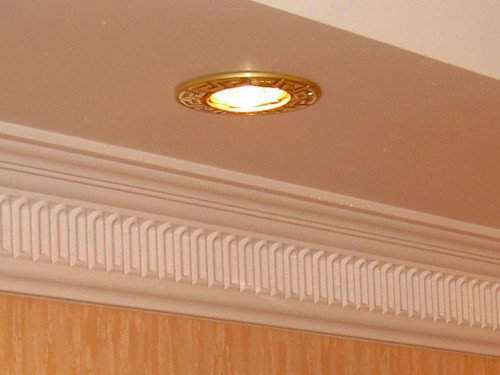
Ceiling plinth is one of the options of the ceiling decor. If among the existing species ceiling plinth You have chosen on polyurethane, this article will help you to cope with the work.
Content
Due to high density, polyurethane is more resistant to mechanical effects. Compared to a polystyrene, the relief of such a plinth is clearer and difficult to damage during transportation. Wooden cartels are also characterized by high strength, but their cost is much higher than the value of the plinth of polyurethane.
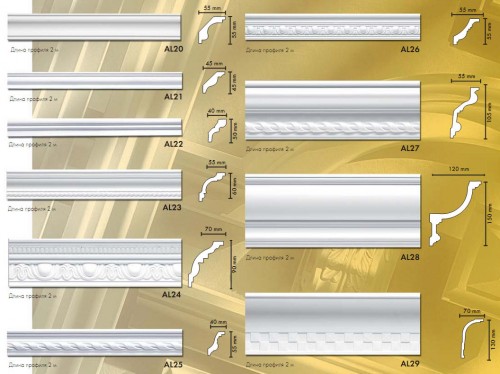
On sale Material You can meet under different names - plinth, baguette, cartel, molding.
Advantages and disadvantages of ceiling polyurethane plinth
Advantages
- Environmentally friendly material.
- No moisture is afraid and does not lose its type with wet cleaning.
- A variety of colors and drawing makes it possible to choose a plinth of polyurethane to any interior.
- Due to the high density does not absorb moisture.
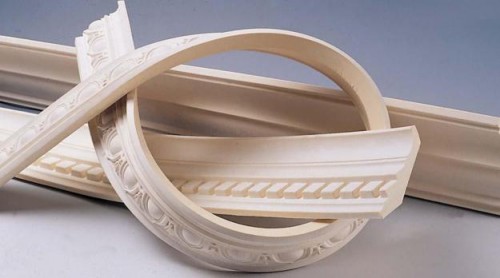
- Flexible ceiling polyurethane plinth allows you to work with curvilinear walls and ceilings.
- Possible installation of LED backlight.
- Withstands staining with water-dispersive paints and acrylic enamels.
disadvantages
The disadvantages include:
- The weight. Compared to foam, polyurethane plinth is much harder. To install it, you should not use putty, for these purposes there is a special glue.
- High price. The price of the ceiling polyurethane plinth depends on its width, configuration and model, and ranges from 300 to 3500 rubles at a length of 240 mm.
How to perform the installation of the ceiling polyurethane plinth
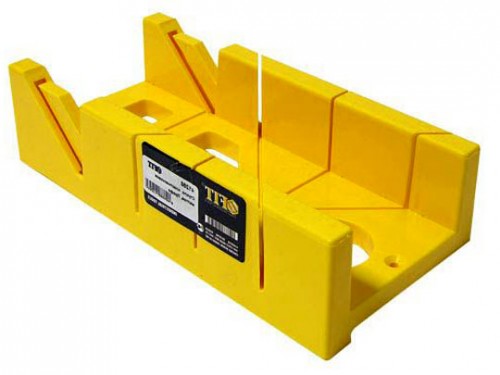
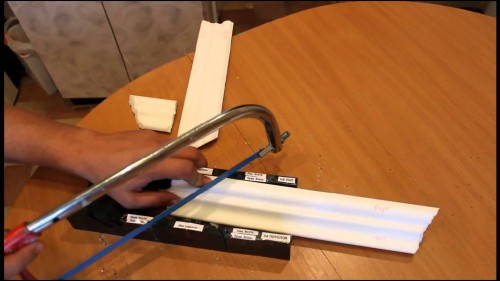
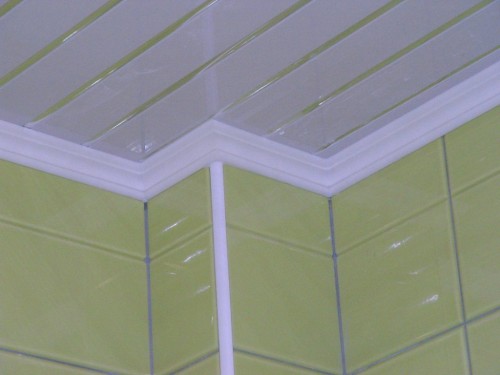
Installing the plinth start from the corners. With straight corners 90º work simply. Use construction stubble to cut cartoons. You can also buy ready-made additional elements - external and internal corners.
Often disputes arise - at what stage of finishing work should carry out the installation of the plinth? Print baguettes after completing work with the ceiling - installation of suspended or alignment and finishing finishing of the main ceilings.
As for the walls - there are two options here. Many masters install plinth last time - when the walls are already saved by wallpaper. With this method, it is easier to work with wallpaper - there is no need to clearly crop their upper edge. If you decide to shut the walls with wallpaper before starting the installation of the plinth - be sure to wake the top of the wall with the PVA glue. Wallpaper should be securely glued. Otherwise, they will leave the wall with the plinth.
Tools and materials
To work, you will need simple tools available for the price:
- roulette;
- pencil;
- stuslo;
- hoven for metal;
- construction knife with replaceable blades;
- water-emulsion paint;
- little diameter roller, brush;
- a spatula 20-30 cm wide for cutting wallpaper;
- rubber spatula;
- foam sponge or soft fabric;
- primer deep penetration;
- glue liquid nails moment Installation. Making - Supersensile;
- gun for glue.
Operating procedure
1. Installation of ceiling polyurethane plinths begins with surface preparation. Cut the upper part of the wallpaper on the spatuel with a spatula on a pair of a pair of a couple of cm. How hard did not hold wallpaper, it is advisable to glue the baguette directly to the wall.
2. Played and spacchable walls are grinding before working with baguette. Drive the walls, there should not be traces of dust.
3. White baguettes are preferably painted before they are installed. Their whiteness is a deceptive impression. In fact, they have a grayish or cream shade. If the ceiling is painted - use the same paint as for staining the ceiling. To give a plinth shade under the color of the wallpaper scroll paint. Baguette staining is also necessary in order to make seams at the corners and on the joints in invisible.
4. Spread the plinth on the film. Apply the paint with a brush and roll the roller with a small diameter. If the paint does not roll out - the bands from the brush remain on the surface, which looks inactively.
5. After drying the paint, cut the edge of the plinth along the angle of 45 °.
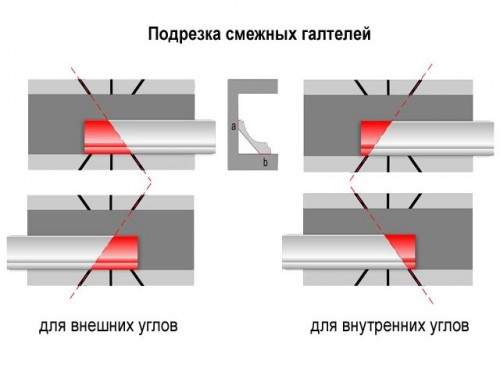
6. Next, trim the baguette on the other hand at the place of its docking with the adjacent baguette at an angle of 90 °. This must be done to obtain a smooth clear joint. Very often the edges of the plinths are deformed during the transportation process. The defects are not noticeable with the naked eye and are detected only after gluing the plinth to the wall.
7. To facilitate the work, cut part of the baguette at a distance of 30 cm from the corner connection. The plinth is produced in a length of 240 cm, you will inconveniently be controlled by the correctness of the trimming, if there are no helpers.
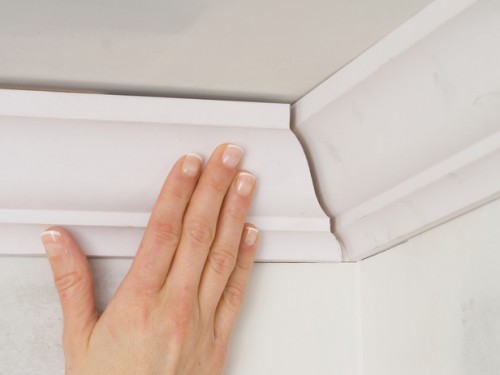
8. Attach the harvested elements to the corner and make sure that the bugeth is unused when combining the baguette. It is difficult to work when there is no direct angle between the walls. An invisible deviation in 3º already causes problems. In this case, cut the plinth on the corner of the sharp blade of the building knife.
9. Using a gun, apply glue or zigzag adhesive to the plinth profile, which will come into contact with the surface of the walls and the ceiling. The glue is also applied to the place of docking - it will be easier to disguise the gaps between the baguettes.
10. Attach the plinth to the wall and ceiling, press the cloth.
11. Excess glue remove with a wet sponge.
12. The plinth is not glued to the stretch ceiling - you can spoil the ceiling fabric. In this case, choose a plinth with a wide side profile. The glue is applied only to the side adjacent to the wall.
13. While the glue does not dry, make sure that the plinth does not depart from the ceiling or wall.
14. Fill the locations of the joints with acrylic sealant. Silicone do not use - it glitters, and the paint does not lie on it.
15. After the sealant grabs, gently fasten the scene of the joints.
16. If the surface of the wall or the ceiling is uneven, you will have a clearance between the wall and the baguette. Fill the gap with a sealant. Surplus sealant immediately remove the rubber spatula.
17. LED backlight creates cozy room lighting. Ribbon with diodes are fixed before the installation of baguette. On sale you can find the ceiling polyurethane plinth under the trademark of the Europlast, the form of which allows you to set the backlight.
The installation of the ceiling polyurethane plinth is presented on video.


