Build a wooden toilet for giving with your own hands Construction
The improvement of any country area begins not from bookmarking the foundation of a residential building and not even with the construction of the fence. The toilet is a crown of comfortable being, and it is he who should devote the first days of work. Only after the creation of all conditions for more less than a comfortable life without delicate situations, you can begin construction of the house. After reading this article, you will learn how to build a wooden toilet in the country with your own hands.
Content
Preparatory work
If you have purchased a completely empty plot of land, first of all it is necessary to engage in the construction of the toilet, since the need to use them will arise in a few hours. Therefore, it should be carefully prepared in advance, create a detailed plan of action, bring building materials and immediately begin work.
Each host in general represents, what does the toilet want to see on his dacha, but few understand the device and the principle of operation of these unscrewing structures. Therefore, for a start, we will look at the types of country toilets and tell me how each of them works so that you can choose and give an objective assessment of the upcoming event.
Varieties of toilets
Ideally, in the country where people live or most of the year, there must be two toilets - in the house and on the street. "Home" is convenient to use in bad weather or at night, and "street" - in the rest (basic) time and that every time, breaking away from working in the garden, do not drag dirt into the house.
But, as practice shows, to correctly construct at least one toilet is far from all. The reason for this is the absence of the theory, since building a wooden toilet is completely simple.
So, what are the toilets:
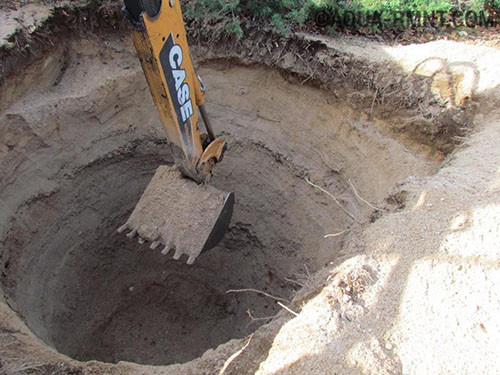
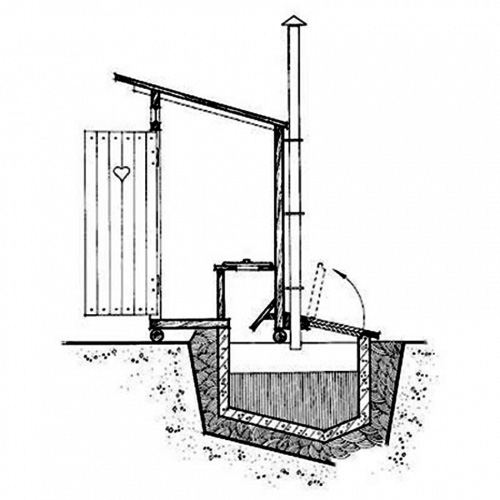
- "Classic" with a cesspool is a design, which is called, tested by time. It looks like a combination of a cesspool with a depth of 2 m at the top of which a wooden toilet house is installed. Sleeps falling into a pit are gradually decomposed by naturally or with special chemicals. If the filling of the pit occurs overly rapidly, the sediments do not have time to decompose, so they need to be removed (manually or with the help of arizers). By the way, before the replenished pit was simply drunk, then the next toilet was built nearby and built a new toilet;
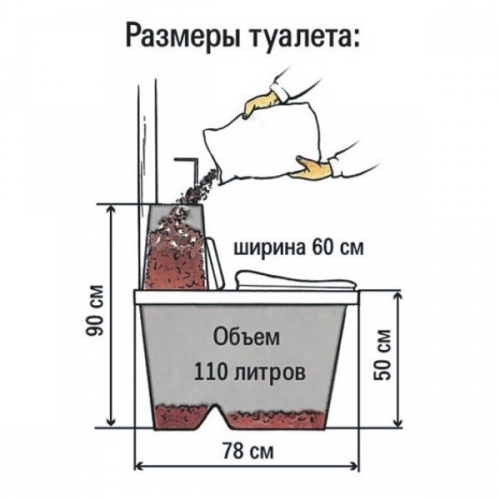
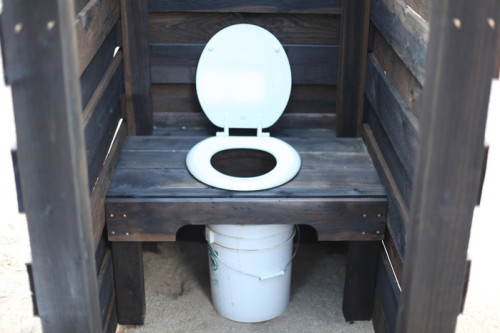
- pood-closes - the appropriate option for those cases when groundwater takes close to the surface. The cesspool in this case replaces the spacious capacity (barrel, bucket), installed under the stool. As the container is filling, it is empty, and to eliminate the smell after each visit to the seafood, sprinkle with sawdust, ash or dry peat. Since such manipulations resemble the swimming, it is easy to guess why the toilet received such a name. With the apparent inconvenience of Poo-close the most of the merits: it is elementary in arrangement, suitable for seasonal life in the country, and excellent fertilizers are obtained from the sewage mixed with sawdust or peat;
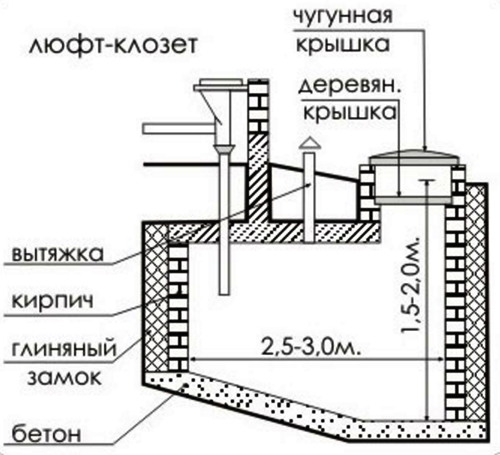
- lesuft-closet is a design with a hermetic jam, periodically emptied by the assessing agents. From the classic treacherous toilet is excellent in that the pit is hermetic, and therefore indifferent not fall into the ground. For this reason, the little closets are often built inside the house, they are laid out of the sake of the sewer to the cesspool, dug out from the outside (closer to the entrance or the fence, so that the assessing machine can easily drive). At the same time, for the convenience of emptying the pit should be slightly tilted towards the house;
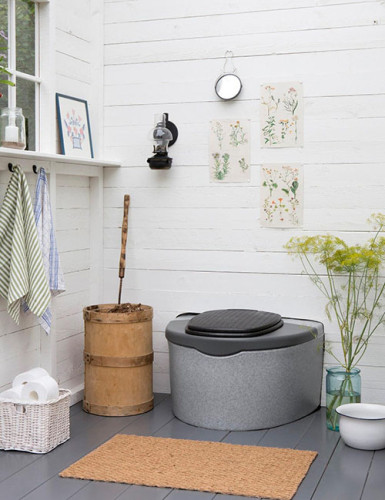
- the most elementary way to create a cottage toilet. There are various options for plastic boxes with stools and tanks. Uncleans decompose due to the effects of active microorganisms fill in the tank;
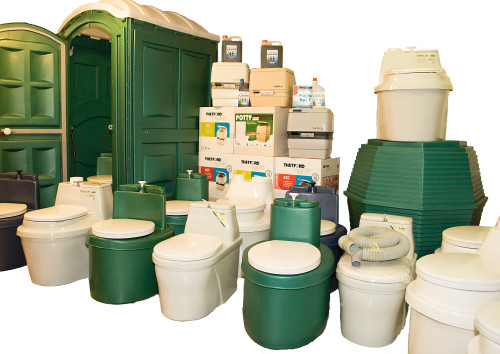
- chemicaltale - the only difference from the beythetuet is in the way of expansion of unclean. If in the previous case they are processed by natural microorganisms (bacteria), here the decomposition is carried out through the impact of chemicals. The method is quite effective, but it is impossible to use the resulting mass as fertilizer;
- peat - the home version of Pood-closet, in the washed bar of which, instead of water, a dry crushed peat is embossed. By and large, this is a modified Poo-closure.
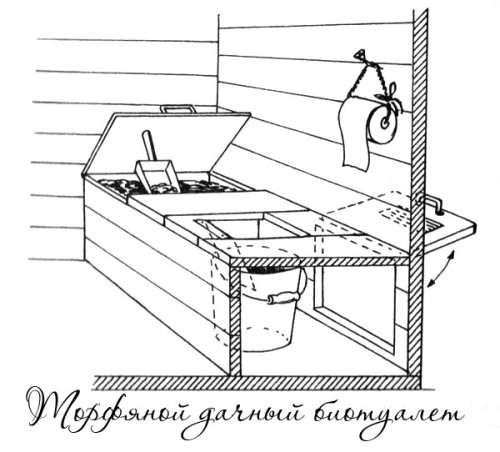
The choice depends not so much from personal preferences and financial capabilities as from physical factors. So, if the underground waters go deeper than 2.5 m from the surface, you are incredibly lucky, and you can install any of the above species. If the groundwater is located quite close to the surface, you will have to abandon the variant with a cesspool.
Choosing a place
The selection of the location of the future wooden toilet depends not so much from personal whims (of course, I want to put it as close as possible to the house), how much from the type of construction. So, if you decide to dug a cesspool, to do it better away from the residential building, as well as water sources (well, wells, reservoirs). This moment is even registered in the appropriate SNiP, which states that there should be at least 25 m between any source of water and the toilet. If the site is located on the slope, even if almost noticeable, the toilet must be below the water intake point. Otherwise, unclean can spoil drinking water.
Choosing a place to build a toilet, you have to be guided not only by the location of the sources. So, it is better to put the cab with a "neutral" side so that the wind does not attribute smells to the neighbors or in your own home.
Here are a few rules to help you choose a place toilet:
- Between the toilet and the residential house, including the basement, should be at least 12 m.
- Between the toilet and the sauna (shower, bath) should be 8 m and more.
- Between the toilet and the shed, where animals are contained, should be at least 4 m.
- The toilet can be put no closer than 4 m from trees and 1 m from bushes, otherwise there is a risk of damaging the root system.
- From the cabin to the fence should be at least 1 m.
- Consider the wind rose, so as not to deliver inconvenience to the neighbors or yourself.
- The door is better not to turn towards the neighboring area.
- Measuring the distance between the future toilet and objects on its territory, do not forget about neighbors. That is, if you plan to put a booth in a meter from a neighbor's fence, and from the side a large tree is growing right away, which means the distance should be increased at least 4 times.
It is worth noting that such requirements are relevant only for toilets with a cesspool, and it means that they do not apply to the loft-closets, since they are sewn in them in a special container.
Village Yama
Clothes with a cesspool are decorated with every second plot, because it is convenient, durable and not too demanding in service. If you also like the idea with the pit, determine the appropriate type of it. Cell whales are sealed and leaky, that is, with a filtering bottom. The first option is more convenient and safer in operation, but it is more expensive. Moreover, the price concerns not only the arrangement, but also the maintenance (call for assessing). A pit with a filtering bottom is less costly, but create a large risk of territory pollution, and sanitary standards have long been prohibited such toilets.
So, so as not to have problems with law and nature, you need to try to make a pit as tightly as possible. To do this, use a variety of materials: concrete, bricks, plastic and even car tires.
Consider the variants of cesspool from various materials:
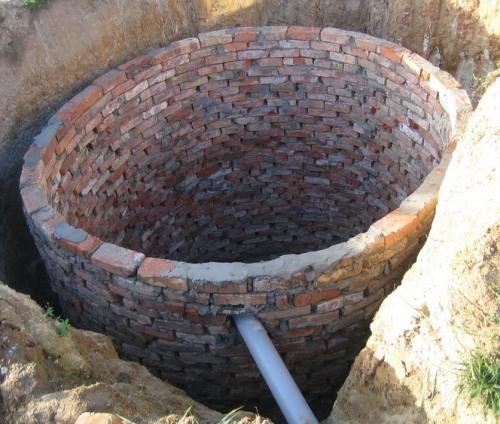
- Brick - such a cesspool can be completely sealed and filtering. In the first case, it is necessary to unscrew the rectangular dot in accordance with the planned dimensions (it is logical that the greater the pit, the less you will have to call the arms, but not always the size of the site allow you to equip such luxury). The bottom of the pit is carefully tumped, to make a sandy powder with a layer of 10-15 cm and pour a concrete tie (you can with reinforcing and crushed stone for strength). After soaring the concrete bottom of the wall, the wall should be put on brick and process from the inside with a bitumen mastic or liquid rubber. Walls of such a pit should climb on the surface of the Earth by 10-15 cm.
The brick pit with the filtering bottom is much simpler - the bottom of the pit is just falling asleep with sand and large rubble, after which the walls are built. The drainage powder serves as the simplest filter for sewage. Nevertheless, such pits are recommended only with very deep groundwater occurrence and the absence of vicinity of water bodies.
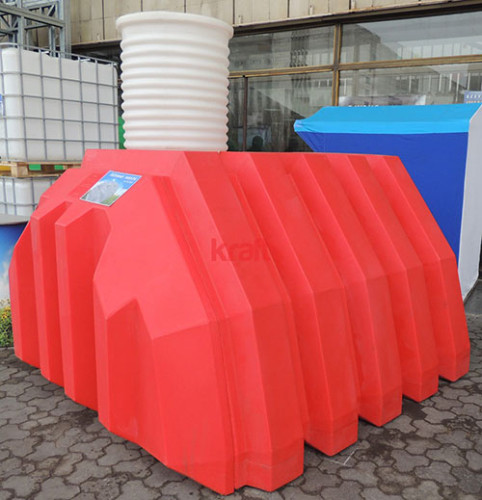
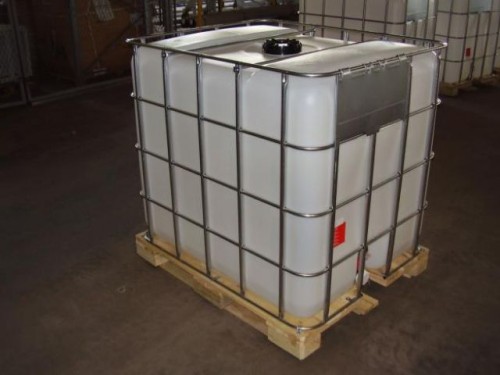
- Plastic is a very popular option, the demand for which is explained by the reliability of the design and simplicity of its installation. Plastic cesspool is a large capacity: barrel or eurocub. This container is lowered in the prepared pit and fall asleep. The bottom of the pit should also be sprinkled with sand with a crushed stone to remove excess moisture. On the sides and on top, the plastic barrel is strengthened by the reinforcement, so that the forces of the radiation do not pushed it in the spring.
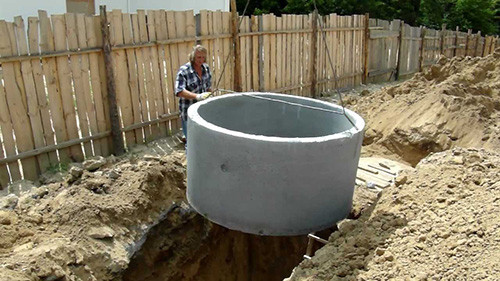
- Concrete from the rings - everyone knows what concrete rings are and imagine what they look. A total of 2-3 such rings can be built a strong and durable cesspool. The only minus of such a method is the need to use large construction equipment. It is also necessary to try to firmly link the rings among themselves so that the soil movements are not dismissed and did not break the tightness of the pit. The bottom prepared for the rings is poured with concrete on a drainage pillow or only drainage (filtering bottom). By analogy with a brick wall, the walls should rise above the ground level by 10-15 cm.
- Concrete monolithic - walls and bottoms of such a pit made of concrete, resulting in a box. At first they rotate, then the bottom is covered with sand and rubble drainage, after which reinforcement with a sharp on the walls. Fill the screed and after it is drying, build a formwork for the pouring of the walls. Useful information on this issue can be found in the articles. "Metal formwork installation technology" and "Formwork shields: installation features".
How to build a wooden house toilet
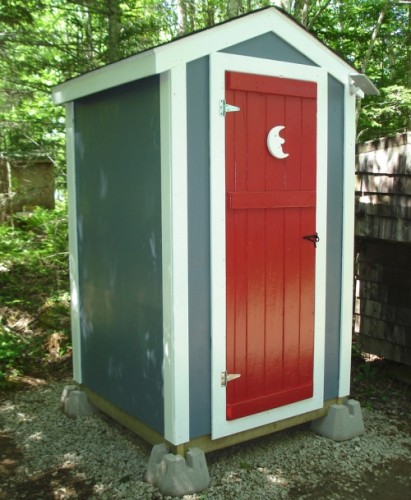
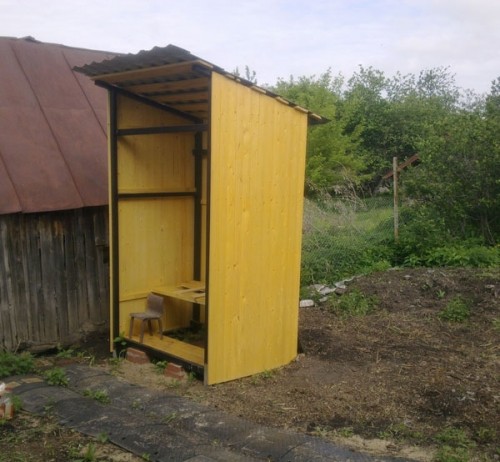
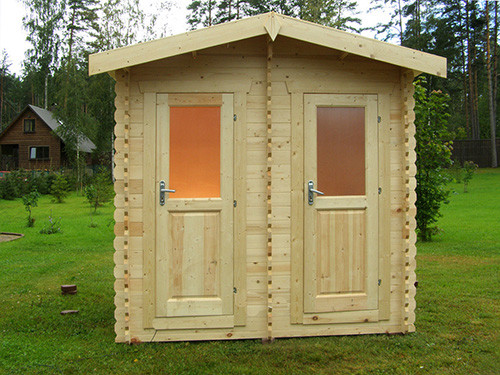
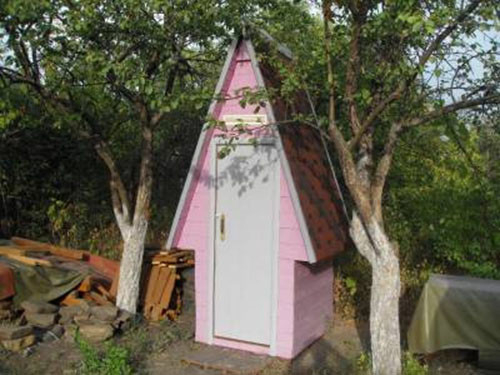
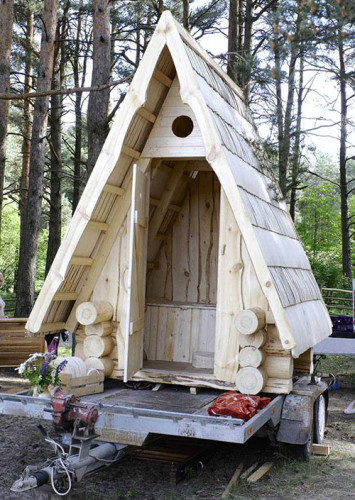
So, when the place for the construction was already found, and with the type of toilet everything is decided, you can start the construction of the structure itself - a wooden house. There are optimal dimensions for any country toilet: height 2.2 m, width 1 m, depth 1.4 m. This is a comfortable minimum that can allow you to take any dacket to the cabin. You wish you a bigger place - everything is in your hands. The same is the rule applies to the shape of a house and all designer gusts. Who said that the summer toilet should be inconspicuous and boring, hiding from prying eyes? On the contrary, why not make it decoration of the plot and the pride of the owners!
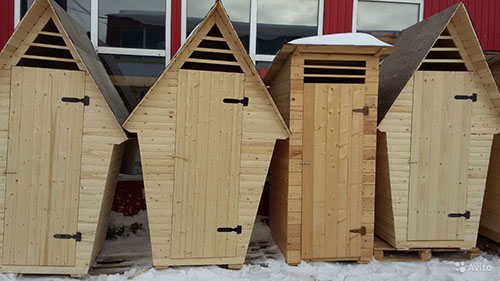
There is another option - buy a ready-made plastic or wooden toilet for giving, but you are always more interesting to create anything with your own hands. You can make a cabin in the form of a shala or hut, crush hop or ivy, decorate with carved elements, mosaic or patterns.
Ideas are infinitely a lot, so you need to try to choose one's best and make a detailed drawing of a wooden toilet for giving. It must take into account the following points:
- The location of the toilet indicating the distance between the house with a pit and other nearby objects.
- Depth and width of cesspool.
- Dimensions of the finished wooden toilet for giving.
- It would be nice to make a separate drawing of a house with all insulating layers. Of course, you can simply put it out of the boards, but it is better to warm up and protect against the blotch, so that even in winter it was possible to go inside without shudder.
- Ventilation system.
- Electric wiring (lighting) - Two options are available here: make electrical lighting or limited to natural, for example, leaving a glass ceiling or windows in the top of the walls.
The video below shows how you can build a neat wooden toilet cooker for giving:
Order of work:
- First of all, you develop the toilet drawings in the country and buy building materials.
- Above the finished cesspool is equipped with an undelated column foundation.
- The foundation attach a rectangular frame (strapping and base for wall mounting).
- Between the pillars of the foundation and the strapping, it is necessary to lack the rubberoid, the pillars are also recommended to deceive with waterproofing mastic or to bite the rubberoid.
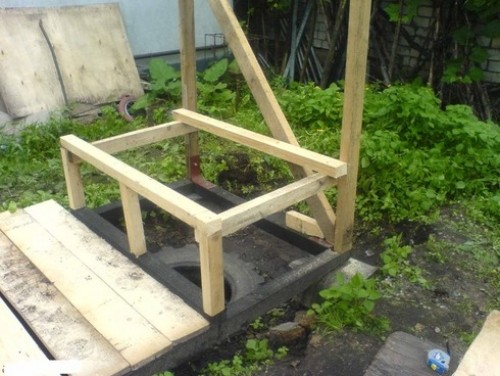
- All wooden elements are treated with antiseptic and antipiren. On the strapping set vertical frame racks. For fastening, steel corners, bolts and self-tapping screws are used.
- Vertical racks bonded among themselves horizontal bars in 1 m from the floor from 3 sides and at the very top - from 4 sides. The empty side should not "look" at the neighboring area or well foreseeable space, as the door will be located there.
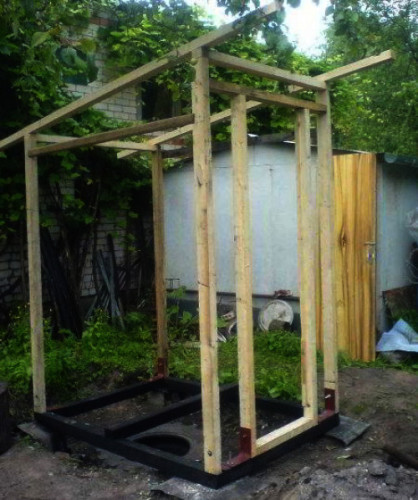
- From BRUSEV make a rafter system: one- or duplex. In any case, you need to adhere to all the rules of installation, despite the modest sizes of the roof. The main thing is to bring the skate outside the walls by 20-40 cm so that the flowing water does not wet wood.
- Then the resulting frame is coated with straw boards, the roof is building a crate.
- Further at its discretion - you can simply cover the roof with waterproof material (tile, slate, sheet steel), and paint the walls or open with varnish, but such a house will be very freeze in winter. It is better to spend a little more money (all the more we are talking about a very modest amount, because insulating materials cheap) and time, but get a comfortable toilet. How to sew a wooden toilet in the country? After fixing the boards, the insulation is laid outside. In this case, there will be absolutely mineral wool or foam. Next, the insulation is closed with waterproofing - a cheap regularoid or a thick construction film.
- Then you can again sew the cabin boards or plywood, then launching, paint, cover with varnish or use the material for finishing the facades (brick, folder, imitation of stone, lining, etc.).
- The door is also pinned from the boards, but you can use the old interroom design left after repair.
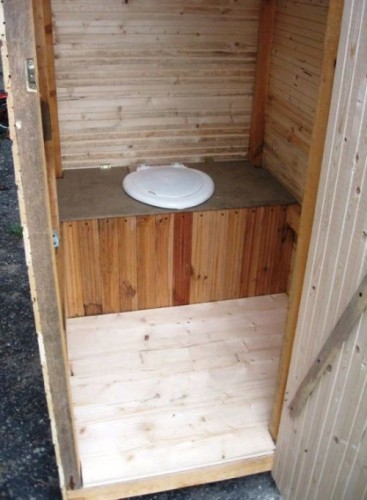
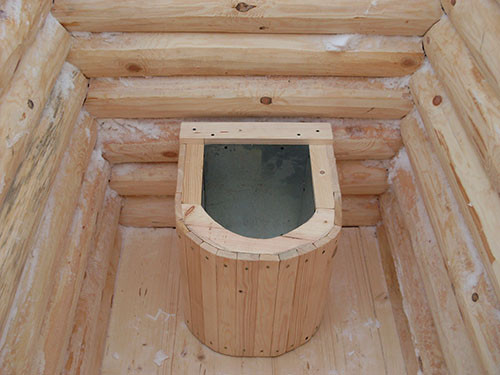
- When the house is built, you can proceed to internal work. Stulchak must be located strictly over the opening of the cesspool. How to equip it, you can solve you - you can put a toilet or to build a box with a hole. At the end of the article, you will find a small photo crying, where different options are presented.
- To illuminate to the toilet, you need to hold the cable - lay underground or put on the air on the cable. To save electricity, it is recommended to make a small window at the top of the door so that the day it was possible not to turn on the light bulb.
- The ventilation system of the country toilet pleases its simplicity - an ordinary plastic sewer tube with a diameter of 100 mm is quite conspicuous for its arrangement. It must be attached by clamps to the back of the cabin and the bottom end in the pre-cut hole in the seat-box. The upper end should rise above the roof by 20-40 cm, so that the thrust appears, and the wind did not quilute the unpleasant odors at the human height level. To strengthen the craving, you can wear a reflector nozzle on the upper end of the pipe.
As you can see, make the toilet in the country with your own hands is completely simple. Moreover, this is an excellent opportunity to "warm up" in front of large-scale work on the plot. At first, you can construct a modest lodge even without electricity (and where to take it on the site without home), and when all the technical conditions and free time appear, bring work to the end.


