Laying vinyl tile: step-by-step instruction Tile,Floors
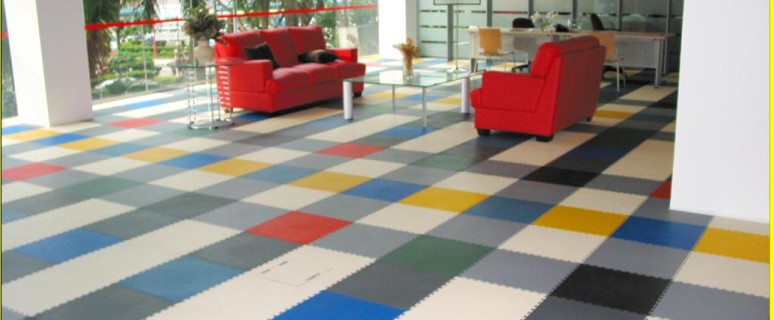
To finish the floor, the modern market offers many materials that are distinguished by durability, wear resistance, duration of operation, external beauty and texture. One of the most sought-after options is vinyl tile. What is its features and why it is so popular, you will learn from this article.
Content
The composition of the vinyl tile
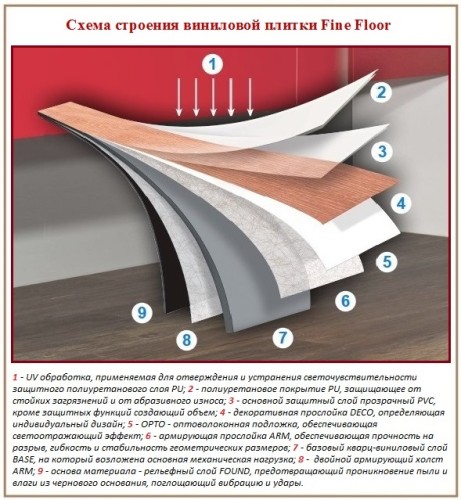
Vinyl floor tile is an environmentally friendly material with a multi-layer structure. Depending on the specific manufacturer, the components may differ, but most often technologists use the following combination:
- The embossed layer of the bottom base from plastic, which prevents dust and moisture from the draft floor, extinguishes shock noises and vibrations.
- Reinforcing lower and intermediate layers to enhance the canvas.
- Quartz-vinyl combination, due to which the tile acquires the strength characteristics.
- The substrate that gives a reflective effect.
- Strike-based artistic pattern and tile color.
- Protective light layer.
- The polyurethane coating on which the main protective load is accounted for, including from UV radiation, moisture.
- The finishing layer, which causes the rejection of the canvas and contributes to its monolith.
Important! To more clearly understand the structure of the vinyl tile, look at the following photos.
Advantages of vinyl tile
Vinyl tile is an innovative material that combines all the advantages of the most sought-after options for the outdoor coating: the stability of the form of natural stone, the plasticity of the linoleum, the speed and simplicity of the laminate installation.
Technological features determine such advantages of this floor covering:
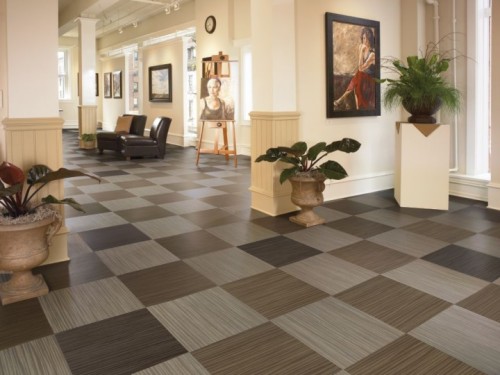
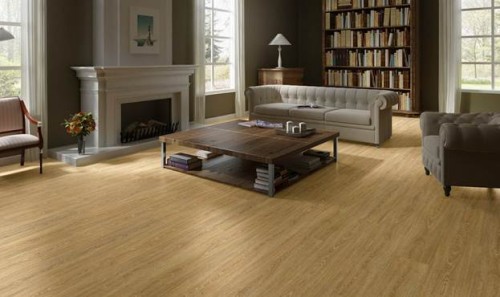
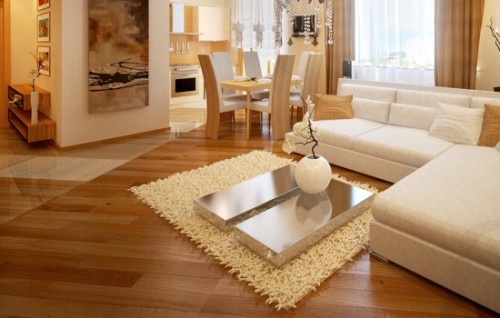
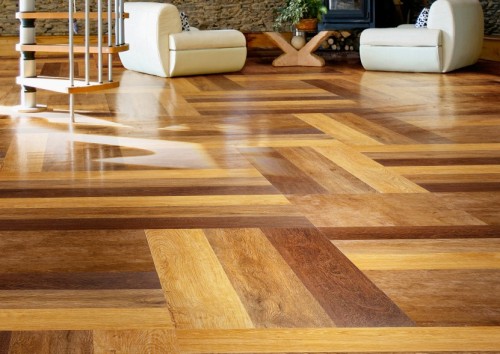
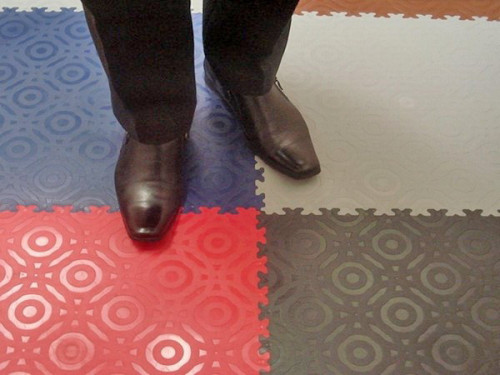
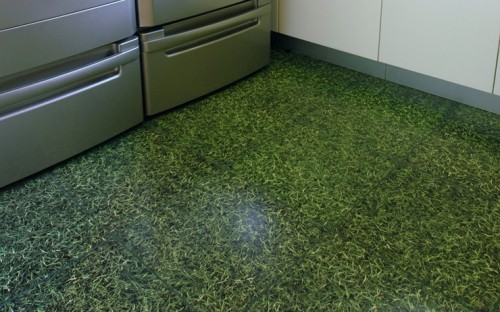
- Quartz-vinyl tile is a material with high aesthetic characteristics that visually might imitate ceramic tiles, leather decor, marble, granite, parquet, marine pebbles or grass. Accordingly, the design capabilities do not have any restrictions.
- Strength and high wear resistance - manufacturers guarantee the absence of any modifications of material for 10-35 years.
- Preserving the tile color palette throughout its life.
- Resistance to moisture and temperatures, which makes the vinyl tile suitable for styling, even indoors with steadily elevated or changeable indicators - open areas, pools, bathrooms.
- The preservation of stable sizes, regardless of the external conditions of the medium, which completely eliminates the deformation, opening, breaks, chips, scratches, dents, or other unwanted consequences.
- Absolute non-combustibility due to a large number of mineral components (about 80%), which makes the vinyl stack of fireproof.
- The composition of the quartz-vinyl tile eliminates its damage to rodents or reproduction on the surface and in the thickness of the material of malicious bacteria - this makes it possible to use it in apartments, commercial premises and private cottages without risk.
- Convenience and simplicity of processing - despite the strength, you can quickly make cutting the necessary elements with a sharp knife, if the sizes of the tile are not suitable for the implementation of the selected design idea.
- Installation of vinyl tile assumes even finishing of hard-to-reach areas, which does not cause any difficulties.
- Simple care, as the tile attracts little dust due to the antistatic layer, and for its washing you can use any means without the risk of damage.
- Affordable price.
- The effect of anti-slip in combination with the softness and pleasant texture, which is felt when walking.
Important! Only its synthetic origin can be distinguished the only disadvantage of the vinyl tile. But since there is no harm to human health, this minus is rather relative than standing close attention.
Types of vinyl tile
The classification of types of vinyl tile is carried out in 2 criteria:
- Purpose. This group makes up the model of household and commercial purposes. A distinctive feature is the class of wear resistance:
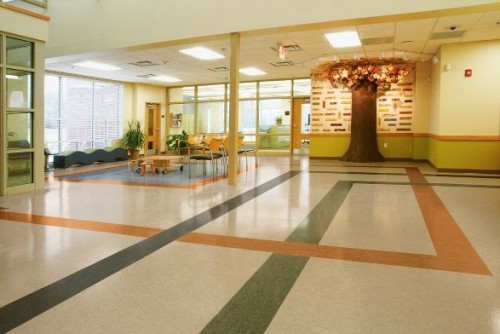
- for domestic use in the conditions of residential premises, a tile 32-34 of a class with a protective coating thickness of 0.2-0.3 mm is suitable;
- for commercial (public, industrial, sports facilities) - 43 grade with a thickness of the protective layer from 0.5 mm.
- Method of installation. Depending on the characteristics of the device tile and the principle of its installation distinguish:
- self-adhesive vinyl tile is the most convenient and easy-to-use material, the back side of which is treated with a special adhesive solution. Due to this, a solid instant grip with any smooth, incompatible surfaces is ensured;
- castle vinyl tile. This commercial line is decorated on each tile element by "Schip-groove" type. More suitable for the arrangement of those rooms in which the increased intensity of the passability is planned;
- adhesive coating. It will require special glue for vinyl tile, which is present in the production line of each brand producing decorative material itself. The main advantage of this vinyl tile is the absence of any restrictions on a rough-based basis.
Important! What exactly to give preference, determine, based on the own skills of the construction work, as well as the designated budget for the floor finish.
Vinyl tile - how to lay
There are several general rules for creating a flooring from vinyl tile:
- When laying on a warm water or electric floor, a week before the installation, the heating system must be turned off. The minimum distance between the wiring with the coolant and the tile itself is 1.5 cm. Mandatory laying of fragrances from bars or a pouring of a polymer or cement screed.
- You can not put the vinyl tile by gluing on soft substrates or foamed insulation.
- The preparation of the draft floor should be made thoroughly to ensure the maximum long-term operation of the decorative coating.
Preparation of floors to install PVC tile
To get a quality mounting result, manufacturers designate such requirements:
- The moisture content of the concrete screed is about 5%.
- Full sealing cracks, chosen, repair of detachable plots, sharp recesses - for this purpose local repairs are performed, grinding, cycle or pouring screed.
- The basis should be a tough, not flexing - perfectly suitable for this purpose of plywood, GVV plates, materials such as the CPS, which are placed on the lags.
- The lack of cracks and the elimination of concrete porosity - it is easier to do it easier by putting down. Such a process will prevent glue overrun.
Important! The very vinyl tile before laying on a day-two is entered into the room and lay out in a horizontal position. It is necessary that the material is "used to" to new conditions. It is desirable that the temperature be in the range of 18-24c.
Marking and cutting
Before making it laying a quartz-vinyl tile, perform its preset, mark the position of the tiles and make fitting the necessary parts.
For this:
- Prepack all the details by sticking to the selected pattern. Please note that the room center may not necessarily be the center of the entire composition.
- Arm yourself with a pencil or marker and notice the location of all tiles with axial lines.
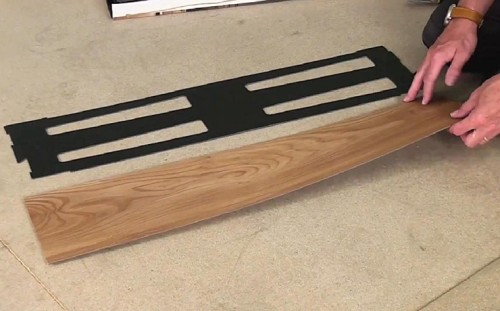
- To cut the material under the desired form when the corners, joints, circles of pipes, door jambs originally make a template from cardboard. Attach it to the desired flooring element and cut down the contour.
Important! Be careful and accurate in measurements so that the laying does not arise curves or ugly wide seams.
Laying vinyl tile
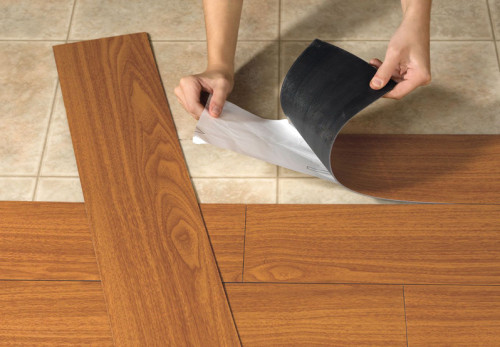
To mount the self-adhesive vinyl tile:
- Immediately before laying, remove the protective film neatly.
- Attach the item to the right place.
- Press and split the surface.
Important! If the elements of large size or long, remove the film not all right away, but in sequential parts.
Castle tiles are mounted by the same technology as laminate:
- Place the first tile.
- Attach the following detail at an angle so that the spike enters the groove.
- Tightly move.
Important! All subsequent elements can be mounted in the same way.
To make the styling of the vinyl tile on the glue, act like this:
- Choose suitable glue by turning special attention to the polymerization time. Do not take the solution that freezes very quickly so that you have time to properly put all the parts of the floor covering, especially if you do not have the previous experience of performing such works.
- Treat 1 m2 base with a flat spatula with V-shaped.
- Put this space tile, not leaving gaps. Tightly press to the bottom every item to go out air.
- Ride on top of the rubber roller to challenge the surface.
- Remove the glued with a damp cloth immediately, without waiting for the solution of the solution.
- Repeat rolling roller after another half an hour.
- Further - proceed by circumstances: if you get gently and quickly put the parts, you can try to immediately treat glue with a large area - up to 3-5 m2.
Important! After 1 day, wash well the floors, the next day - put the furniture and proceed to the operation of the room.
Video
How to lay the vinyl tile on glue, you can see in this video.
Conclusion
Now you know everything about the vinyl tile and for sure without difficulties you can create a very interesting, non-standard decor of the floor covering with your own hands. The main thing is to think in advance the desired design, take the material only from proven manufacturers and observe simple installation rules. In this case, the result will be high quality, and the aesthetic effect is worthy of your home!


